


Panoramic Photography Tips
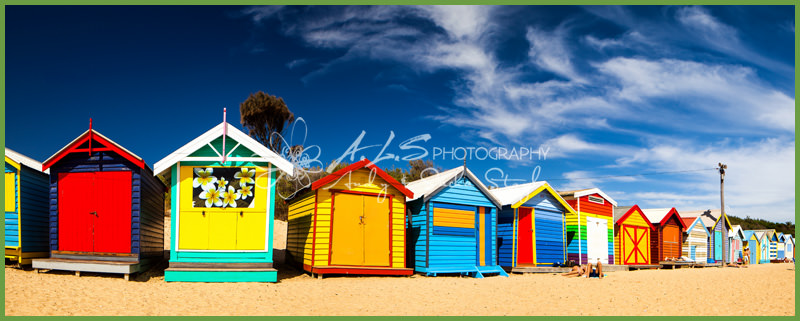
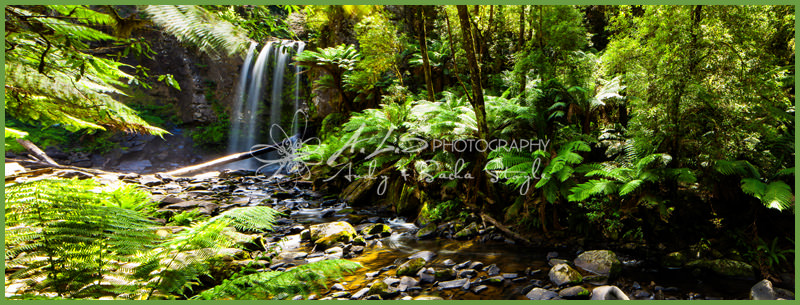
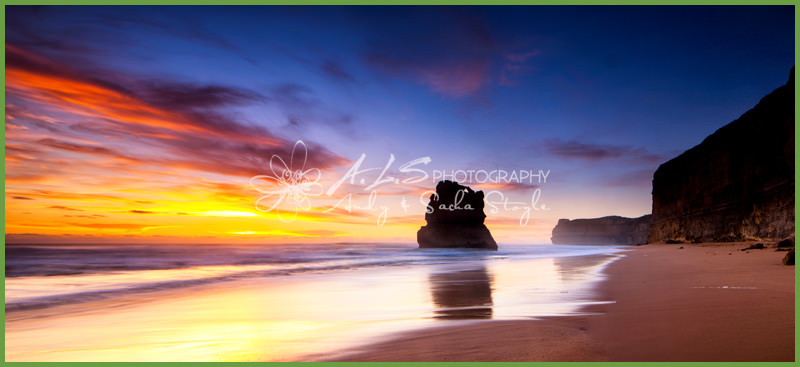
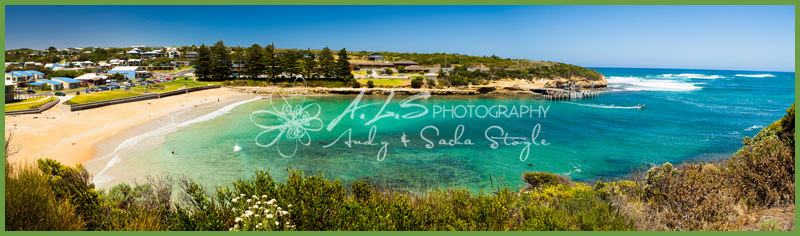
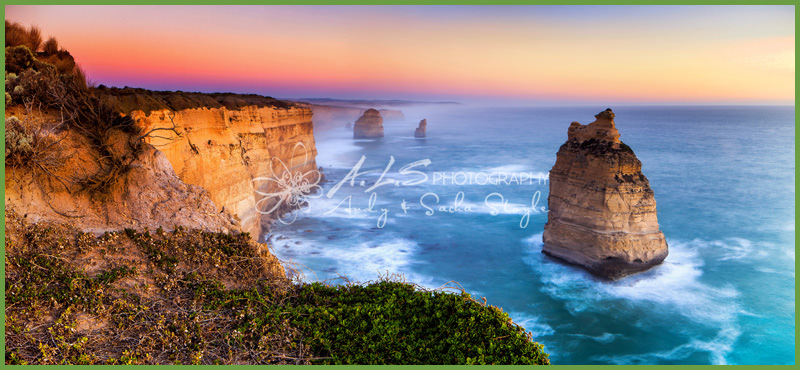
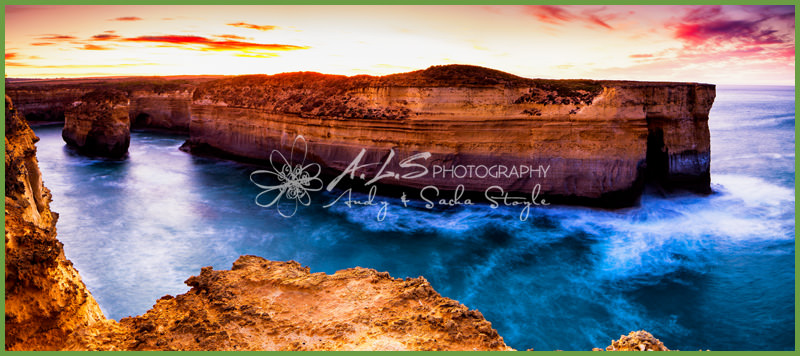
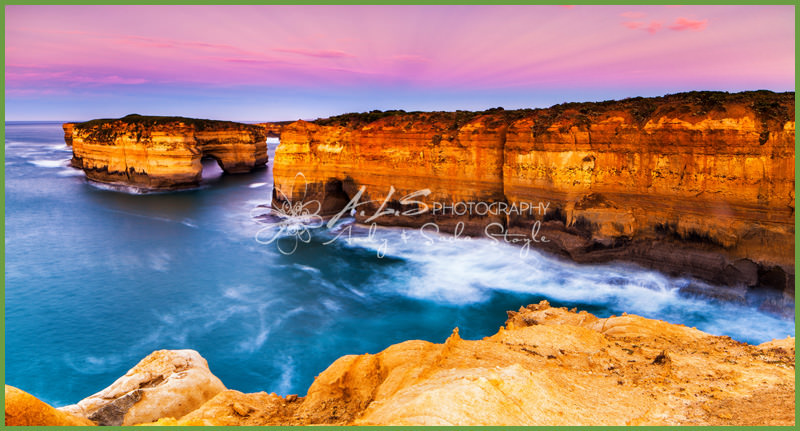
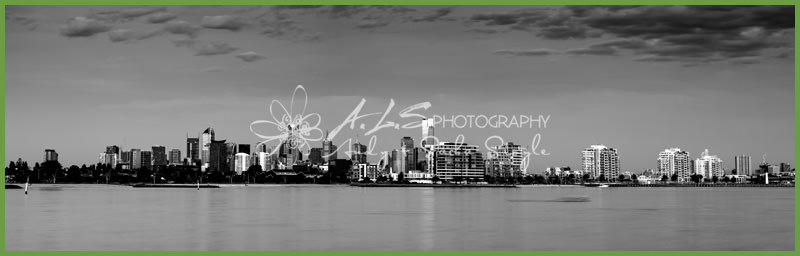
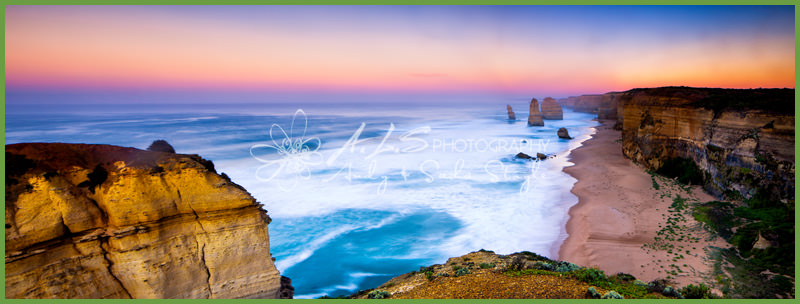
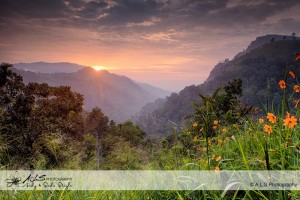
These are a few panoramic images from our recent trip to Victoria, Australia and here are some tips of the method I use of taking and stitching multiple images to make a panorama.
Tripod Method
1. It’s important to get the top of your tripod mount level so that when you pan the tripod head the horizon stays level. This saves you having to loose parts of the image later when cropping to a level horizon. You do this by adjusting the height of each tripod leg independently. Some tripods have a small spirit bubble aid at the top of the tripod legs. I also use a spirit bubble that attaches to the camera flash mount so I can double check the level as I pan the camera. I can then make any further minor leg adjustments if required.
2. It’s most important to use the camera in manual exposure mode. If the camera is using any of the auto exposure modes, each frame is likely to be lighter or darker than it’s adjacent frame, this then becomes much harder at the stitching stage. If you are including the sun in your final panorama image, take the initial exposure from the frame nearest to the one that includes the sun for a more balanced overall exposure.
3. Choose a manual white balance setting so that the white balance remains constant throughout the scene.
4. It’s also important to put the lens/camera in manual focus mode and focus manually. You do not want the focus points changing between frames.
5. When taking the images, start at one edge of the intended panorama, take the first shot, pan the camera making sure you have at least one third overlap of frame, take the second shot, then repeat until you get to the other end of your intended panorama image. I always start at the left edge of the panorama, I just find this easier when stitching. Also, bear in mind that you may often loose some information from the top, bottom and edges of your panorama at the cropping stage after stitching.
6. I always use a shutter release when the camera is tripod mounted. This helps speed up the panning and taking process and stops any vibrations when shooting long exposures. I also try not to touch the lens when panning just in case I inadvertently touch the focus ring.
7. Composition is equally important in panoramic photography as any other type of photography, so know the main rules of composition and also experiment by breaking them. Sometimes points of interest at the edges of the frame often work to help lead the eye into the image and keep it there.
8. Switch your camera to live mode to aid composition and manual focus.
9. Be careful with very wide angle lenses as perspective can often look odd when stitched into a panoramic picture.
10. Watch out for movement within your panorama, such as people, transport, flora blowing in the wind and waves breaking on a beach. These can sometimes cause overlapping sections that don’t line up at the stitching process and ruin the final image.
11. Experiment using your camera in both the vertical and horizontal position while creating your panorama.
12. For very precise panoramas you can buy a panoramic head for your tripod. This head enables you to move the mounted camera back, forth, left and right so that the Nodal Point of the lens is directly over the axis of rotation of the tripod, this will eliminate parallax error. Each lens has a different nodal point and can be quite tricky to find. For anyone interested here is a link to a youtube video that demonstrates the setup.
Hand Held Method
Use the same guidelines as with the tripod method. Manual Exposure, white balance and focus. Try and keep any horizon level and allow room for some cropping after stitching.
Stitching the Panorama
I won’t go into this in great detail as it will depend on what software you use to stitch the panorama together. I usually use Adobe Photoshop ‘merge to panorama’ which I can also access directly from the RAW files in Adobe Lightroom. Here is a link on Adobe TV on how this works on Adobe Photoshop Elements.
If you haven’t got Photoshop or Photoshop Elements another excellent free programme that I can thoroughly recommend is called Hug-in.
To Summarise
Level the tripod head
Level the Camera
Use manual exposure, white balance and focus
Take the series of shots from the left edge of your panorama
Allow a little room for cropping
Check Composition
Check for movement within image
Stitch the Panorama
Experiment and print


No comment yet, add your voice below!