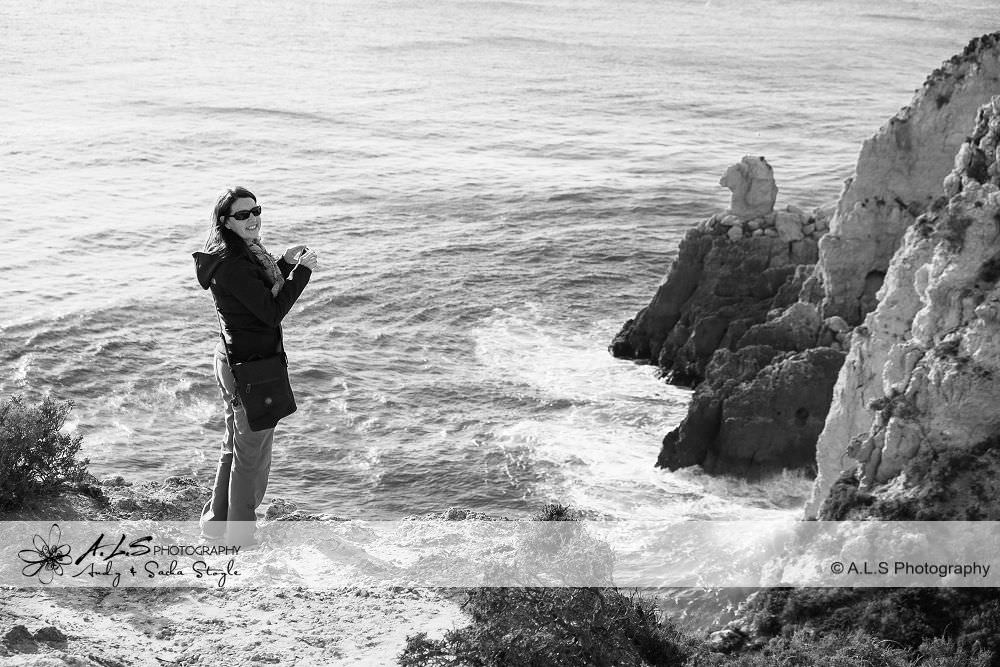
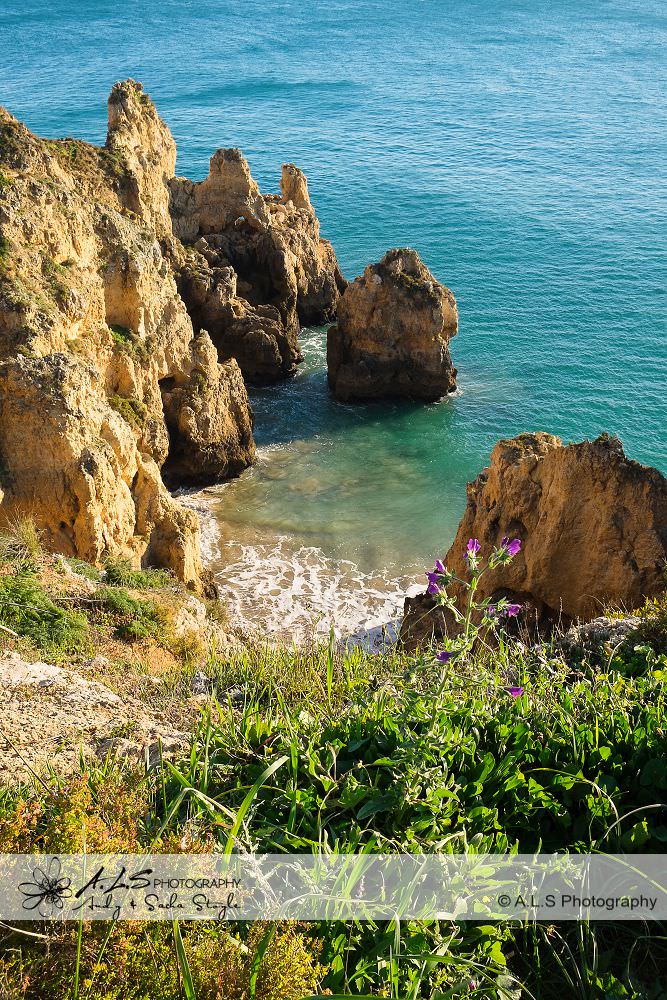
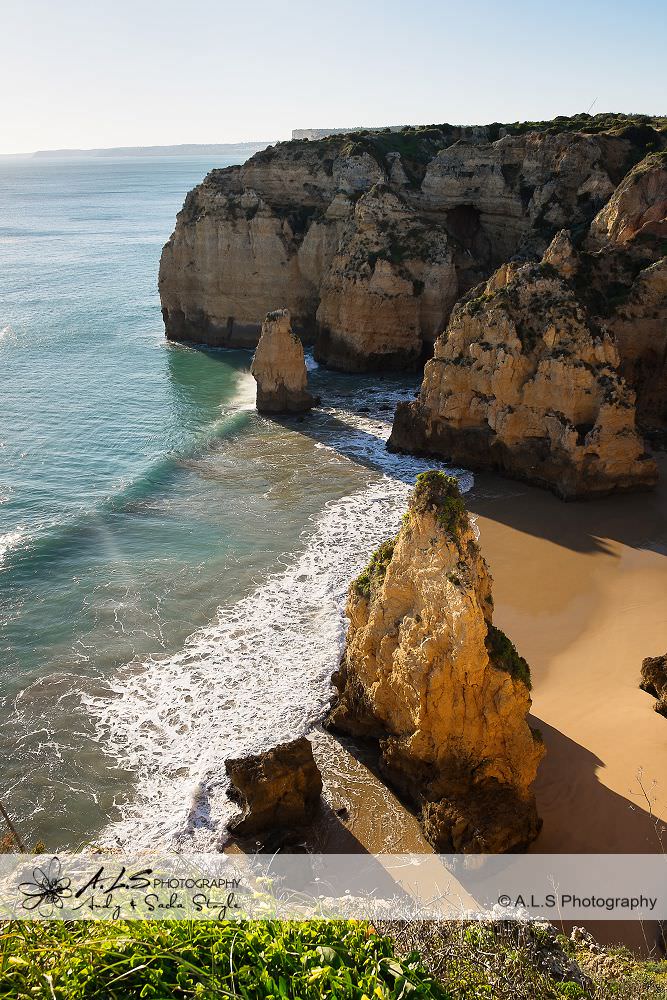
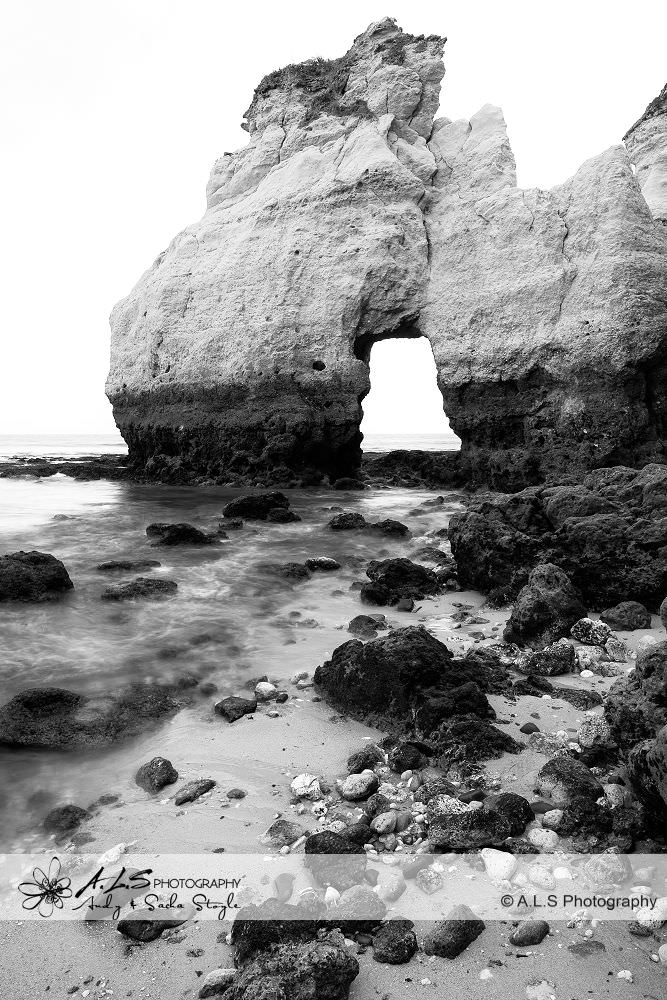
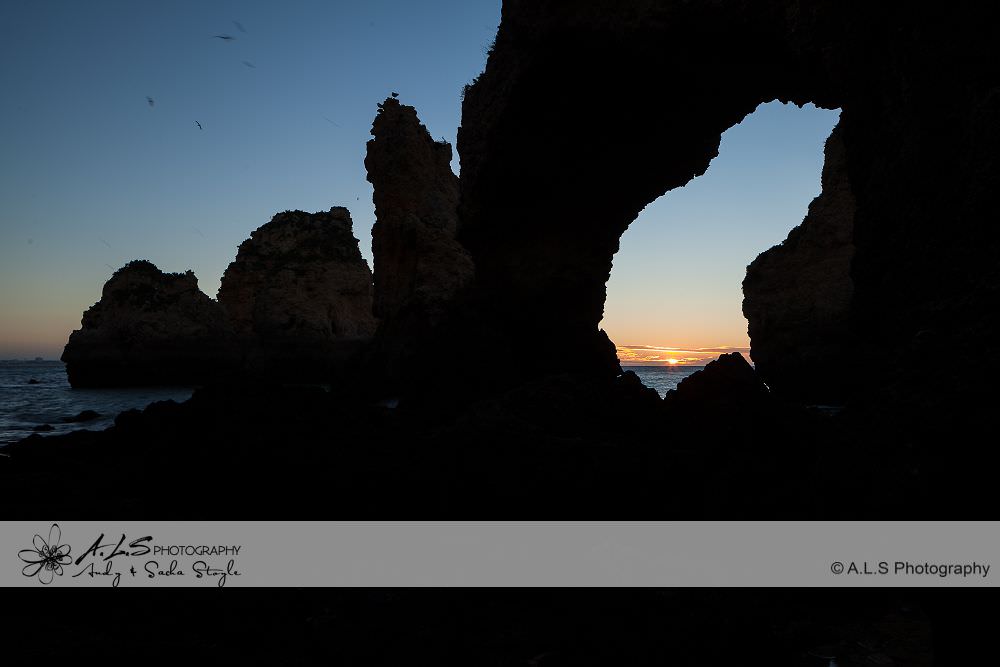
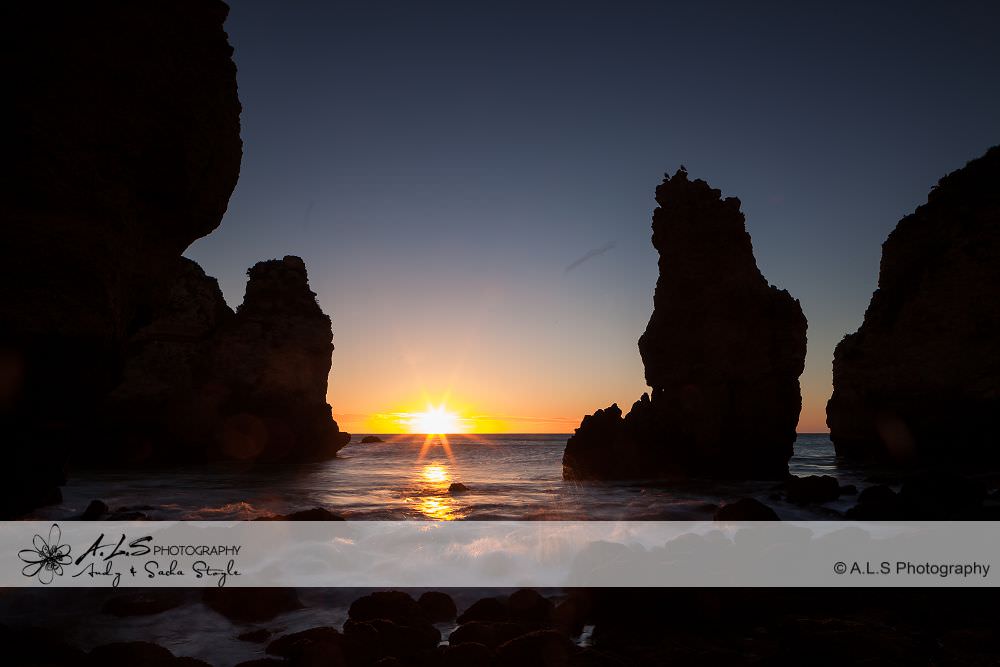
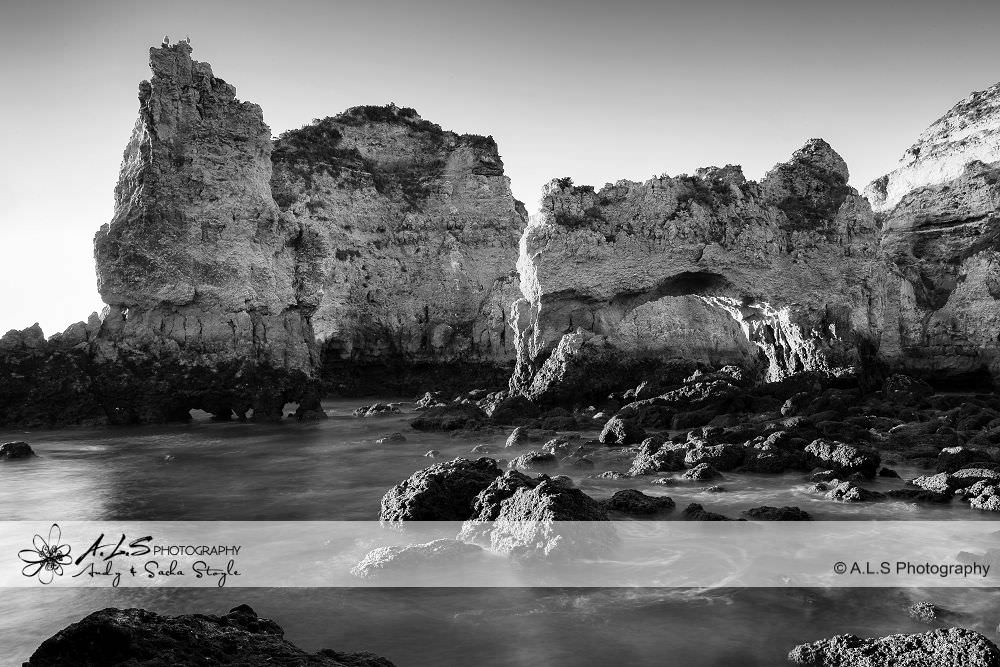
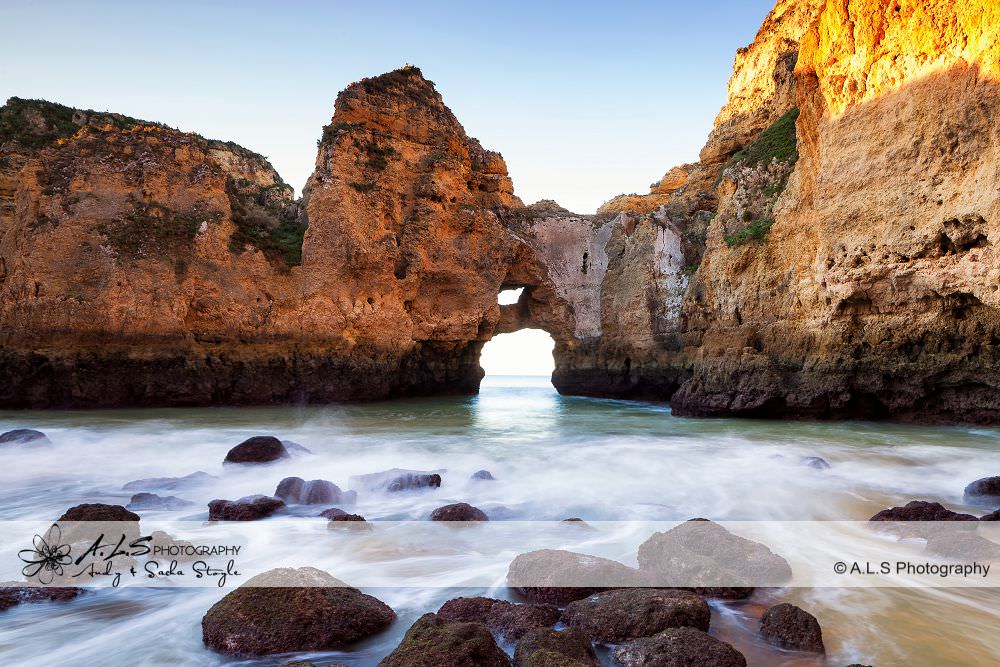
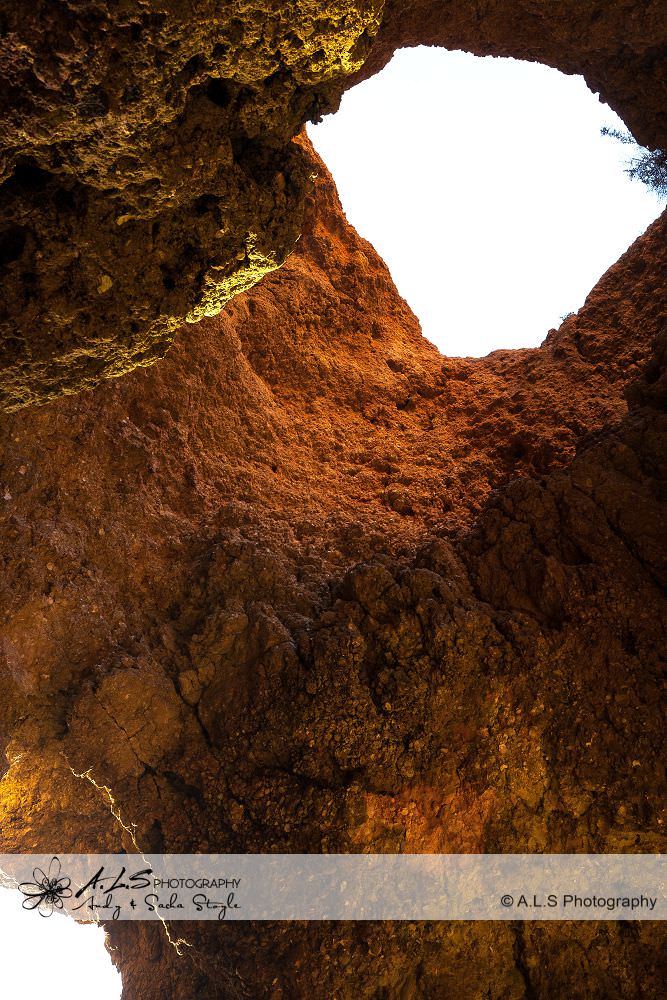
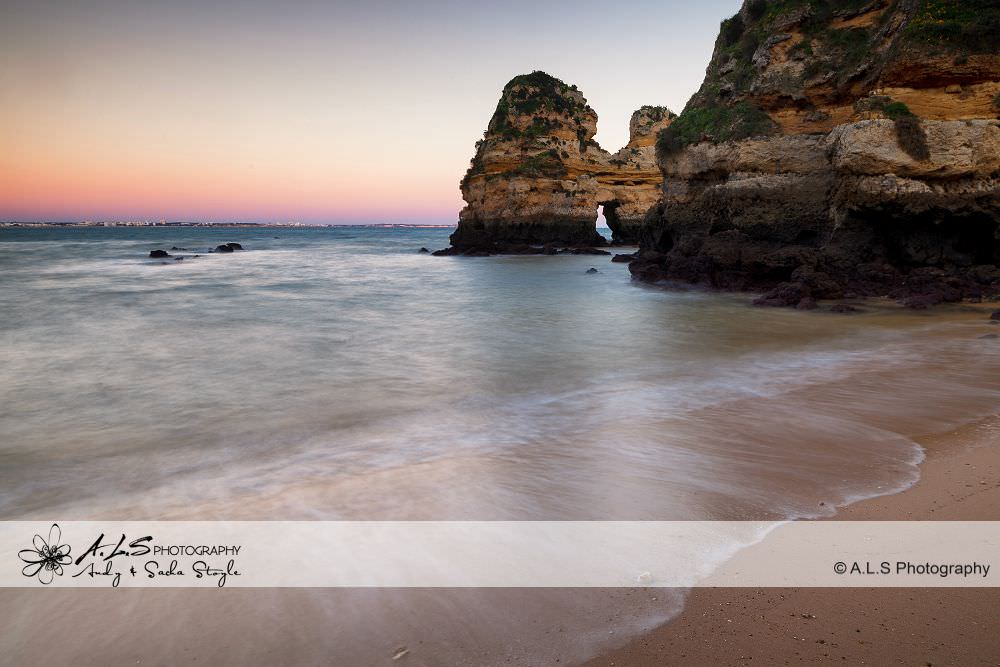
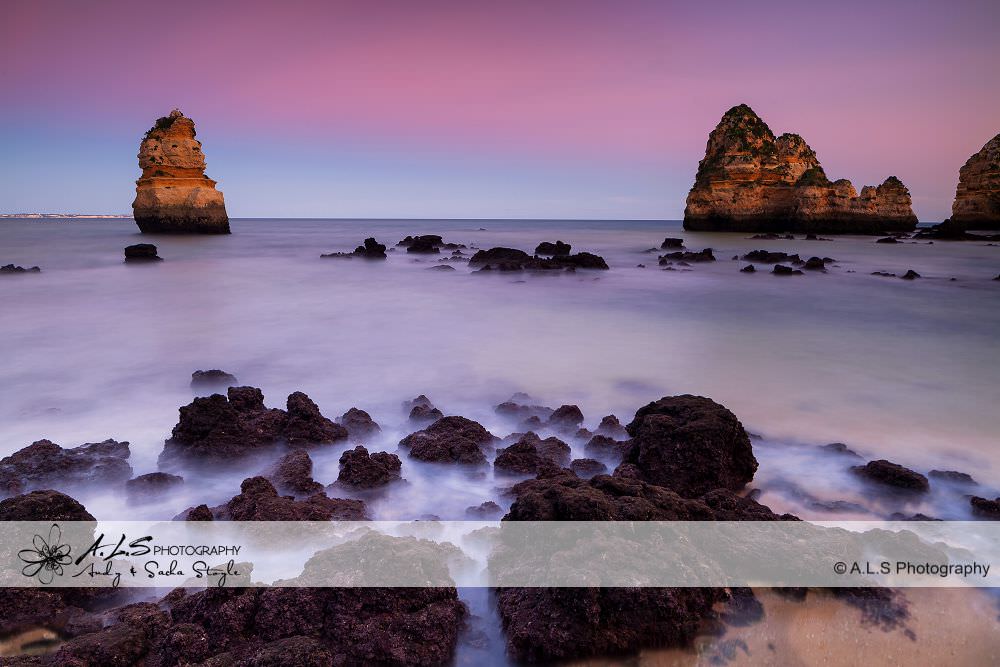
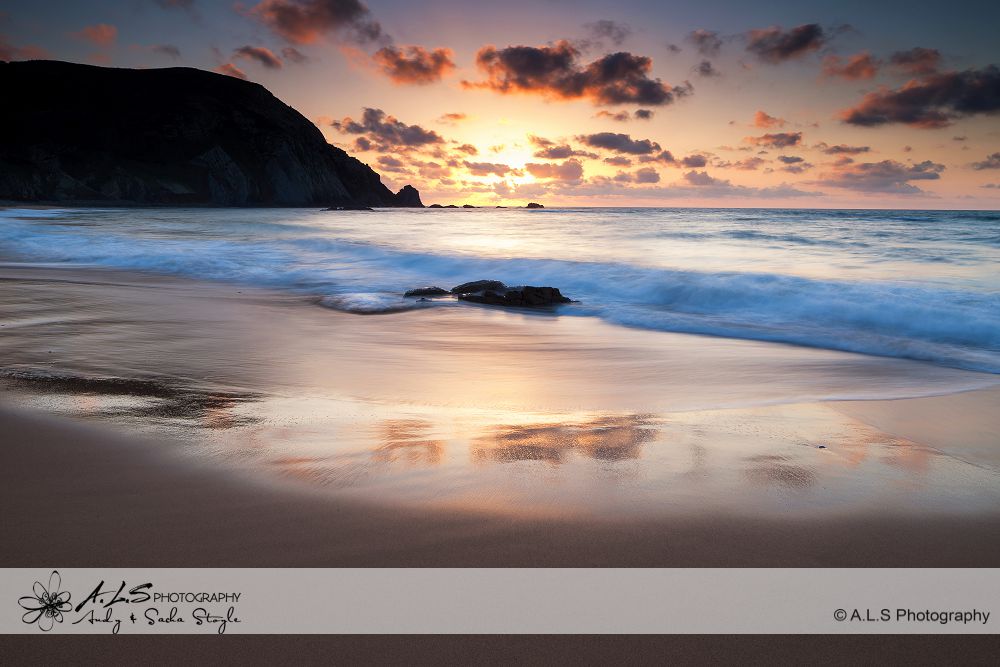
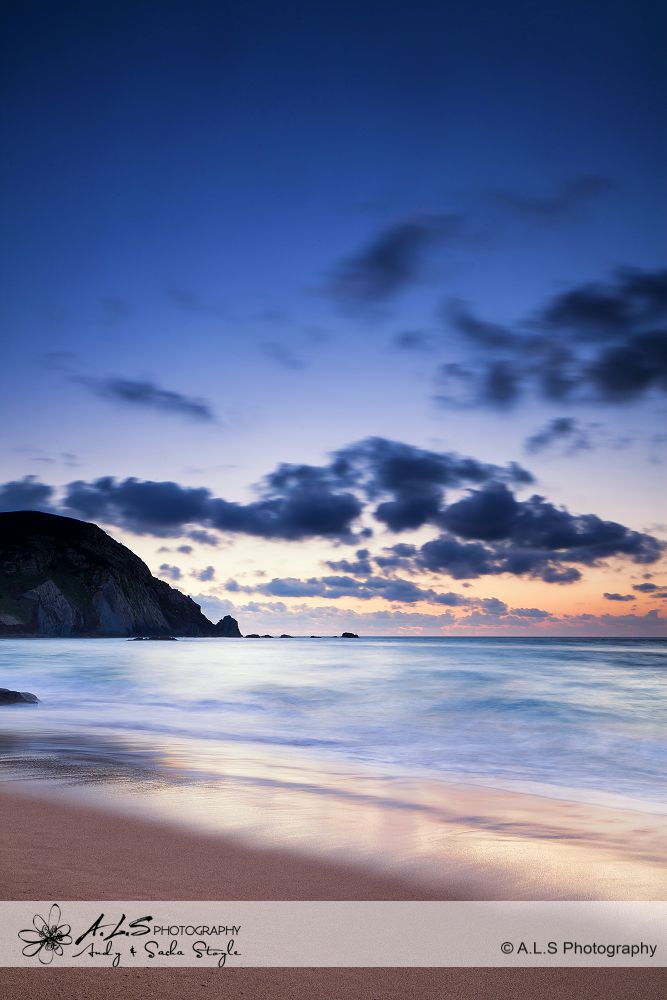
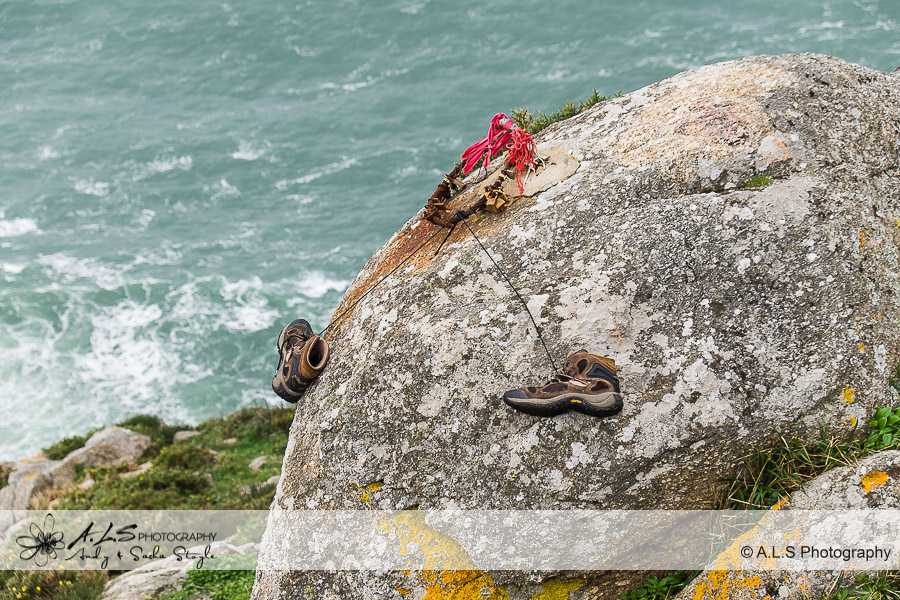
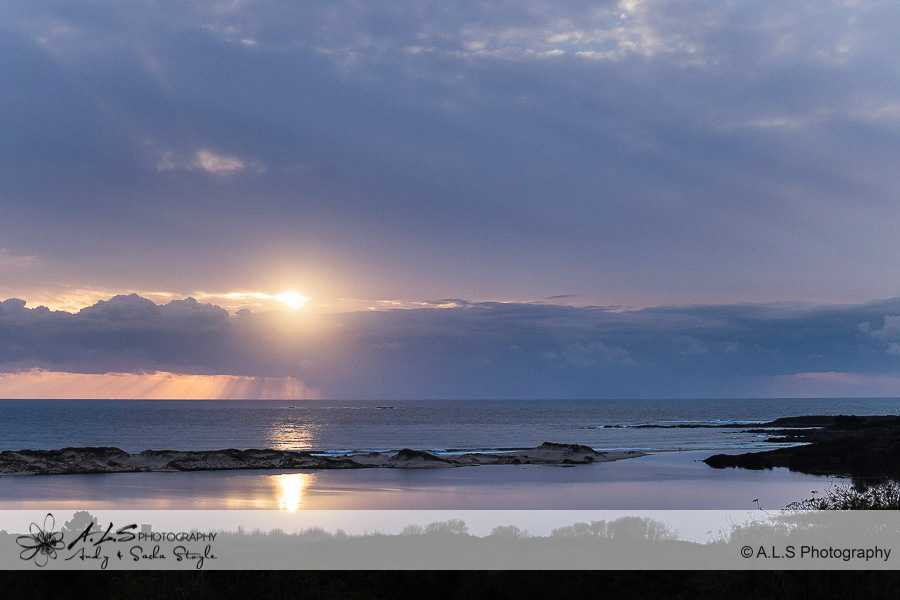
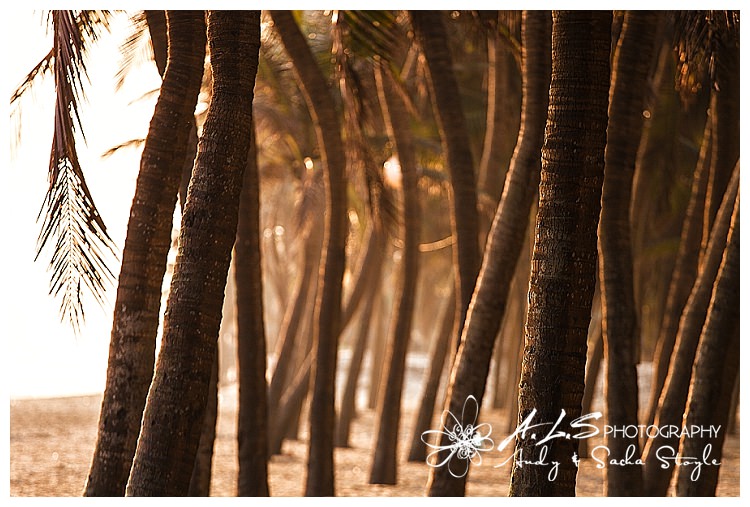
Just had chance to go through some of our winters trip to Spain & Portugal this morning, I’ll get there eventually!! Here are some images from Praia Da Luz, some sunrise and afternoon shots at Ponte Da Piedade and some dusk shots at Praia Do Camilo which as it happens has a very nice bar on the cliff top!! The latter two are on a headland just outside the town of Lagos – an absolute stunning stretch of coastline! Climbing down the last section of the cove in Ponte Da Piedade proved a bit of a challenge with my gear and tripod but definitely worth it when you get there – as long as the tides not in of course!
For a further look at our images of our Cardiff, South Wales landscape and travel photography, please have a look at our other Blog Posts and if you have any questions about our services don’t hesitate to leave a comment below or contact us.
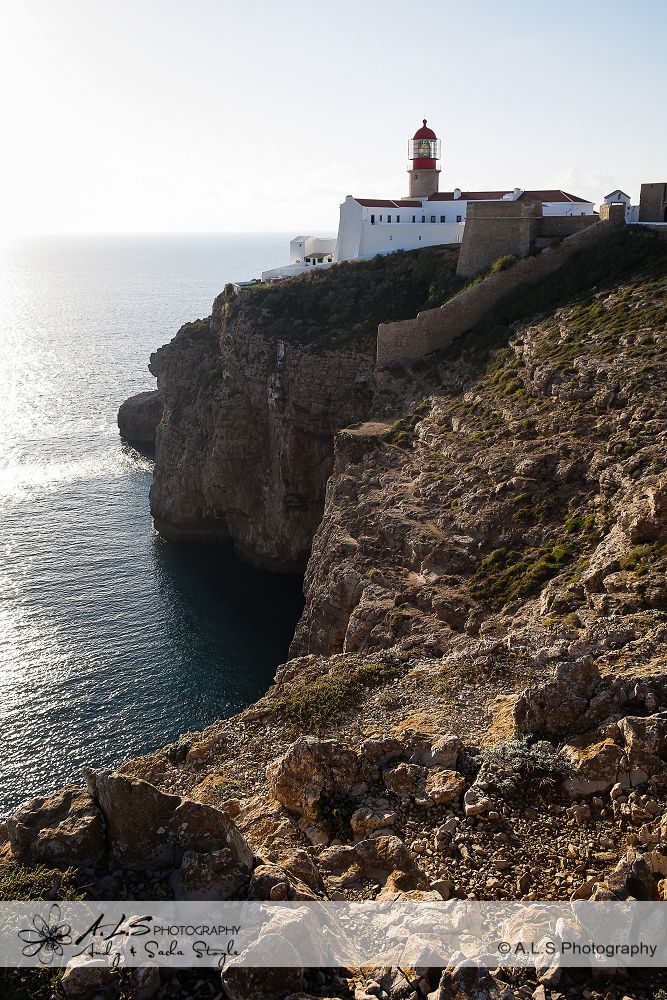
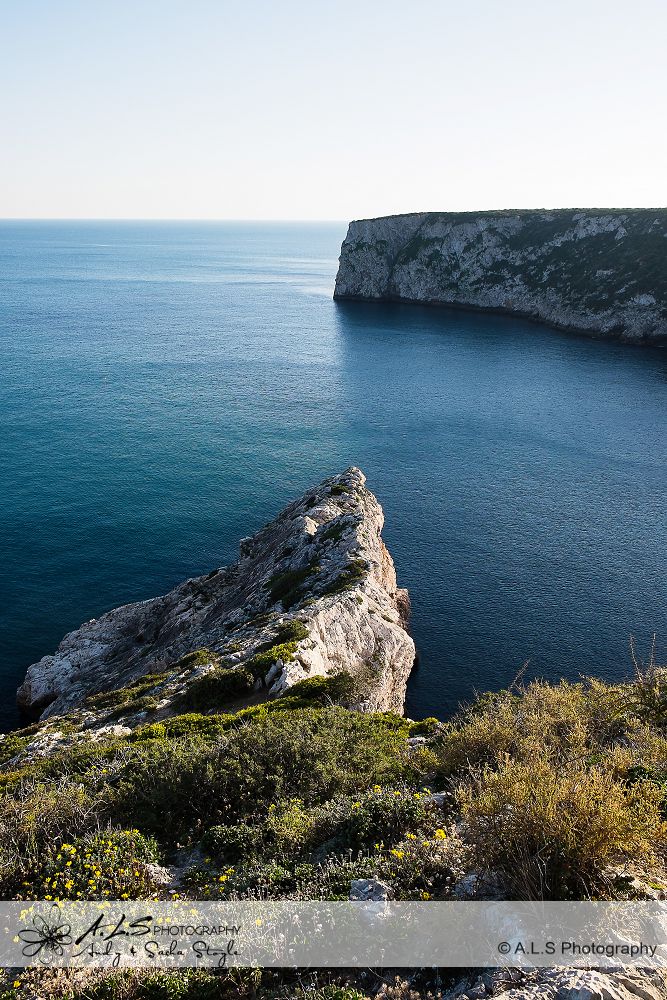
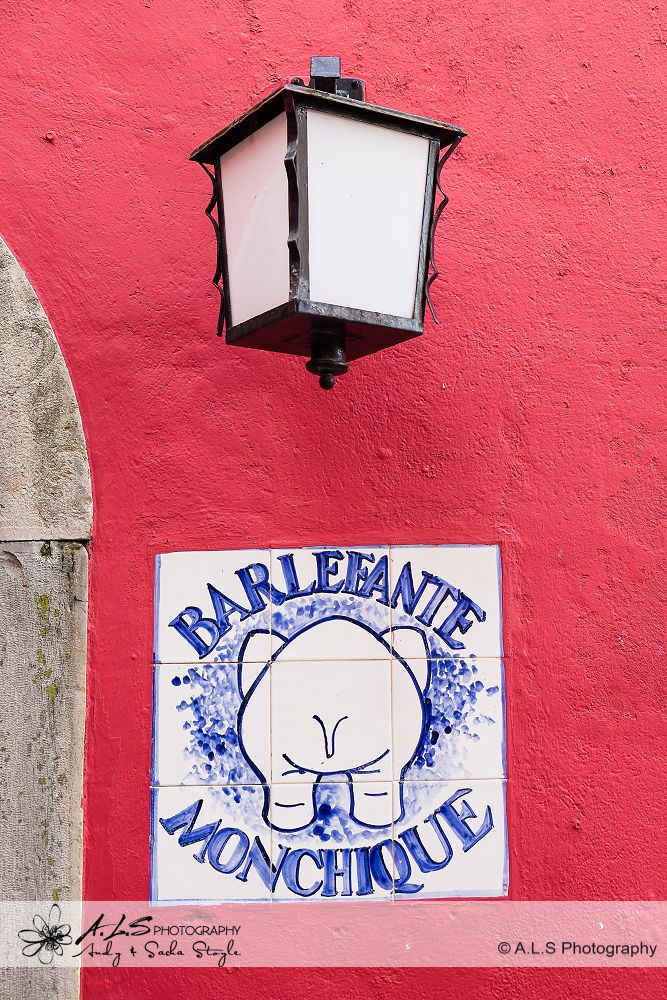
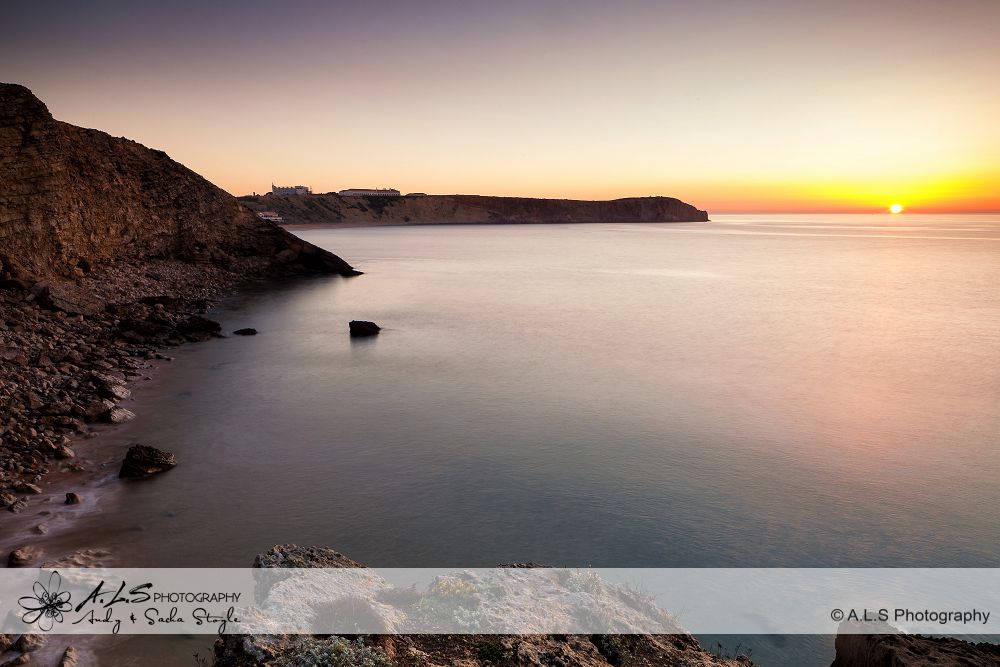
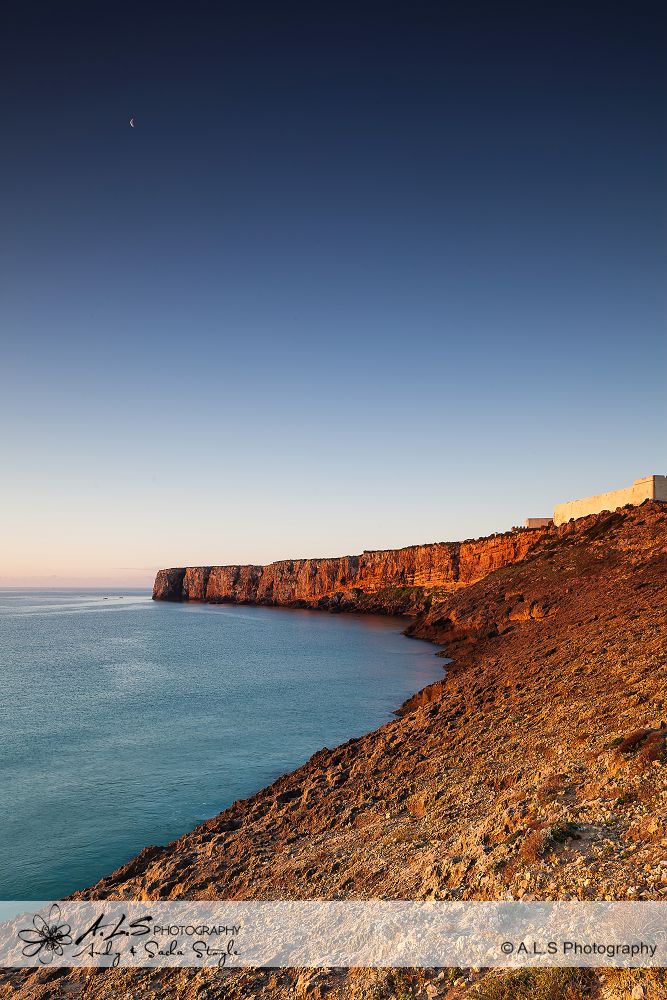
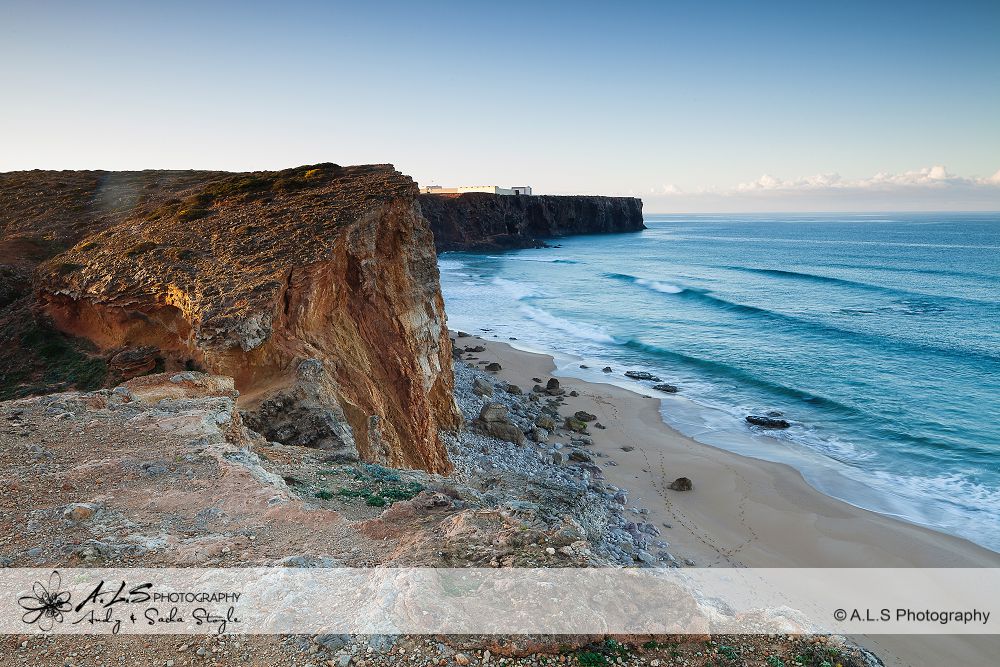
Situated at the South West tip of Portugal is the sleepy surf town of Sagres. We used this as our first base in the Algarve to explore the surrounding headlands, beaches, forts and lighthouse on both the southern and western coastline. We also had a great drive into the Algarves interior, driving up into the hills and visiting some of the rural towns such as Aljezur and the beautiful hilltop market town of Monchique. We aslo found a great spot for sunset at Castelejo, one of the more remote beaches North of Sagres. The campsite at Sagres was fairly basic, especially when compared to our next stop Lagos!
For a further look at our images of our Cardiff, South Wales landscape and travel photography, please have a look at our other Blog Posts and if you have any questions about our services don’t hesitate to leave a comment below or contact us.
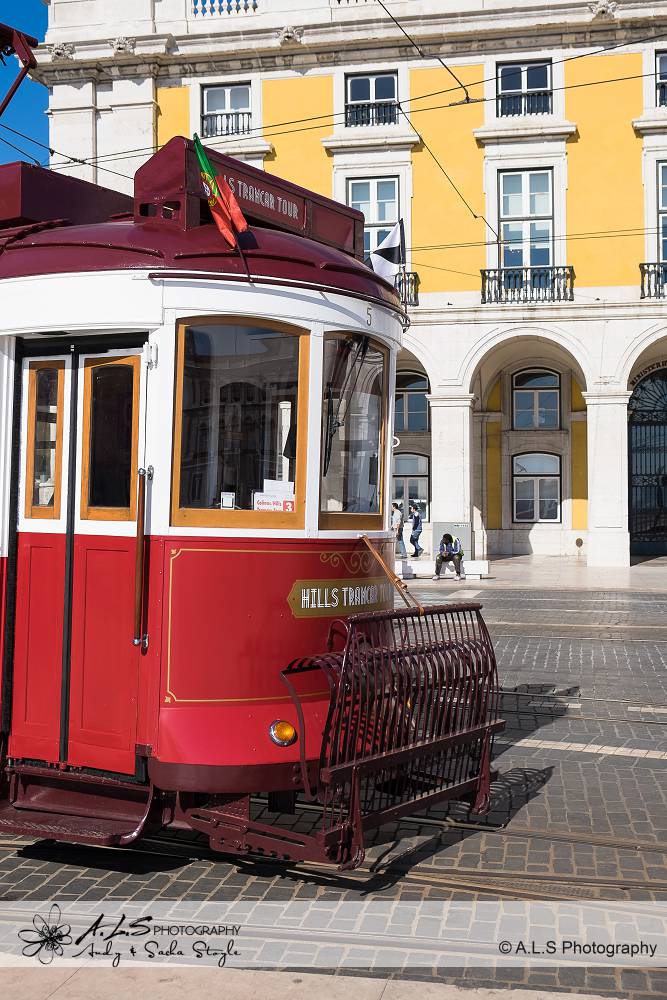
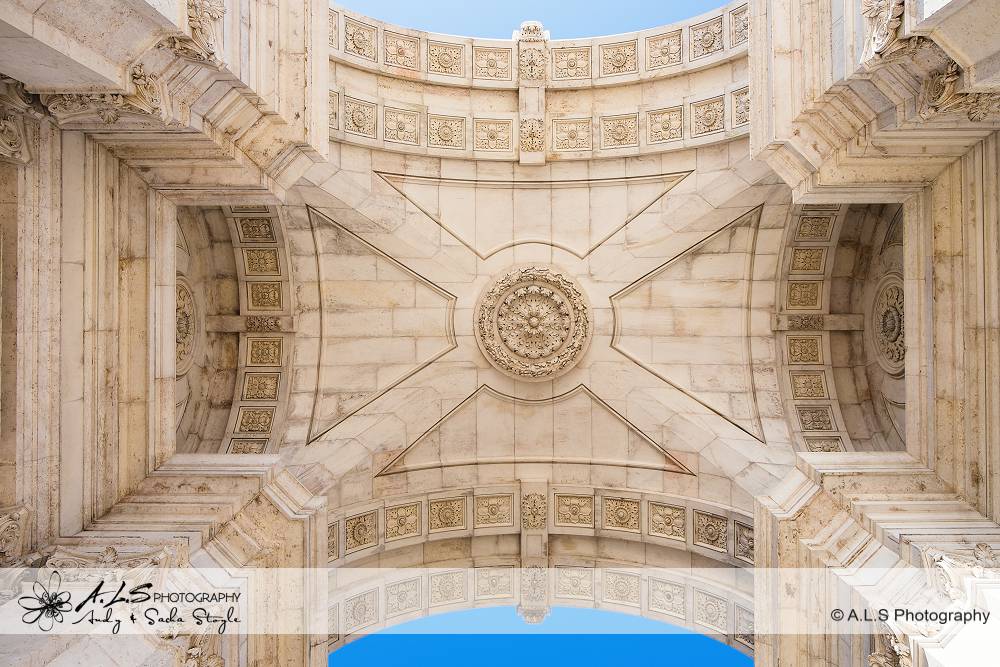
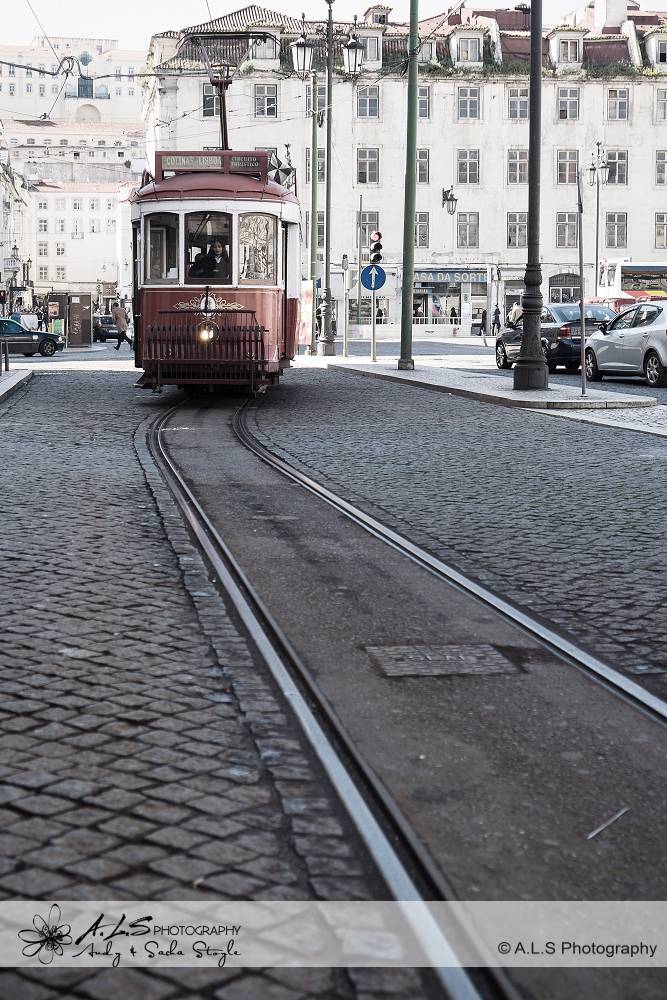
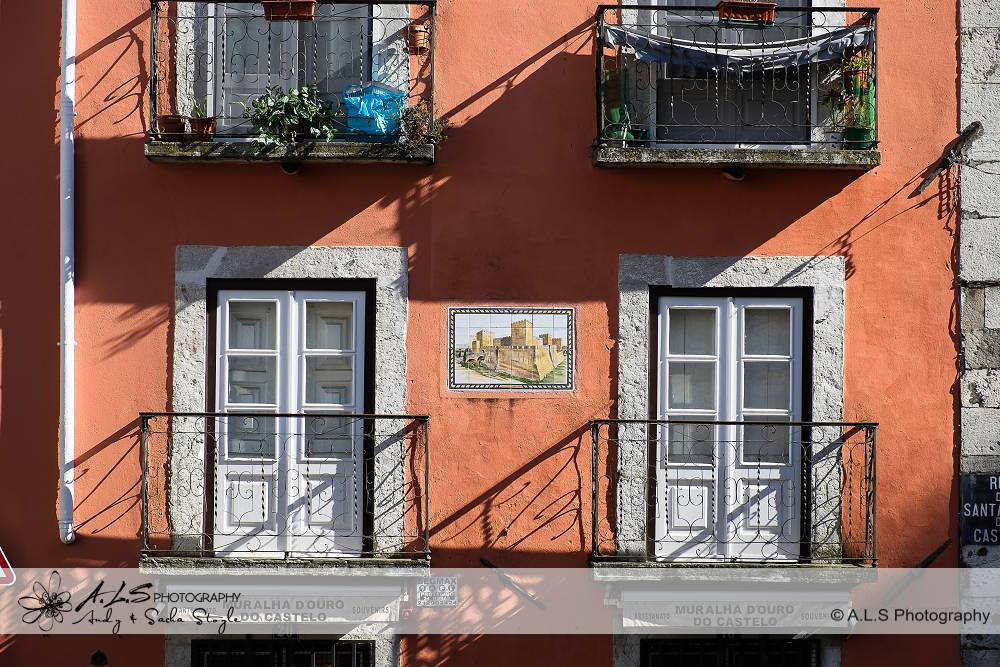
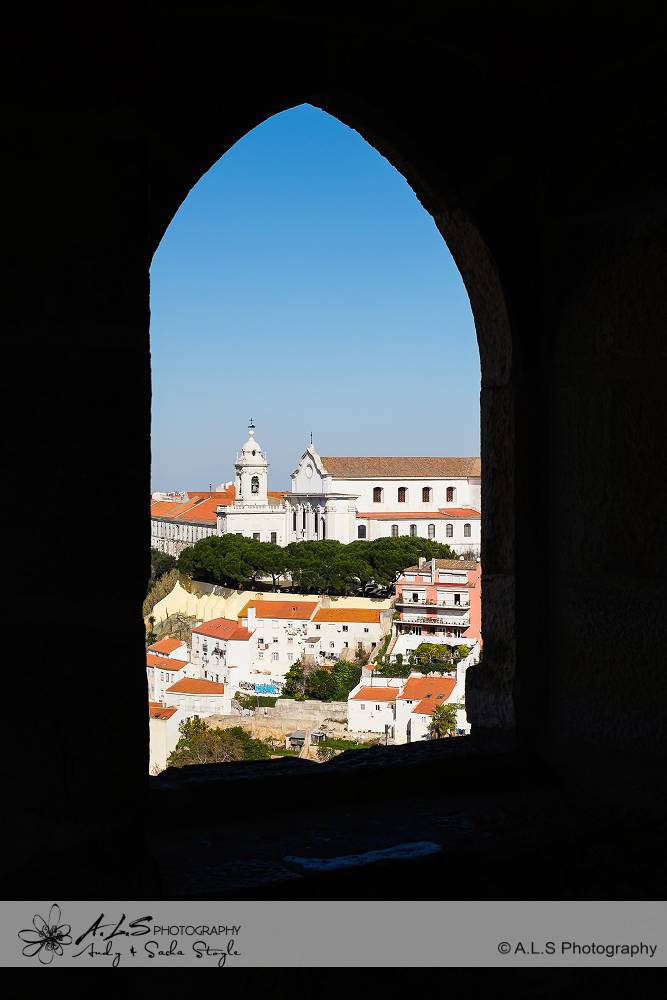
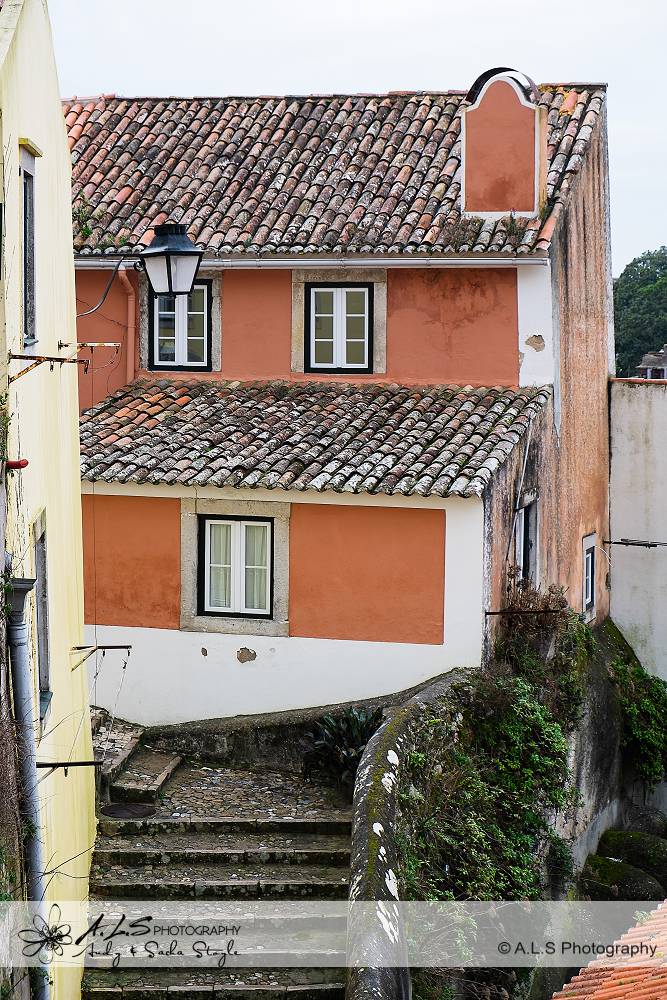
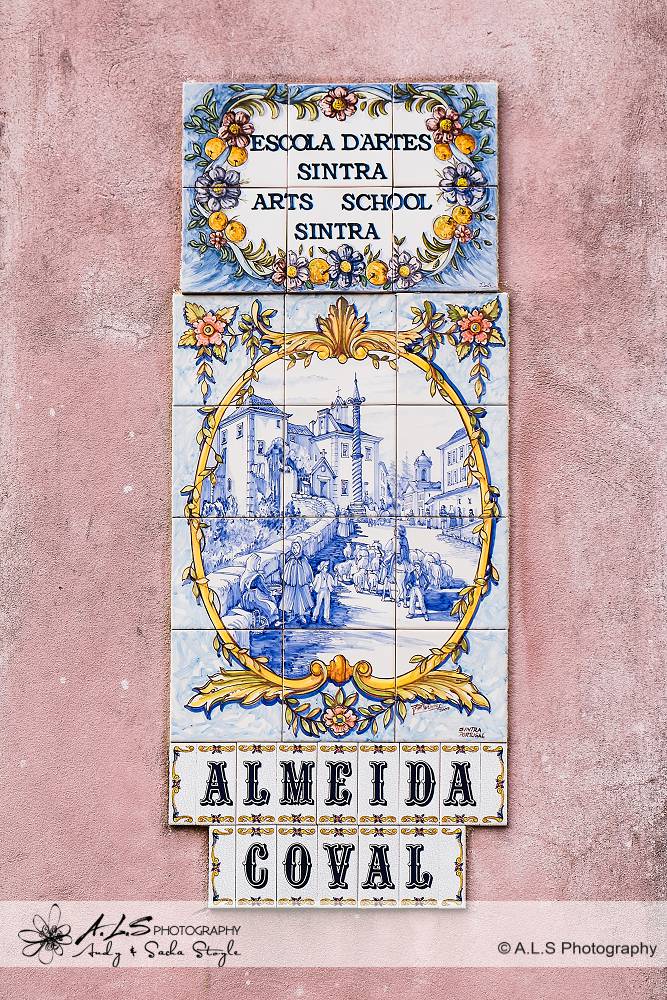
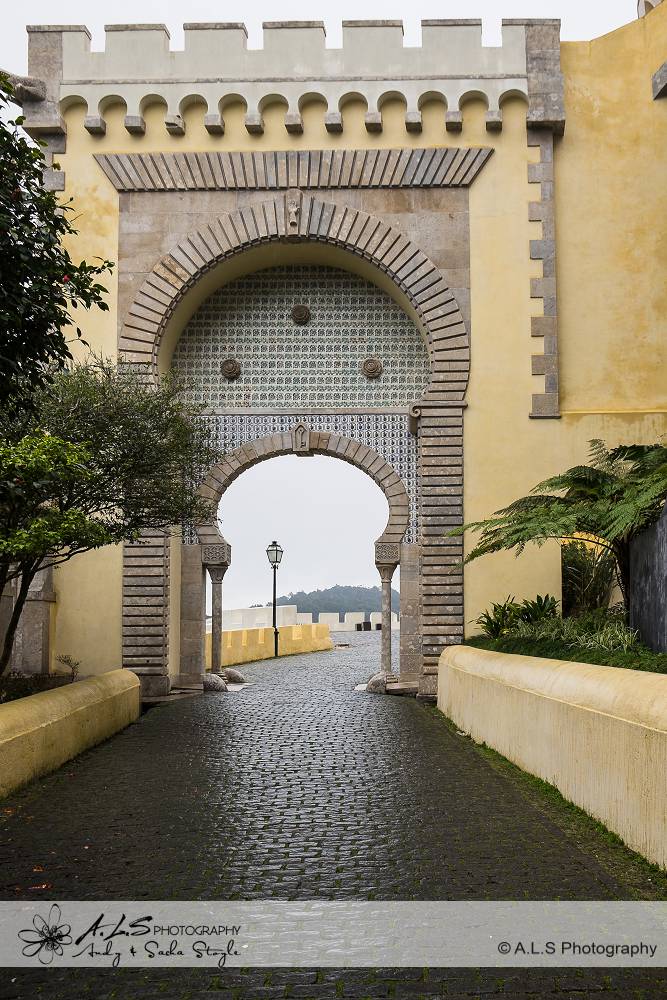
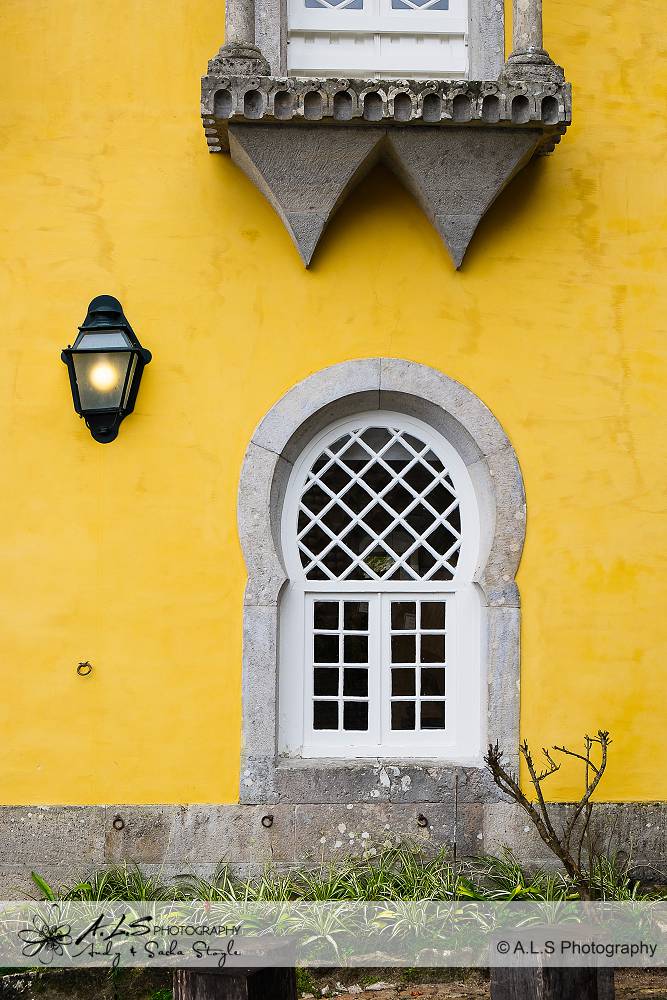
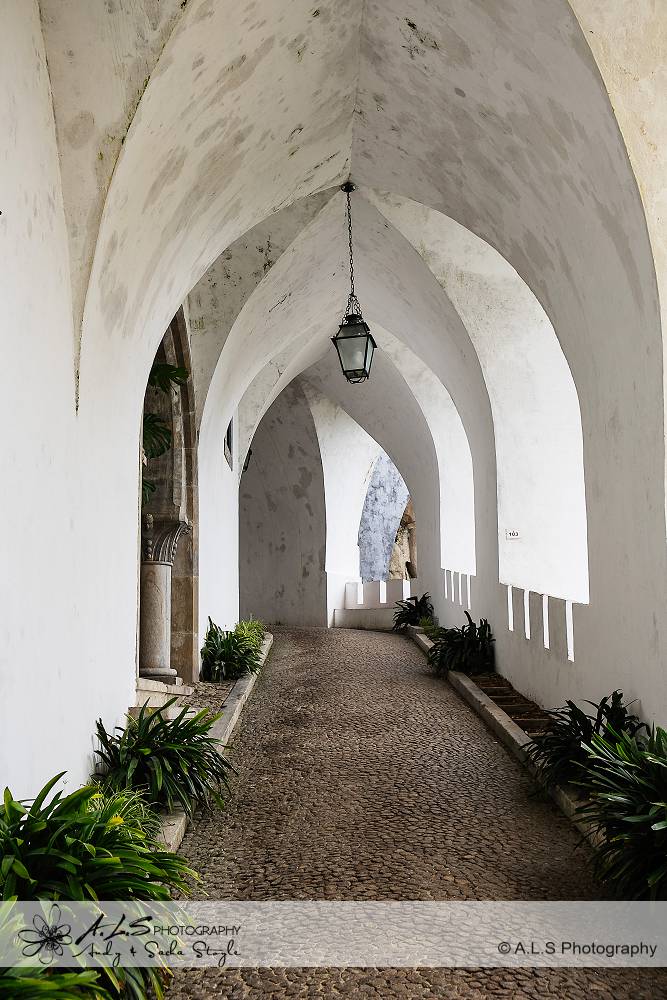
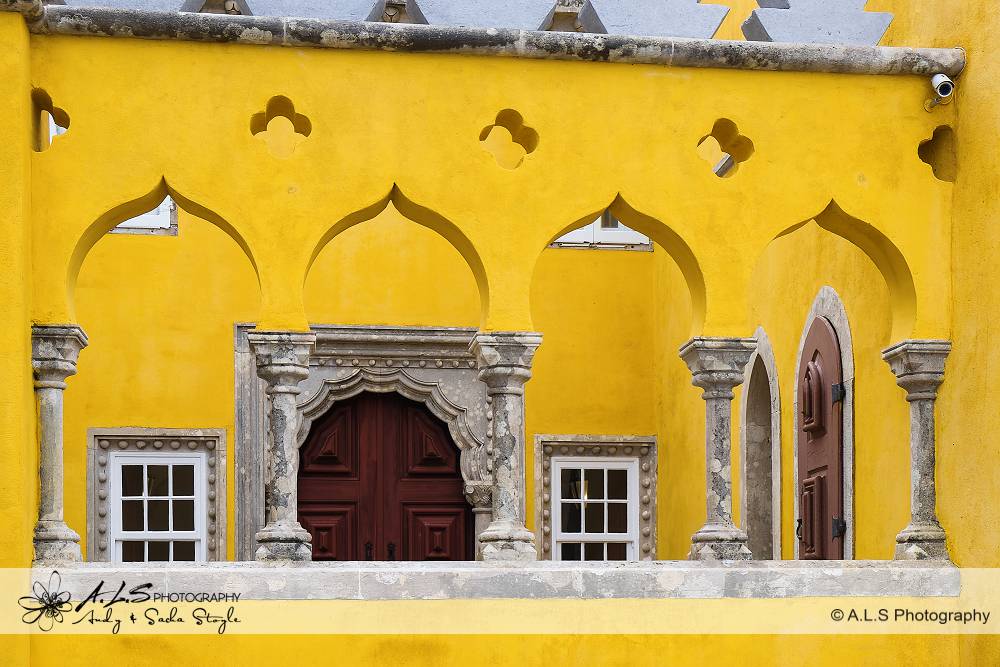
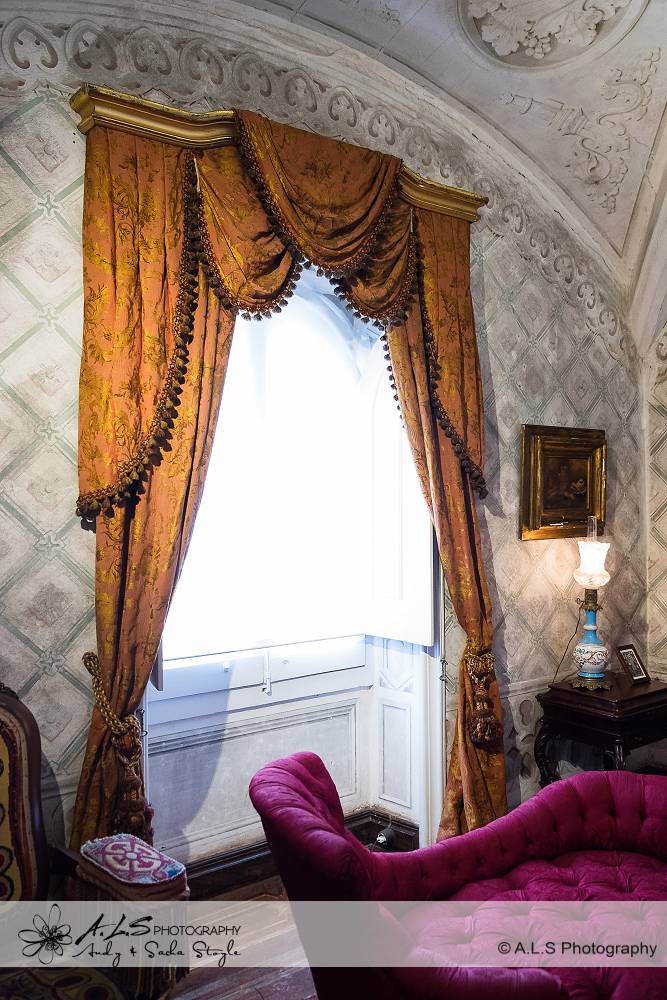
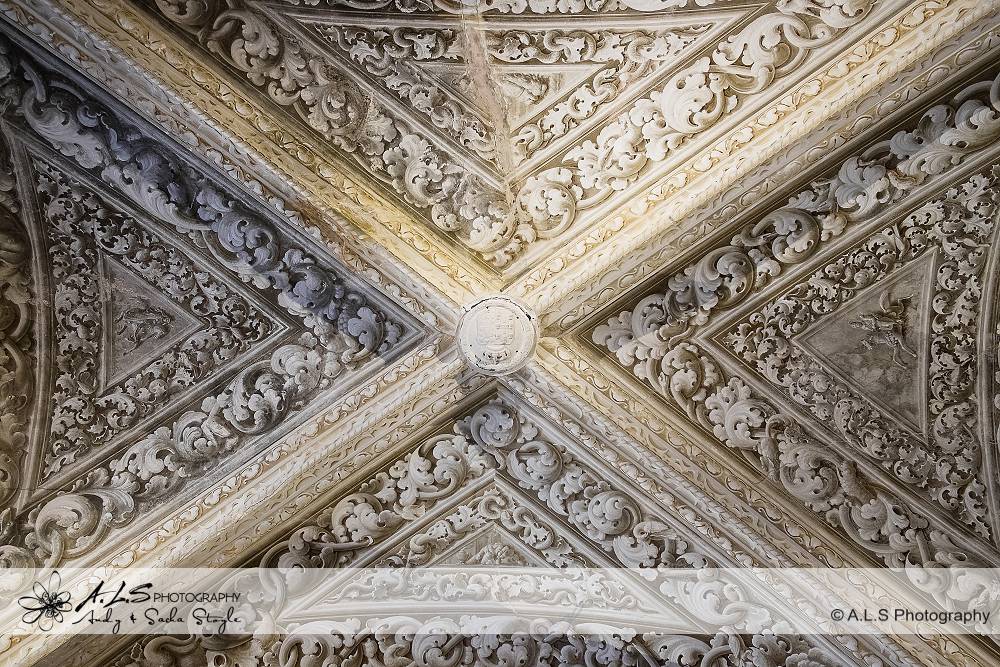
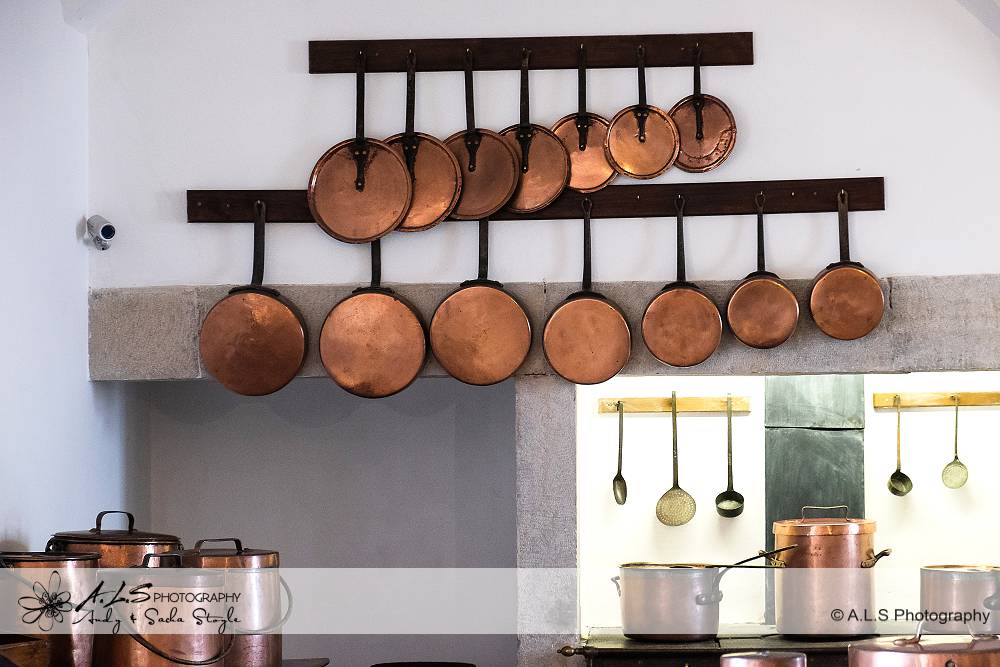
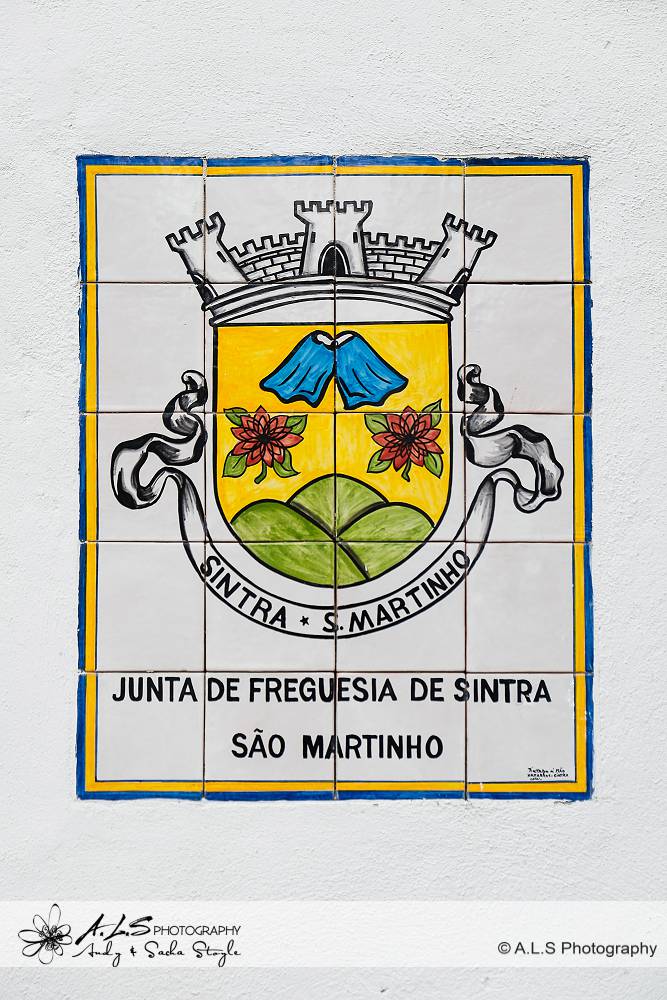
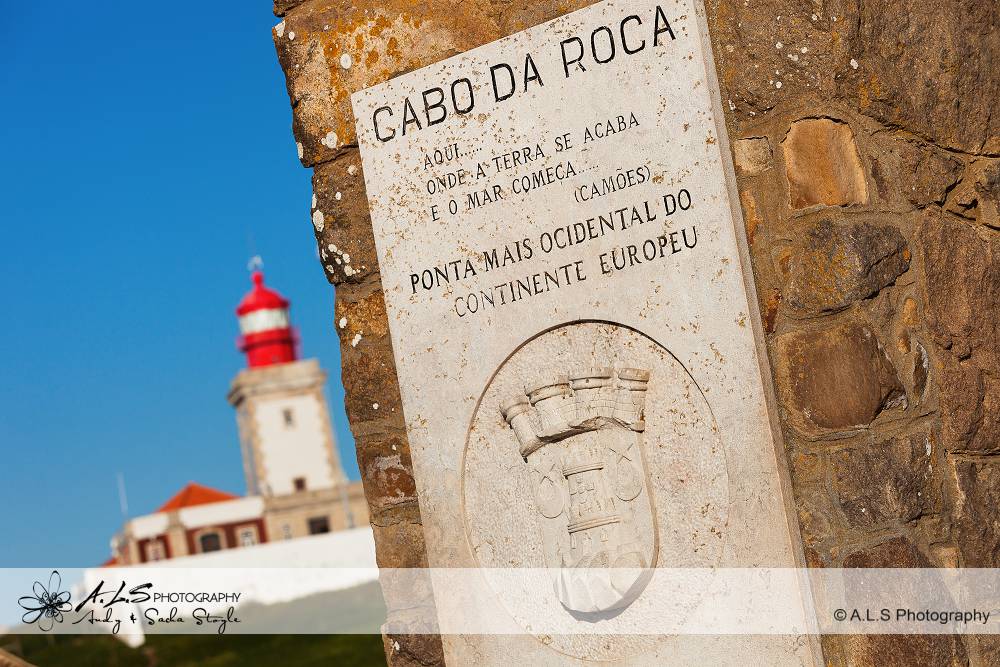
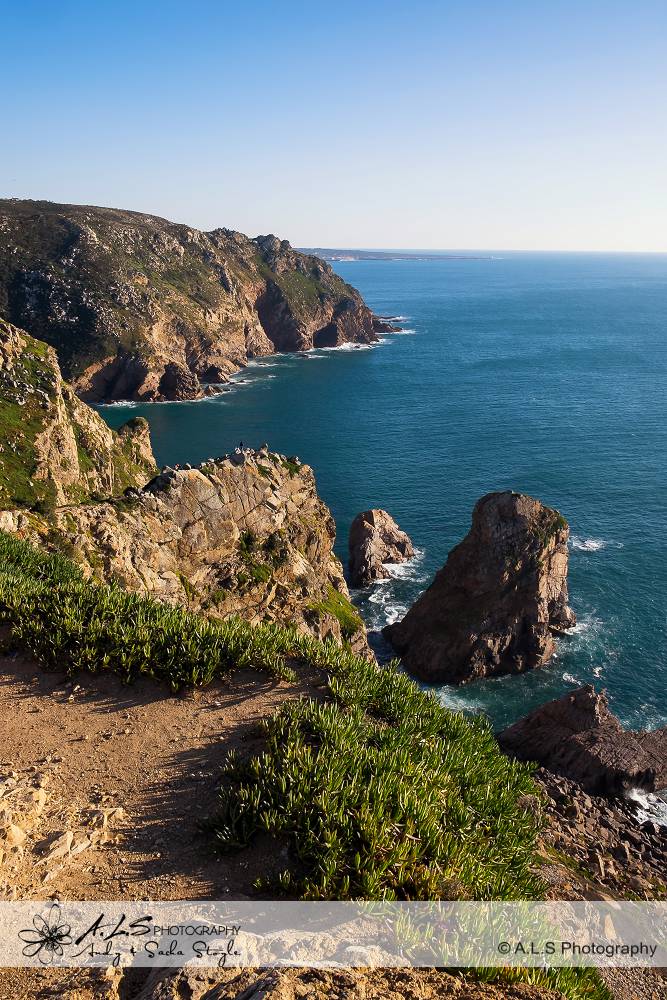
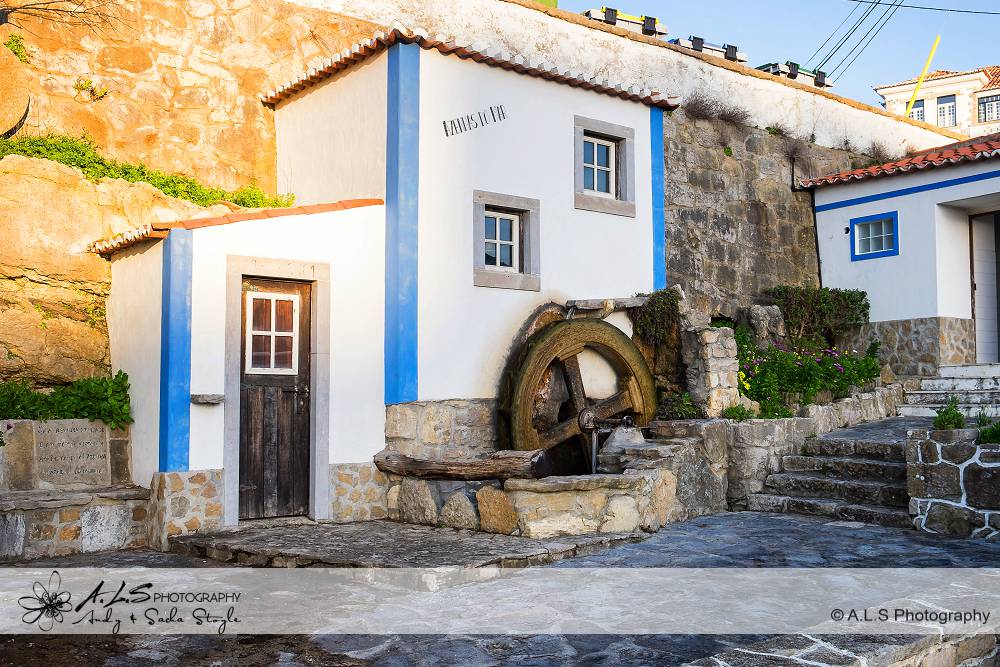
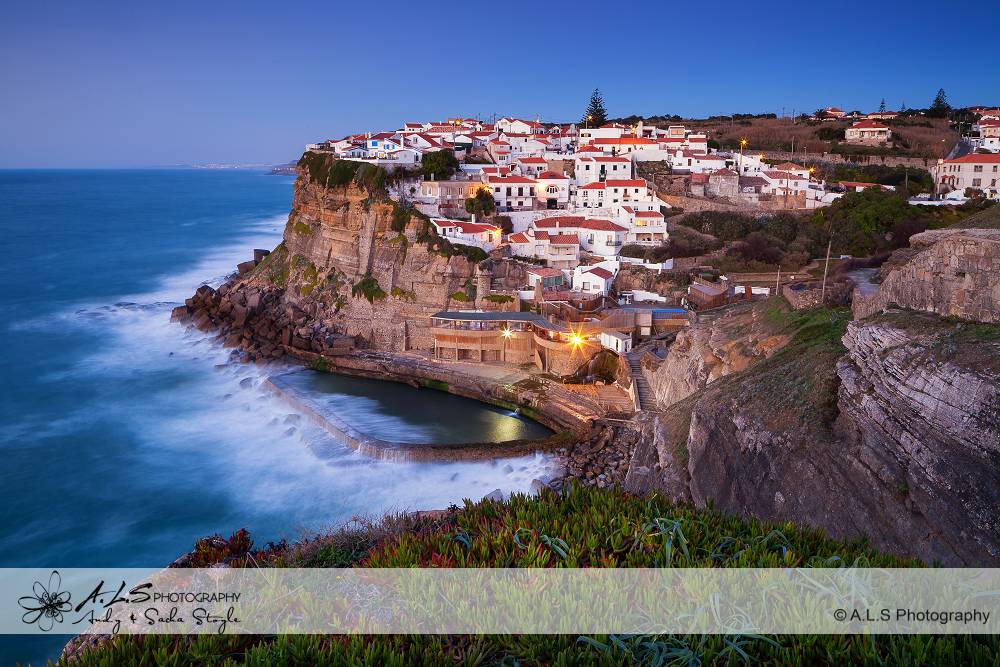
A few hours south we arrive at Lisbon, spread along a hillside overlooking the Rio Tejo and it’s iconic red bridge. Home for the next few days is between the town of Cascais and the Western beach of Praia Do Guincho. We caught a local train into Lisbon and had a great day exploring the city, starting at a stunning riverside square the Praca Do Comercio, a great place to grab a coffee and people watch. We climbed the narrow backstreet alleyways up to the Sao Jorge Castle with it’s magnificent views of the city and river. Time to jump on a local tram and see if we can get lost, luckily it went vaguely in the right direction?? As we had visited the most Westerly point of mainland Spain we thought we had better go and see the most Westerley point of mainland Portugal and Europe, Cabo Da Roca. A few miles North along the windy mountain road is the beautiful cliff top village of Azenhaus Do Mar, a great spot for a sundowner while waiting for the sun to set over the wild Atlantic breakers. We also had a great day exploring the beautiful hillside down of Sintra with it’s historic gardens, mansions and fairytale hilltop Palace, a home to many of Portugal’s monarchs. We also visited the beautiful clifftop village of Azenhas Do Mar where the wild Atlantic surf batters the coast, lying about 40 minutes drive North West of Lisbon.
For a further look at our images of our Cardiff, South Wales landscape and travel photography, please have a look at our other Blog Posts and if you have any questions about our services don’t hesitate to leave a comment below or contact us.
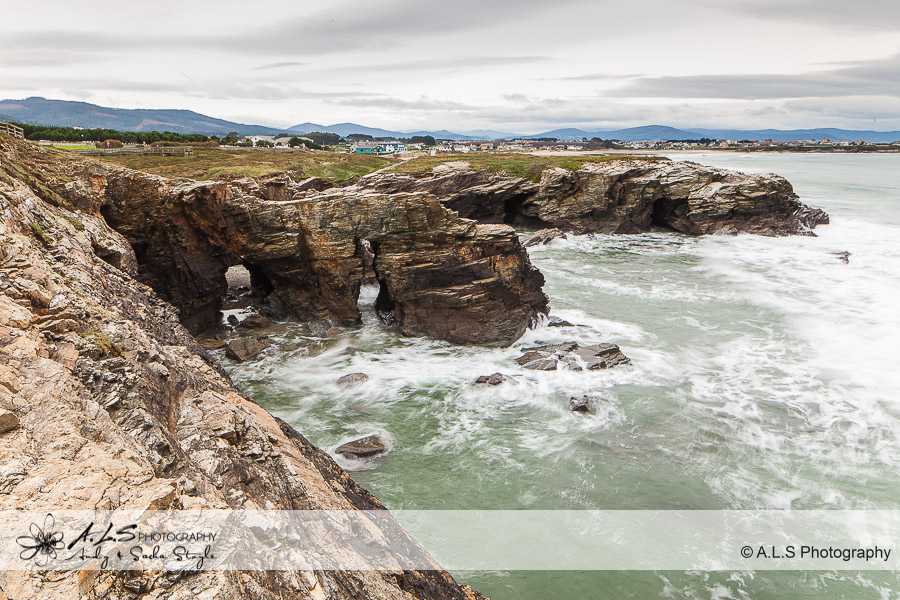
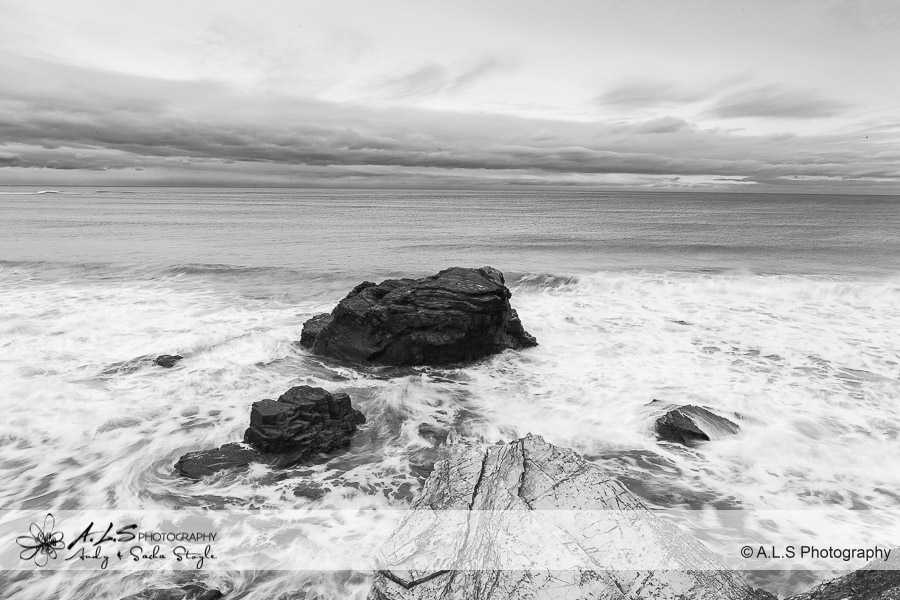
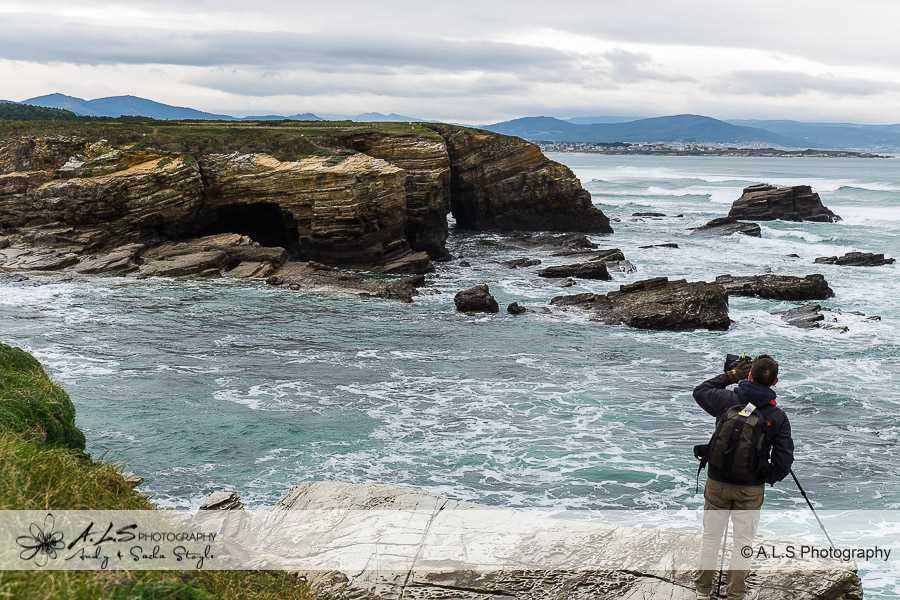
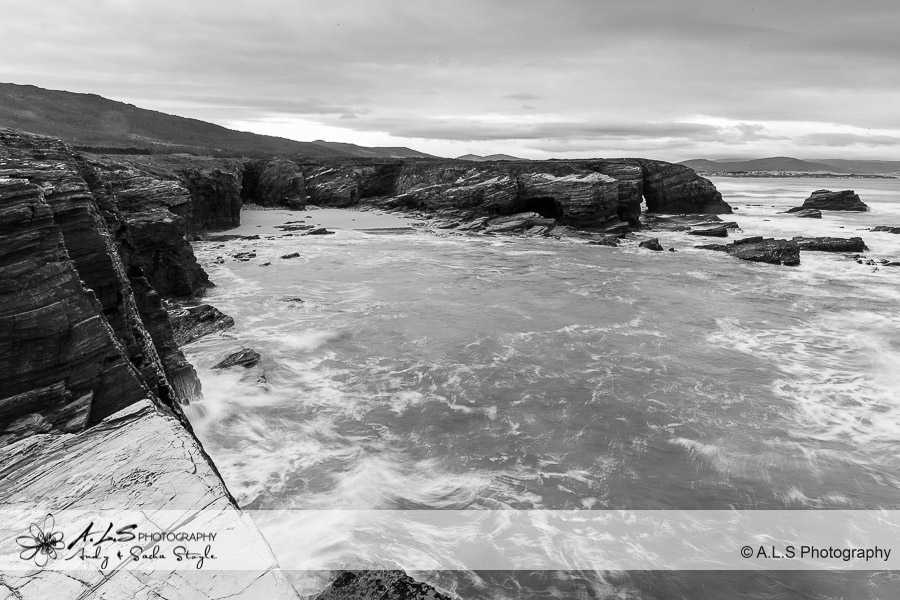
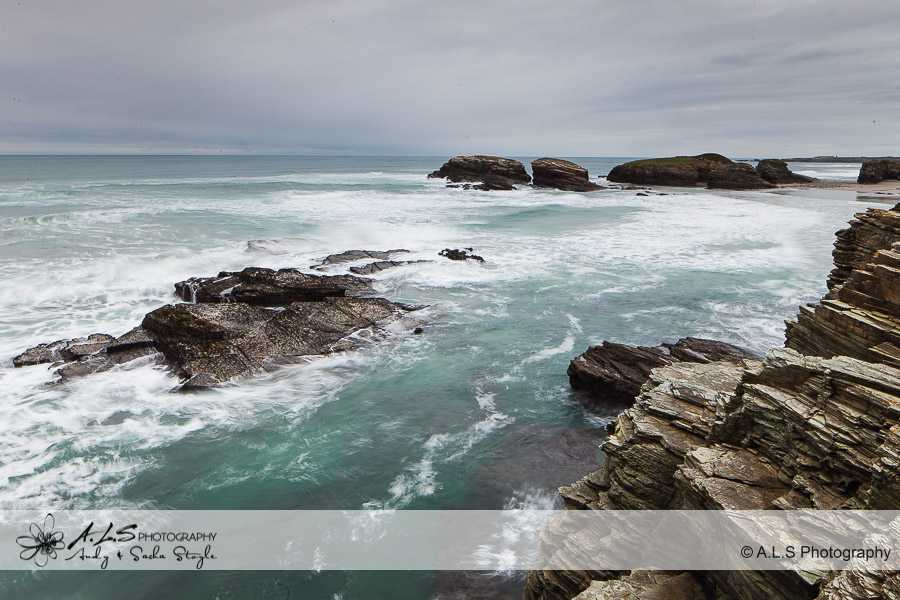
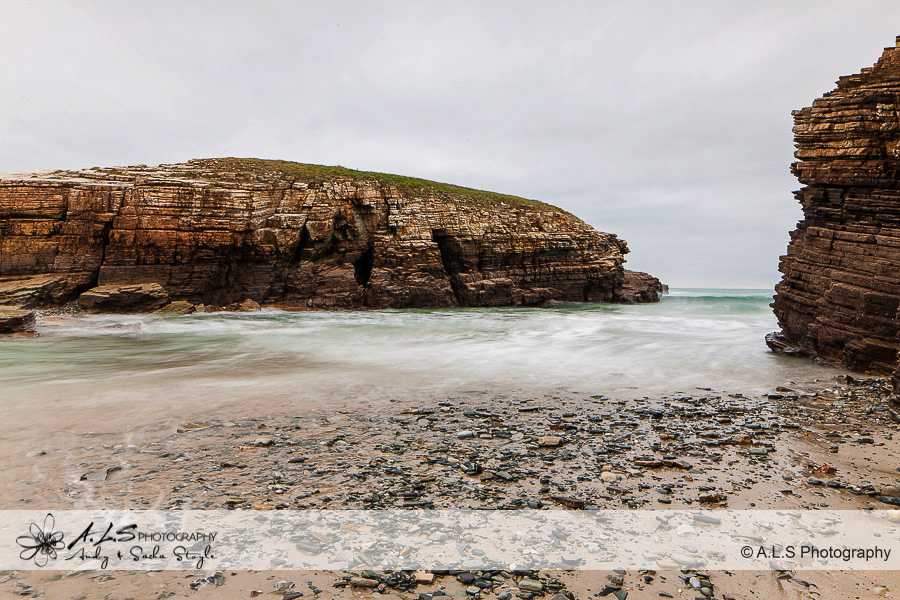
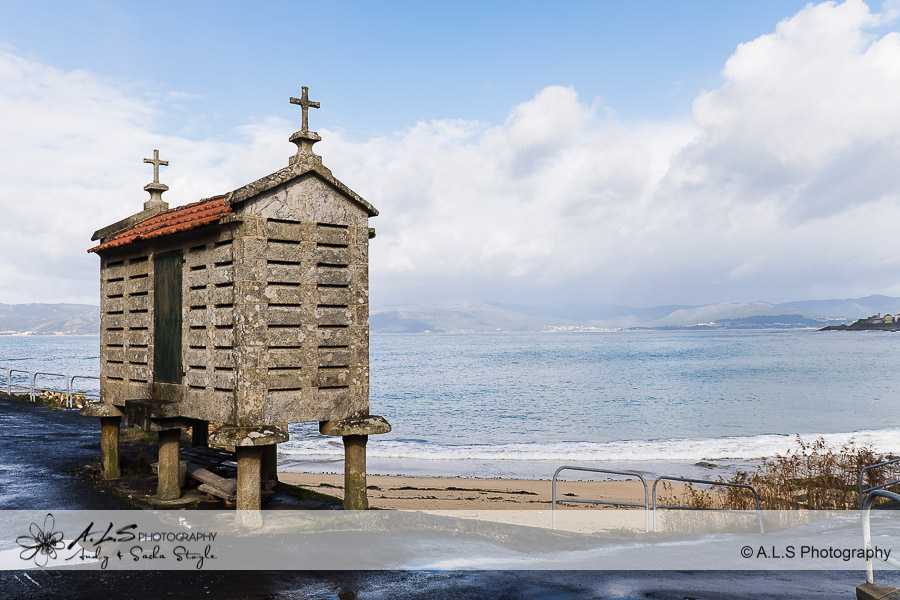
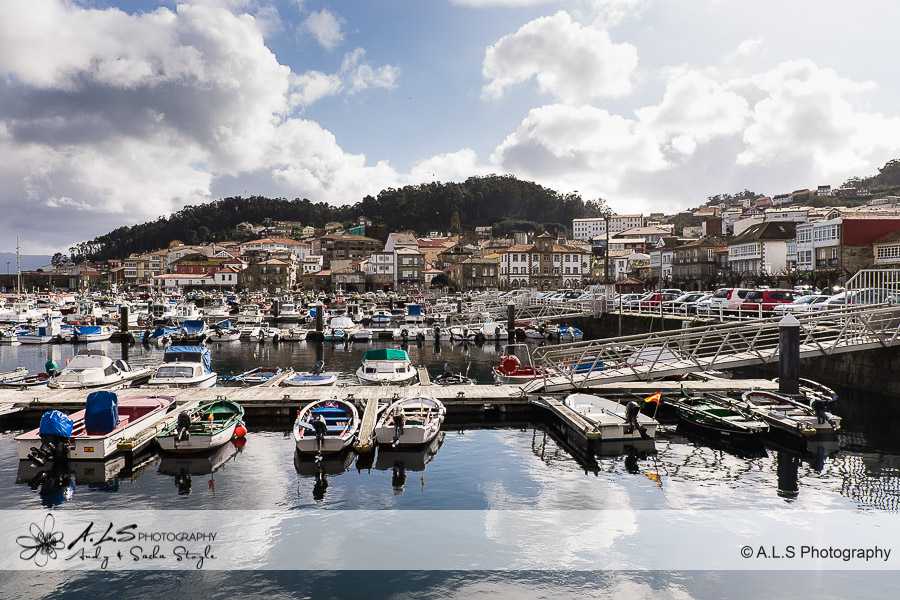
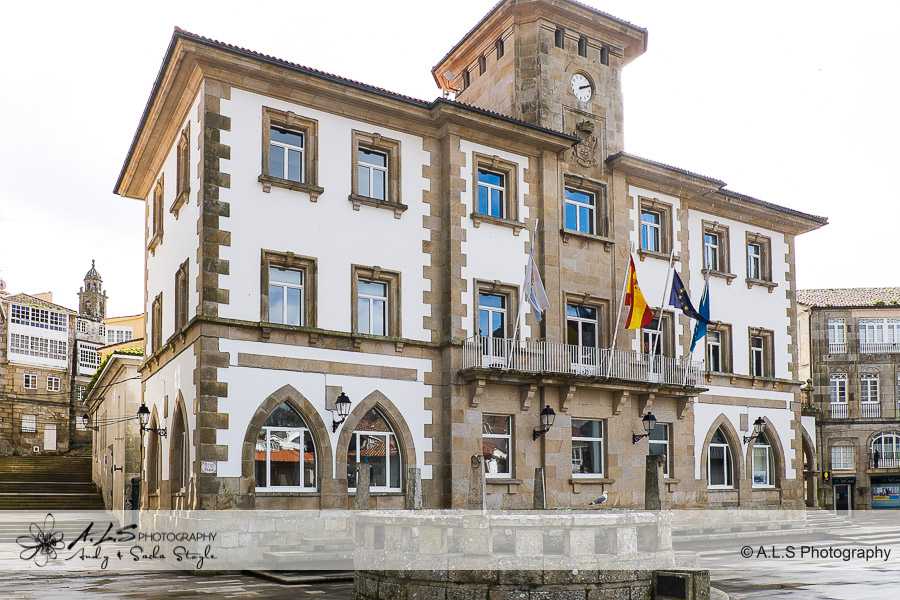
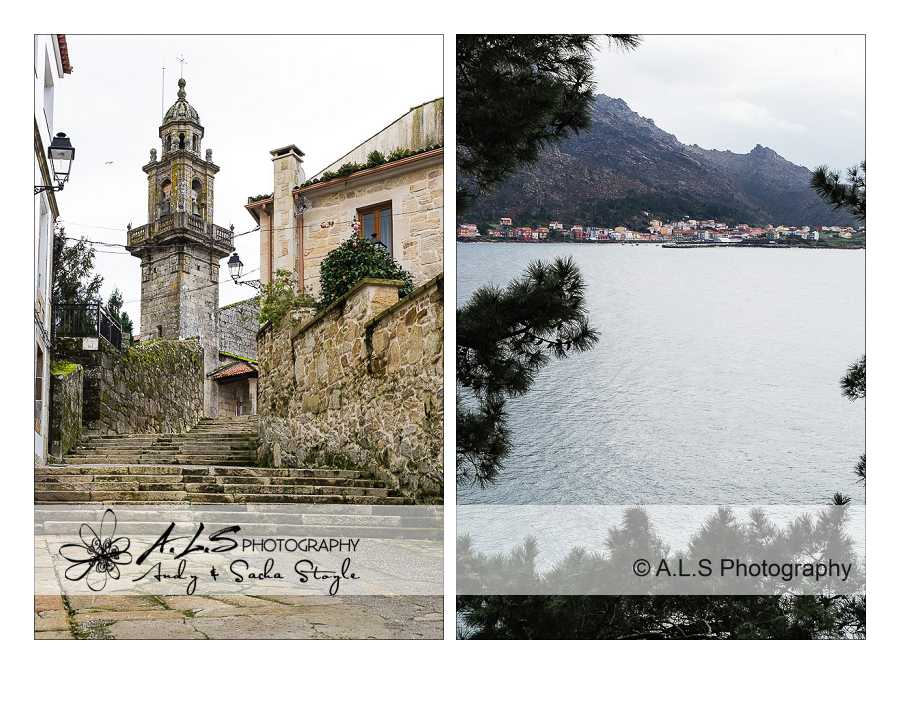
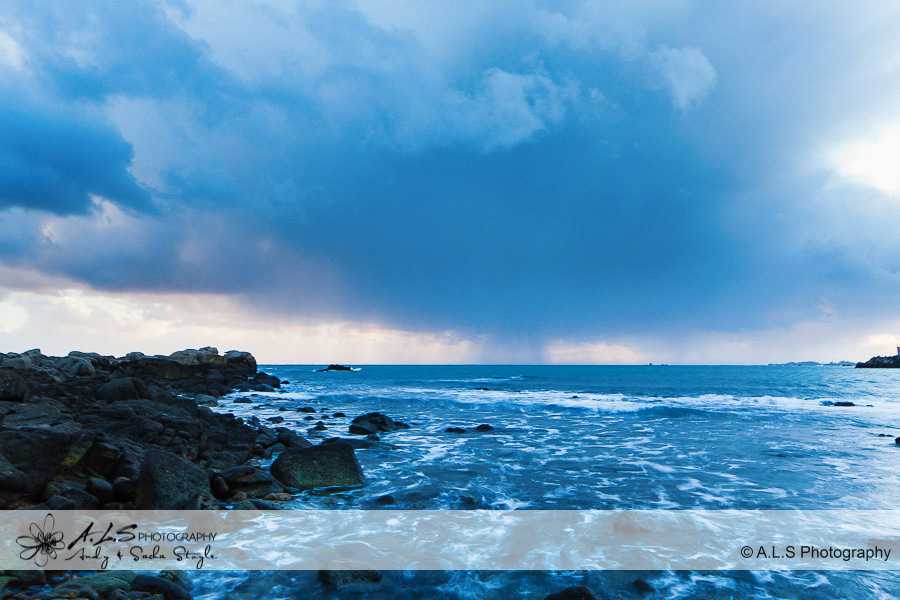
We started our wet and windy journey into Galicia on the Northern Cantabric coast in the municipality of Ribadeo. Here we visited the a beautiful stretch of coastline known as Playa De Las Catedrales, characteristic for it’s natural arches and caves. Continue reading
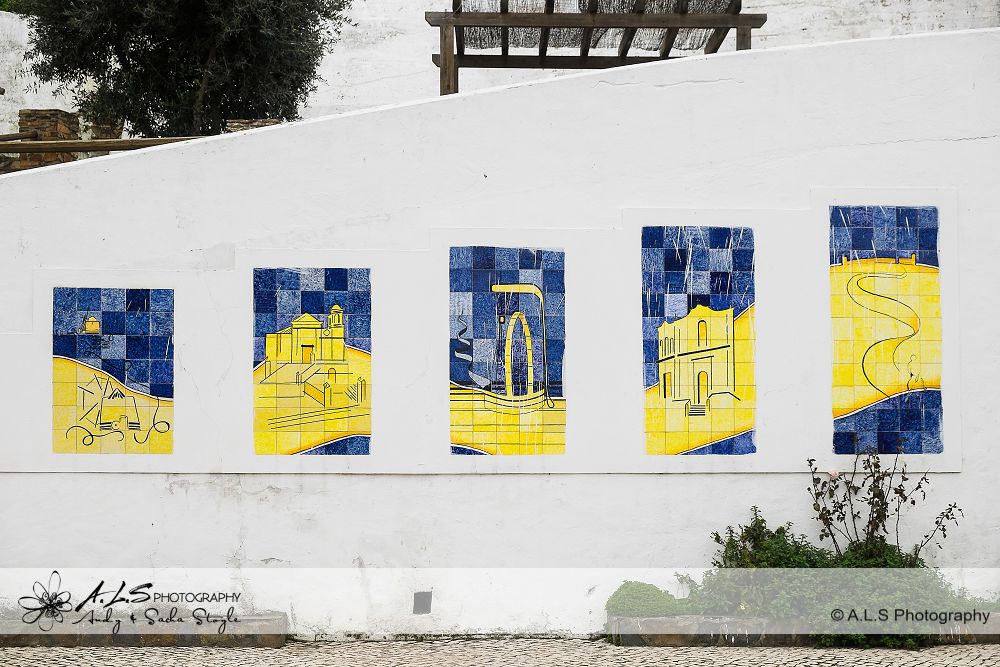
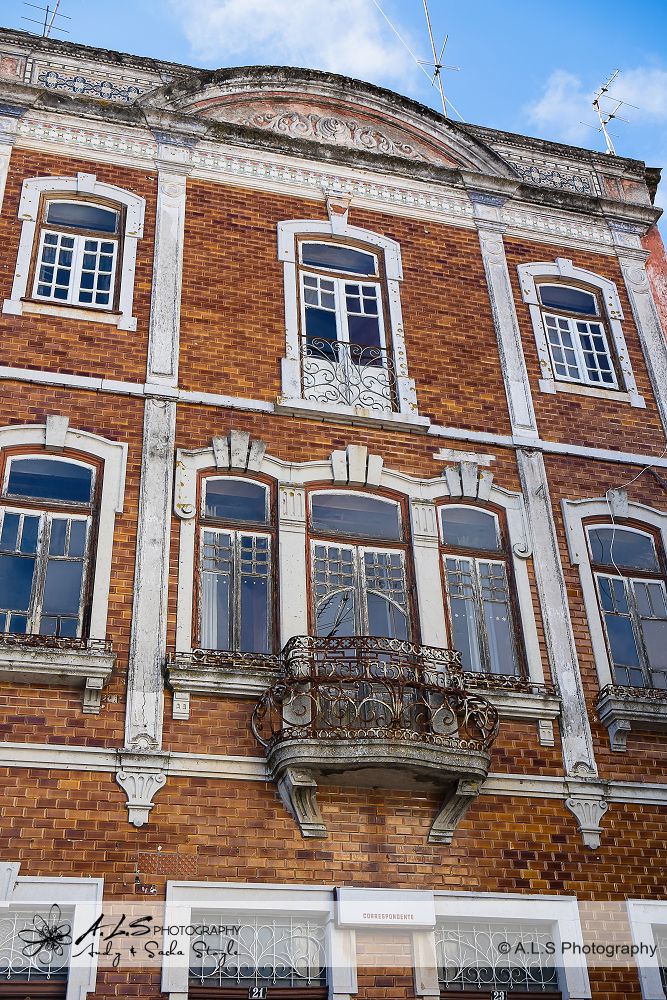
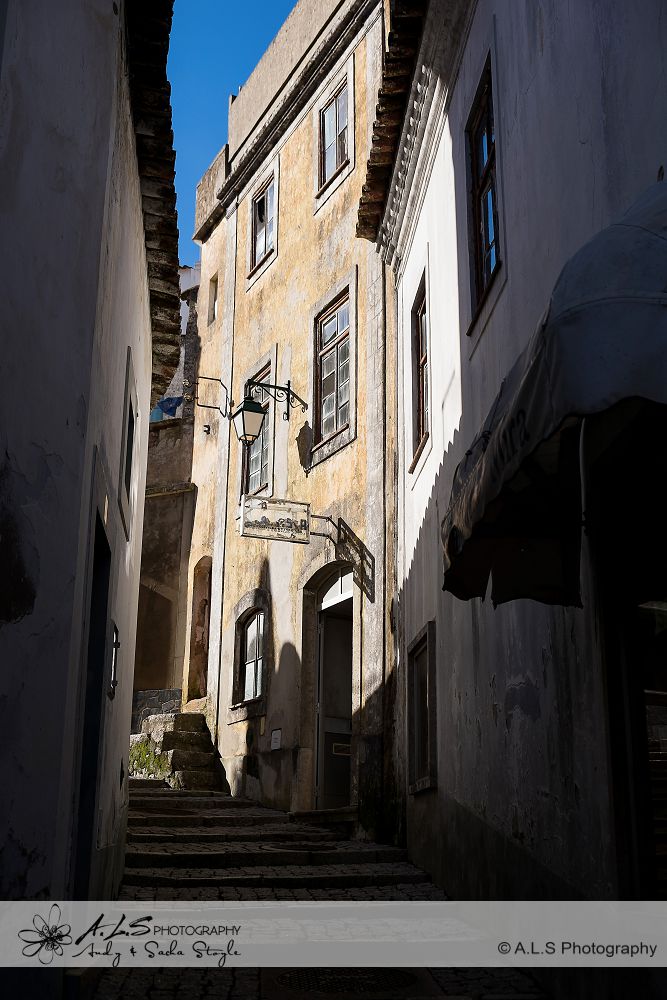
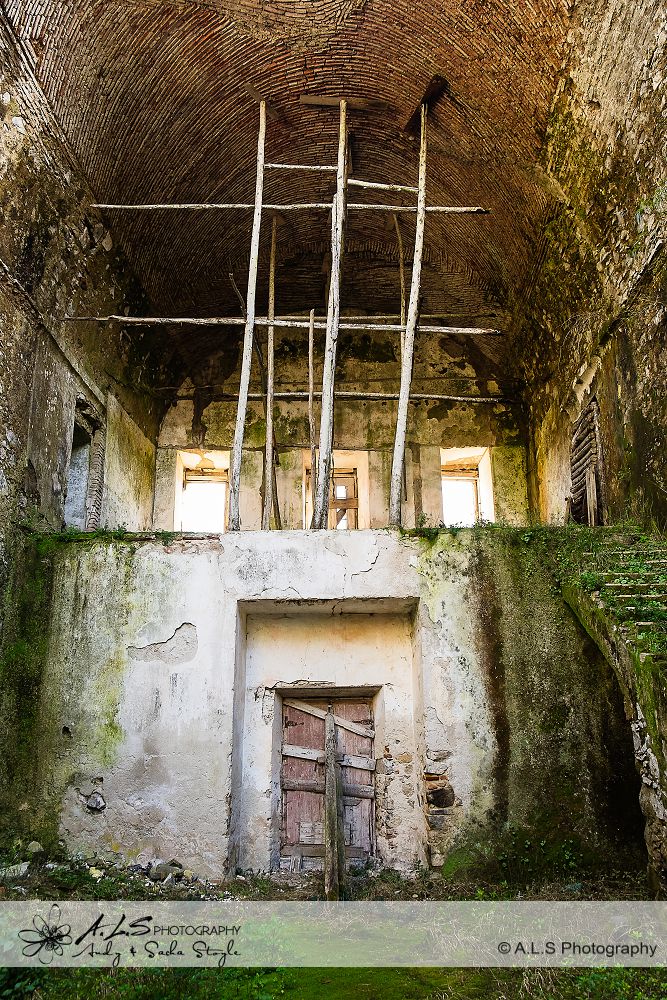
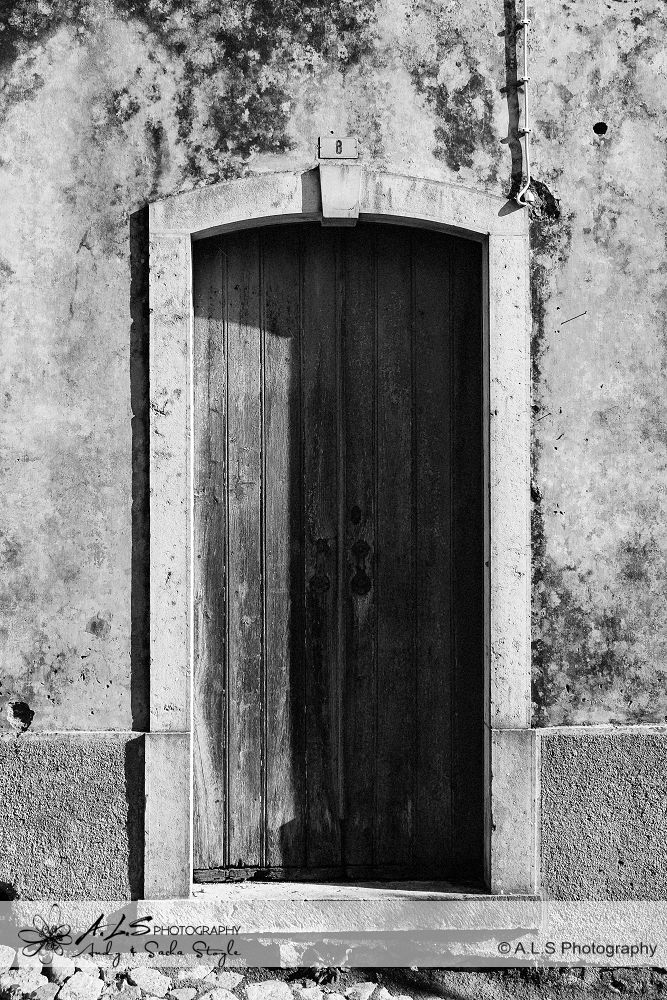
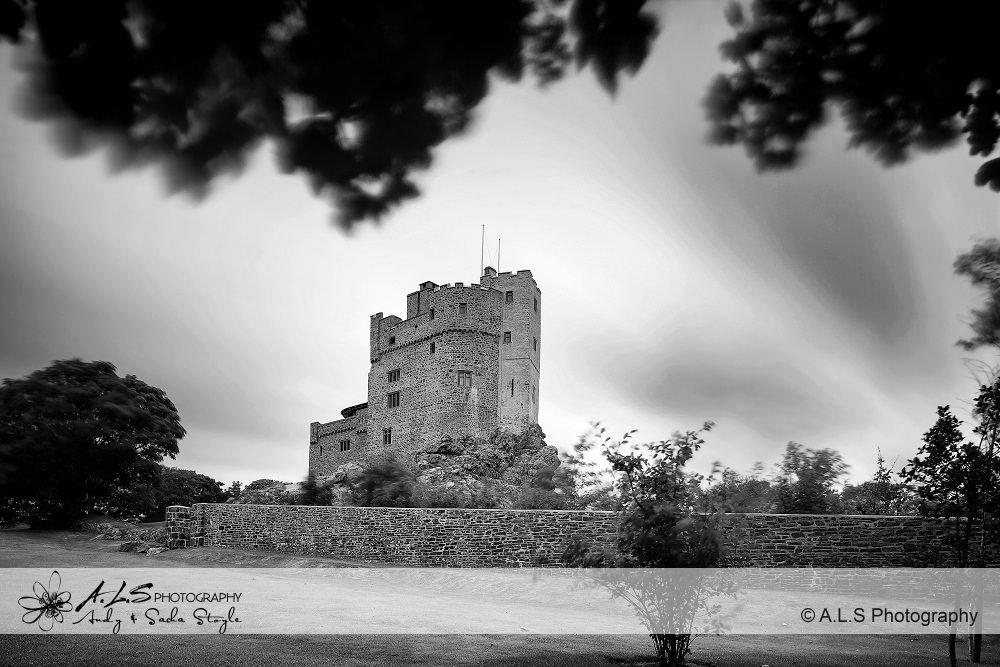
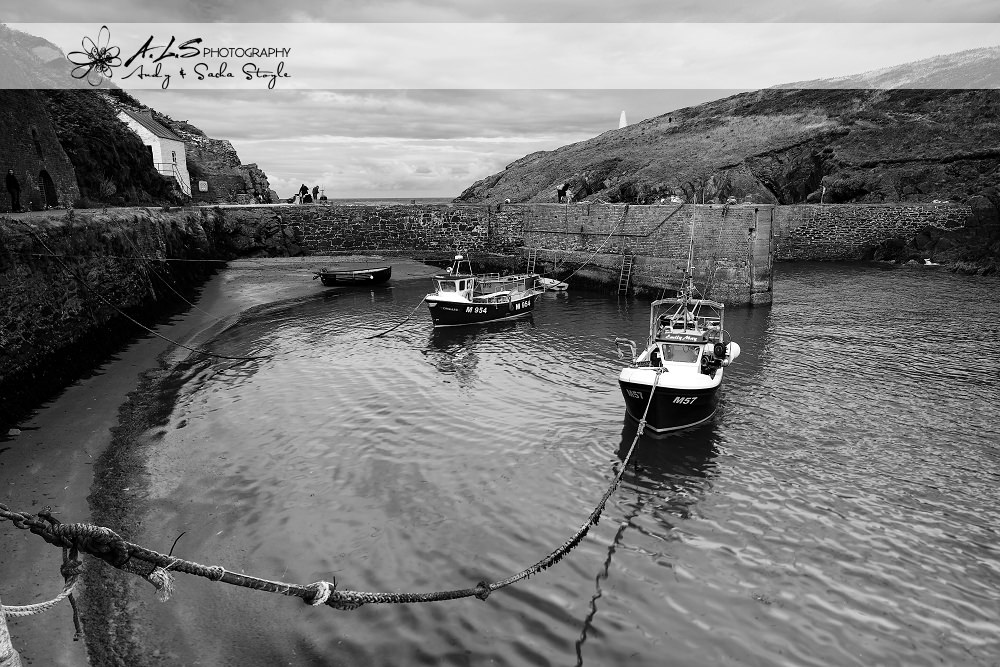
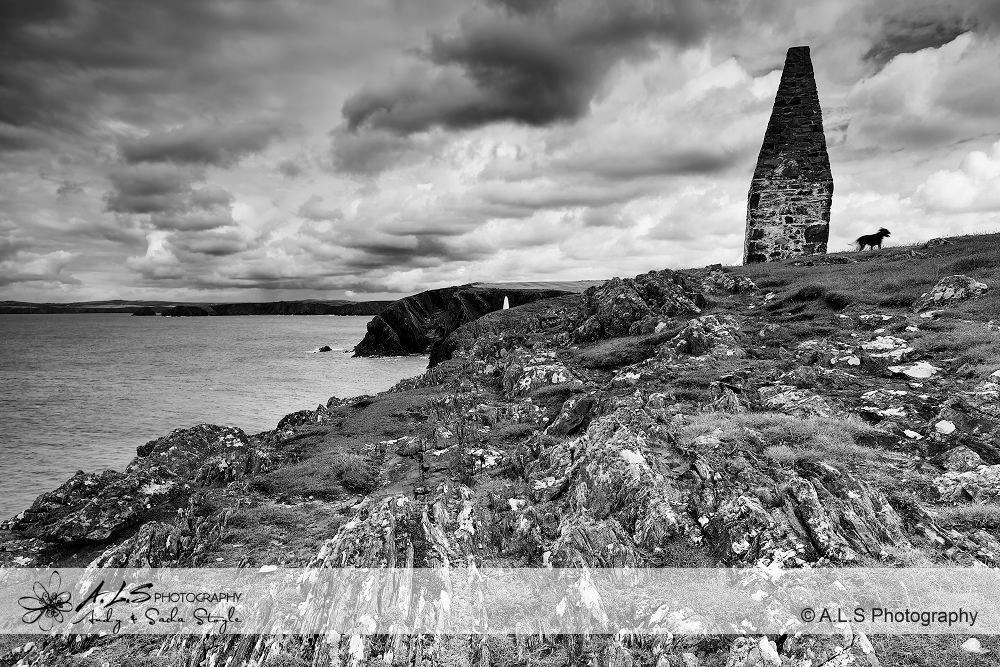
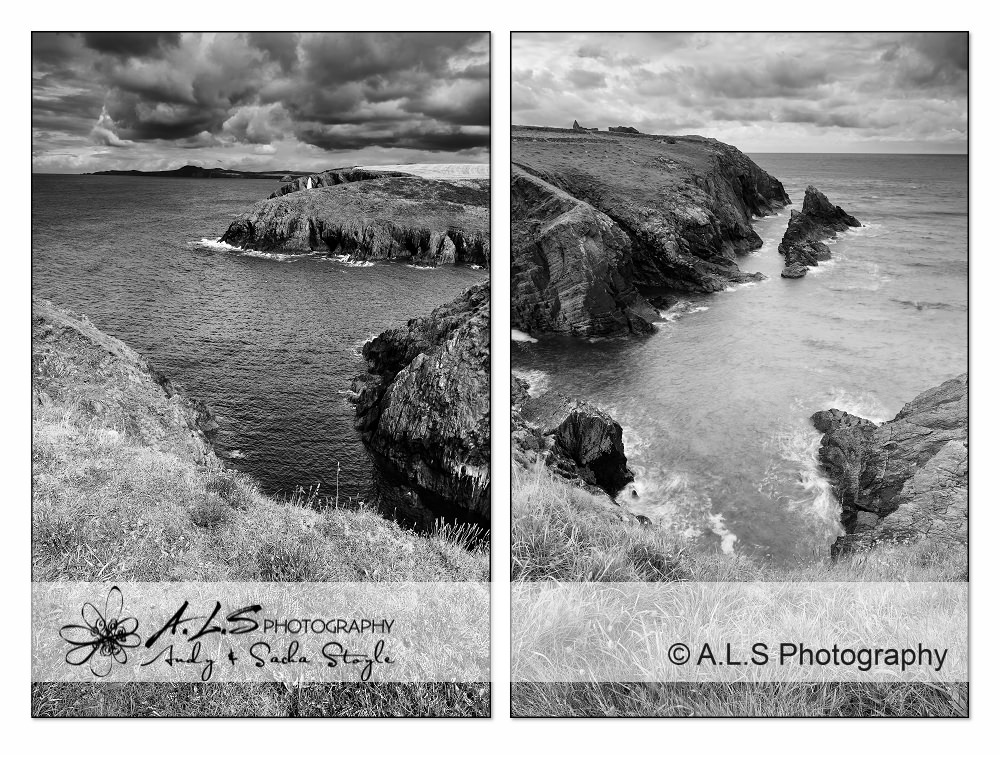
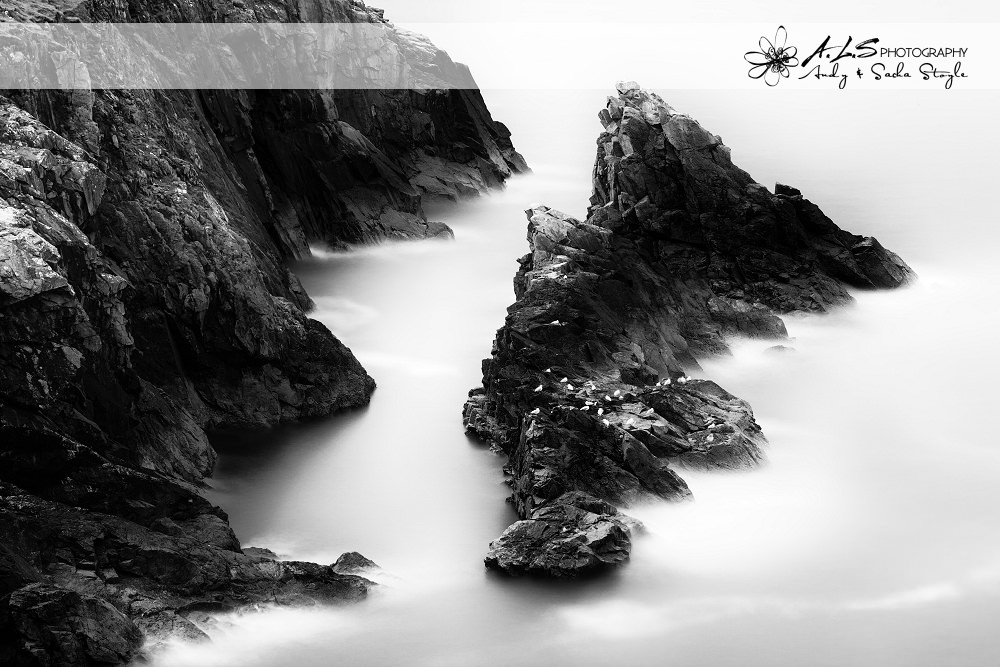
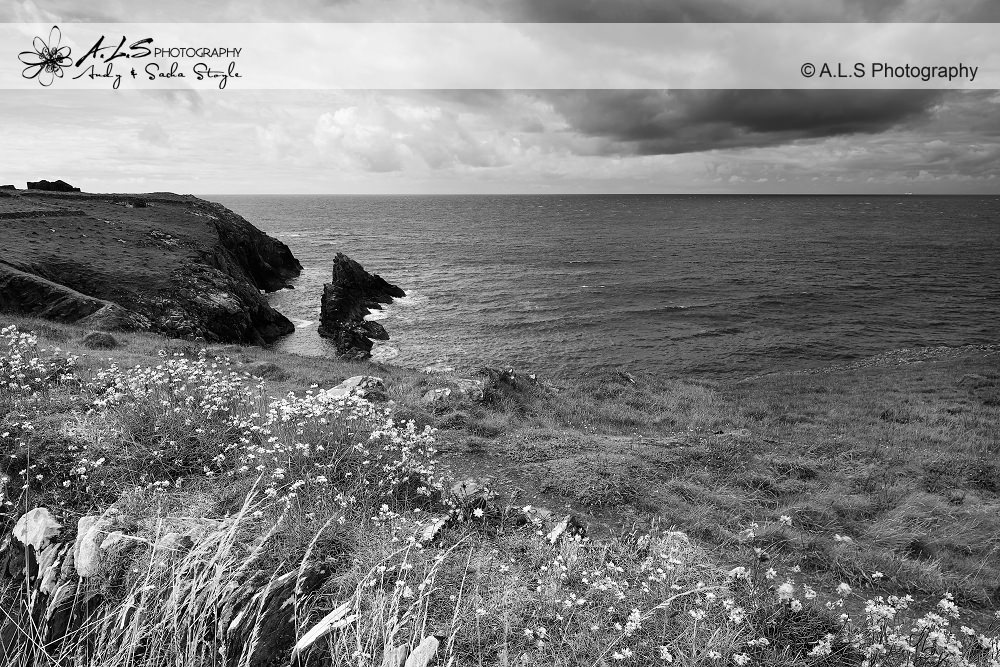
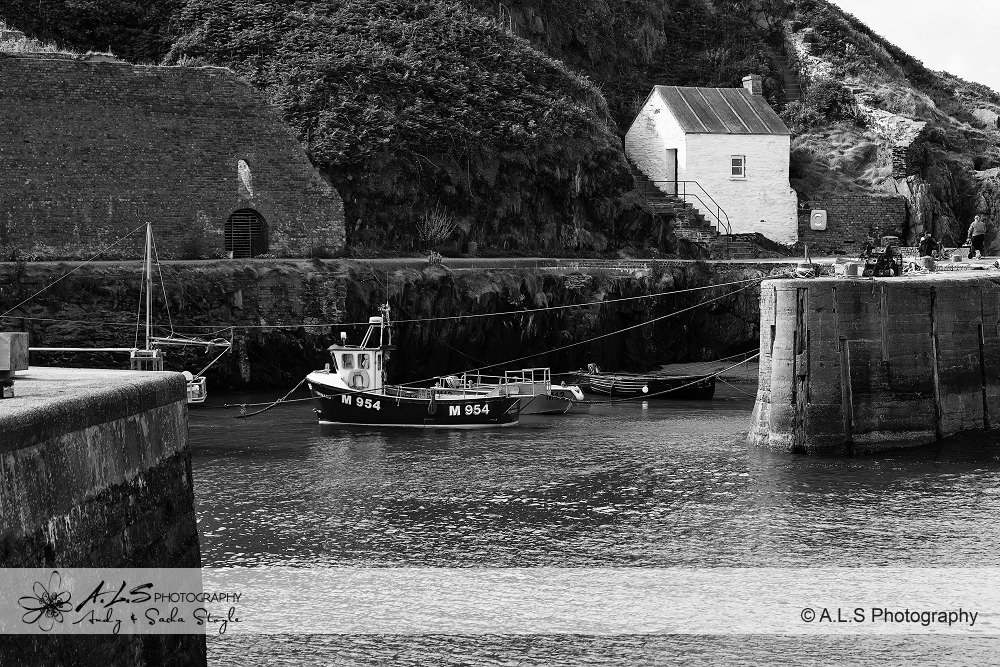
Here are a few images from a recent trip to West Wales. As I was in the area I was able to have a look at a new wedding venue, Roch Castle located between Haverfordwest and St. Davids. A luxury heritage hotel with a contemporary feel, if you feel like a treat check out the link. I then moved on to Porthgain just outside St. Davids and shot some black and white images around the harbour and the headland. You can’t go to Porthgain without calling in at either the Shed or the Sloop Inn – take your pic!
For a further look at our images of our Cardiff, South Wales landscape photography, please have a look at our Gallery or other Blog Posts and if you have any questions about our services don’t hesitate to leave a comment below or contact us. Also if you would like to arrange your own Family, Child or Couples Portrait Session please email [email protected]
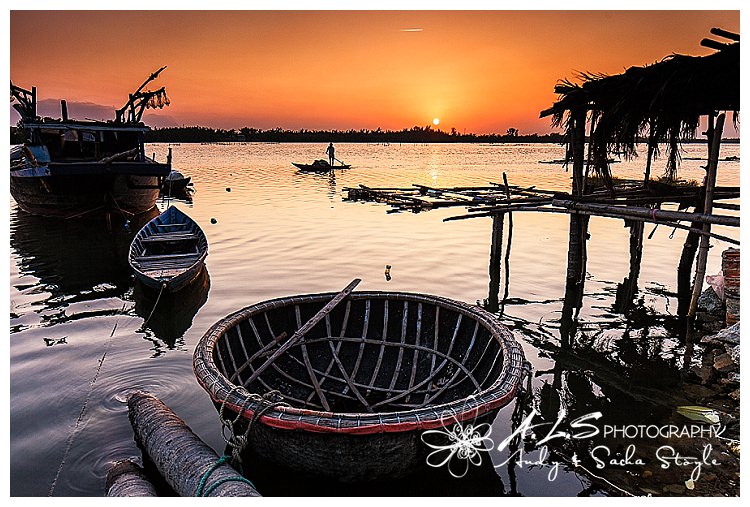
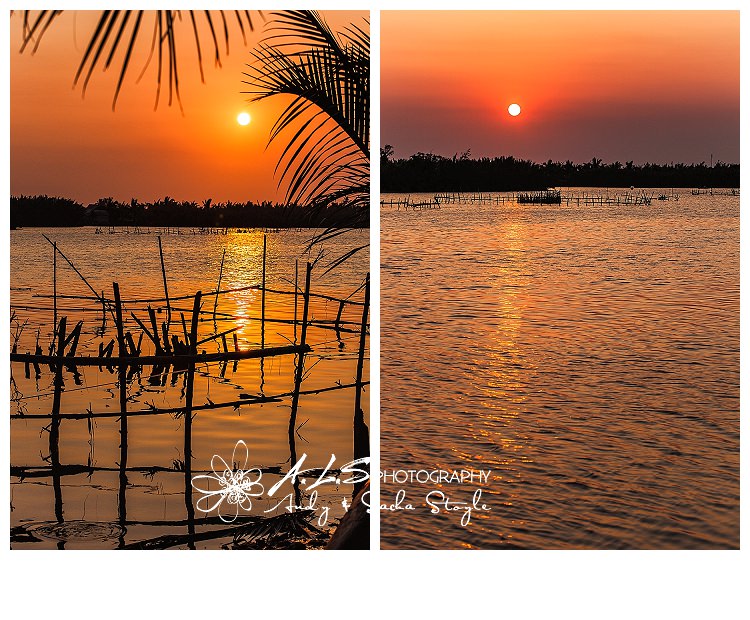
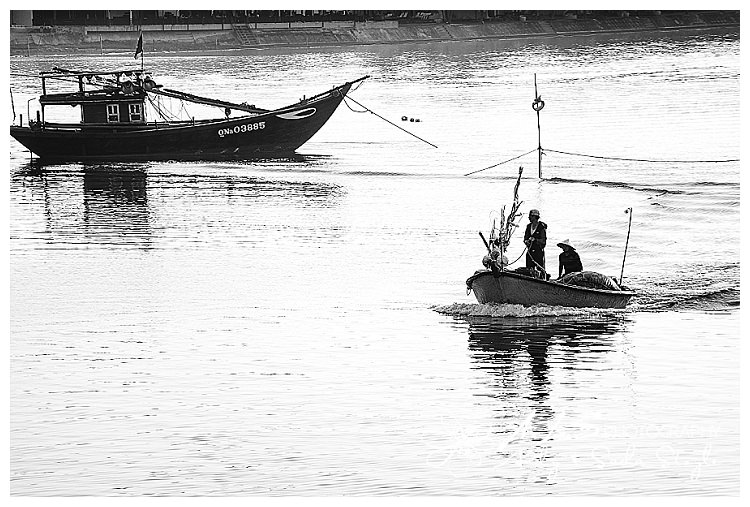
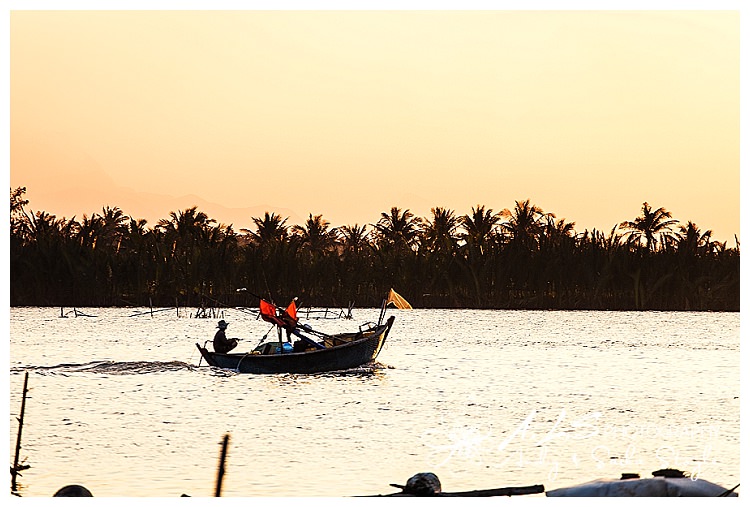
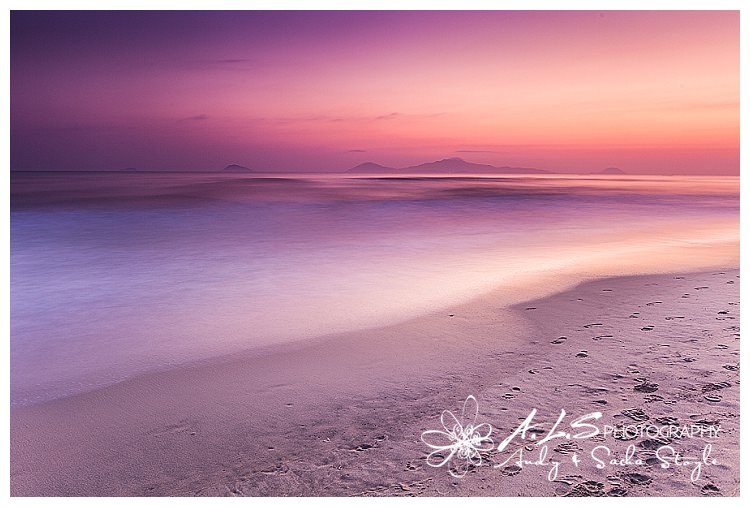
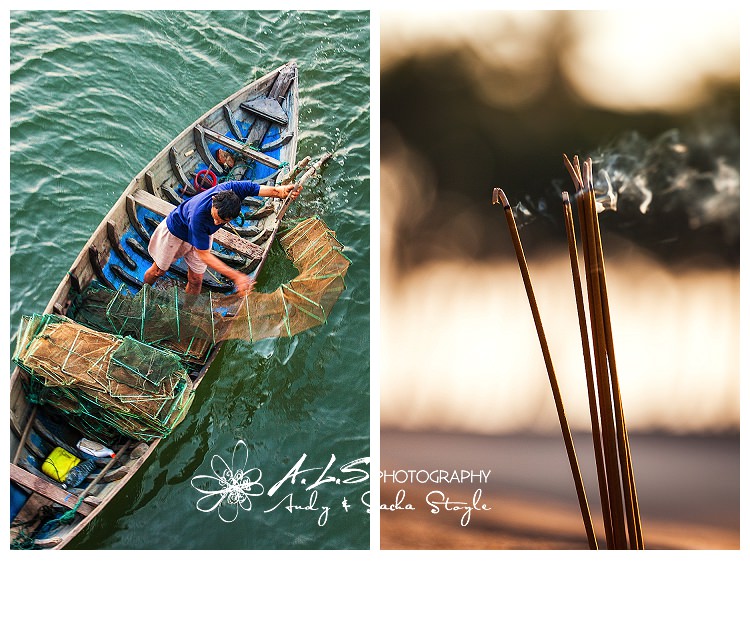
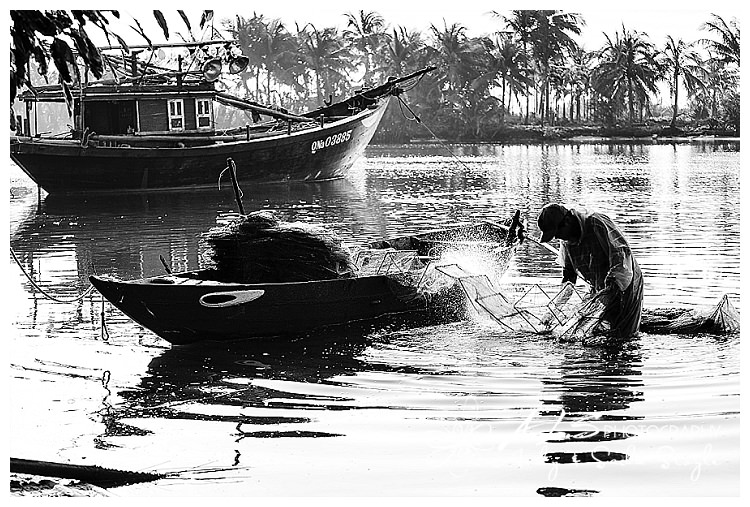
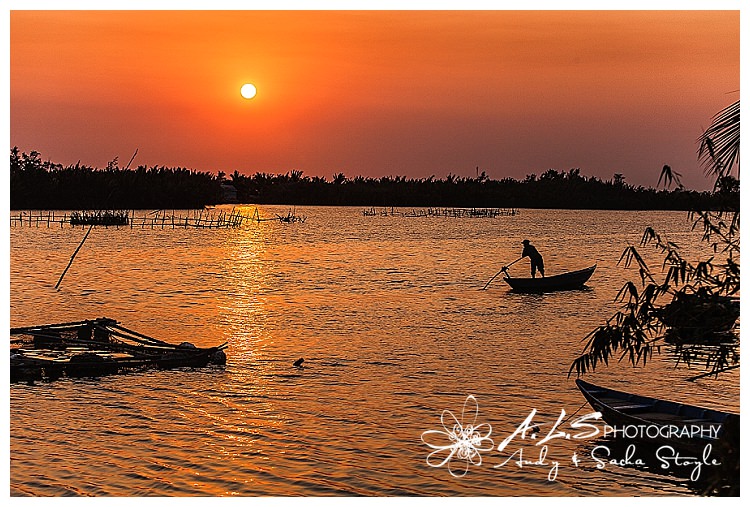
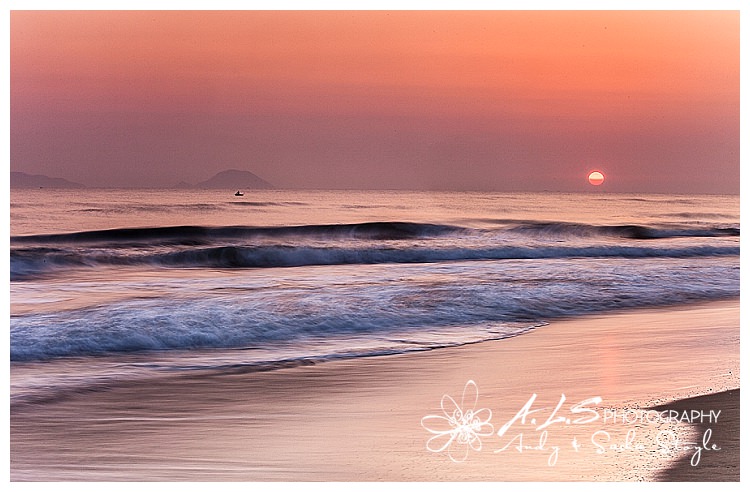
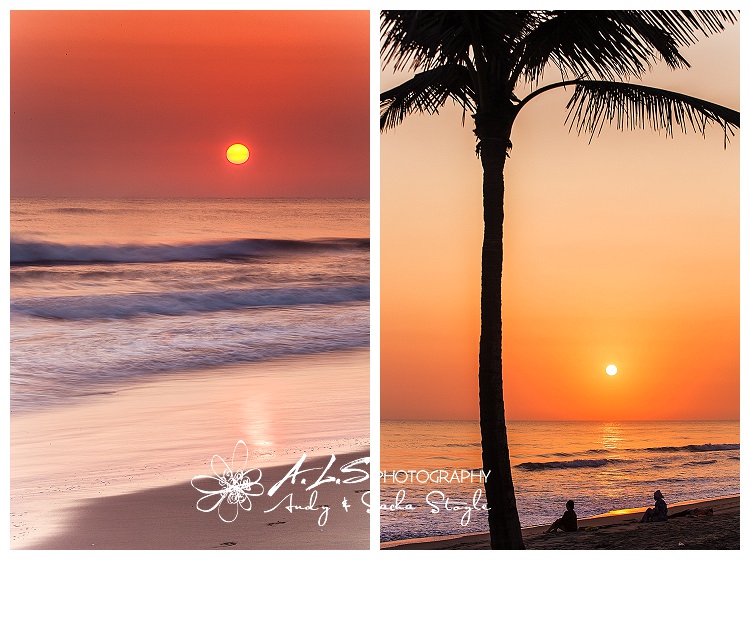
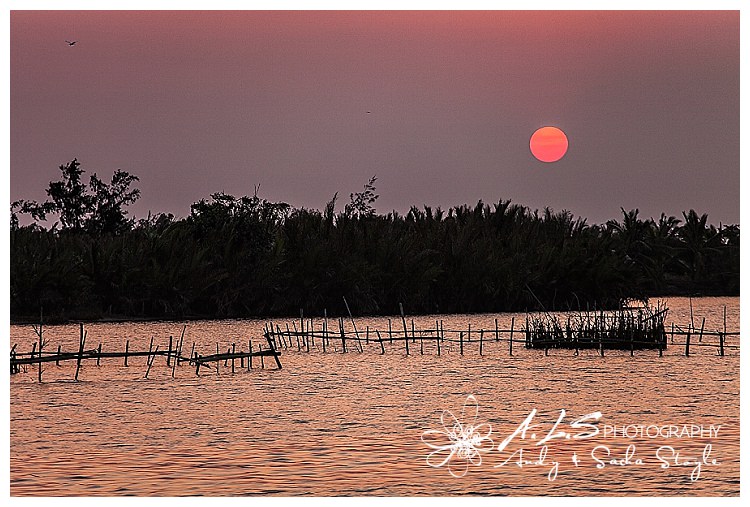
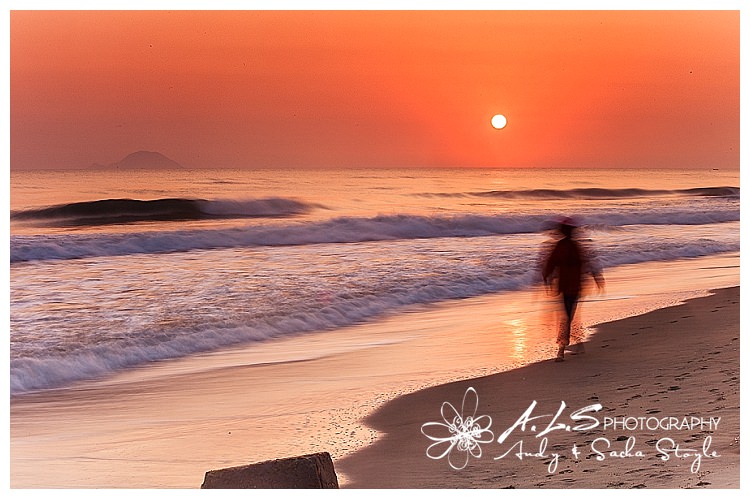
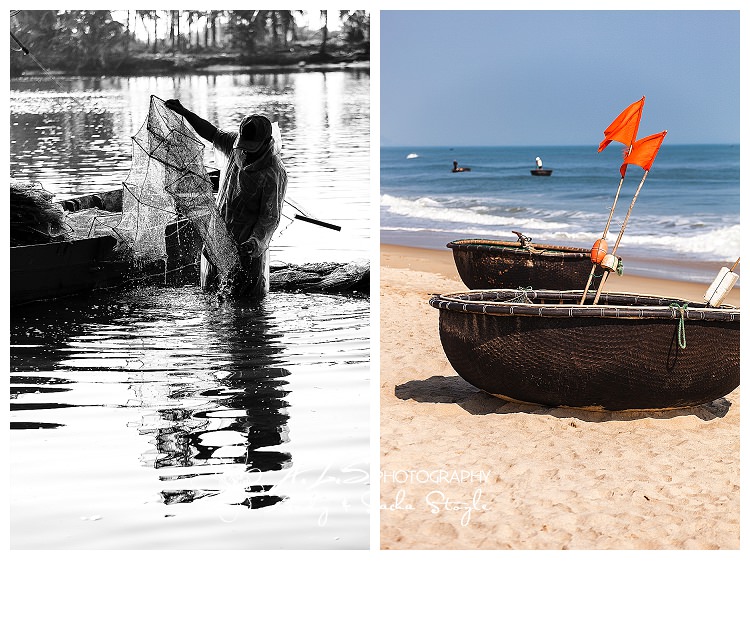
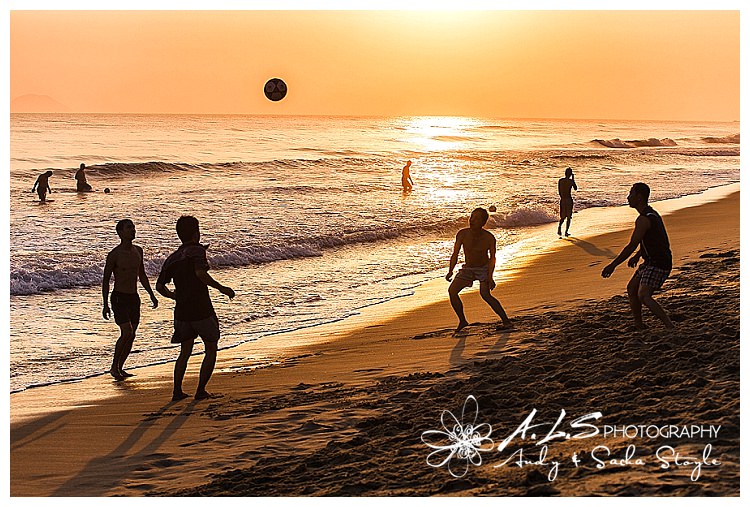
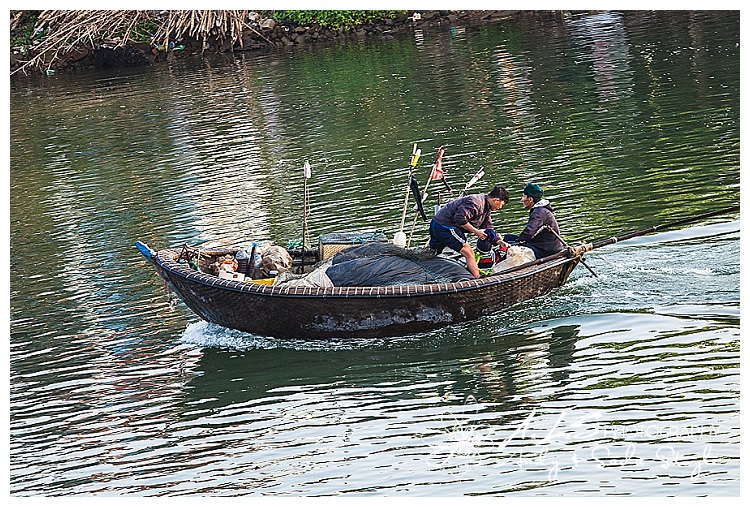
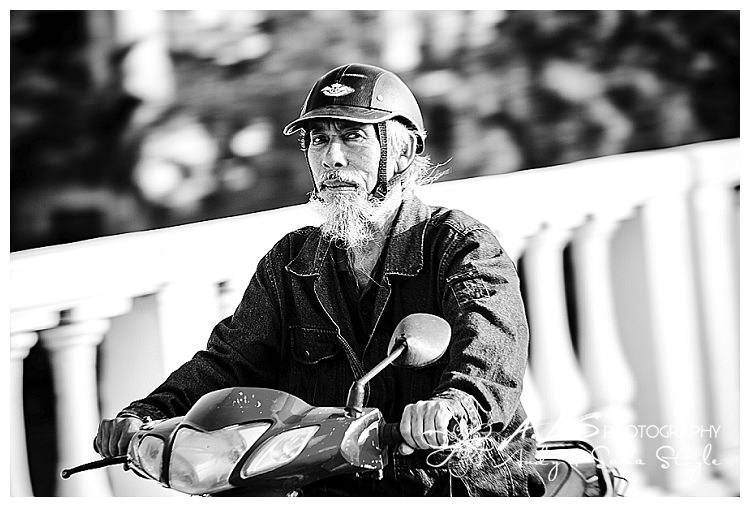
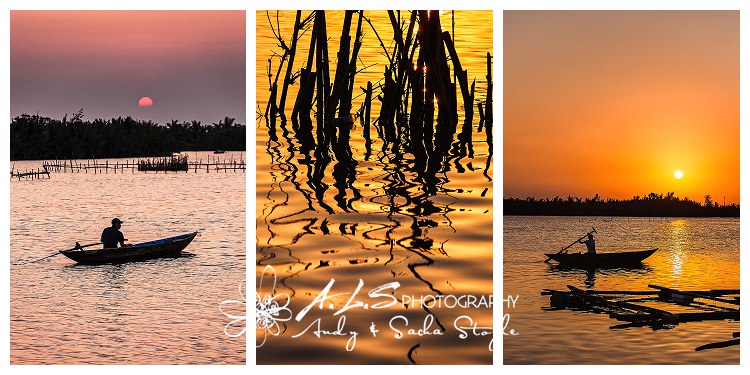
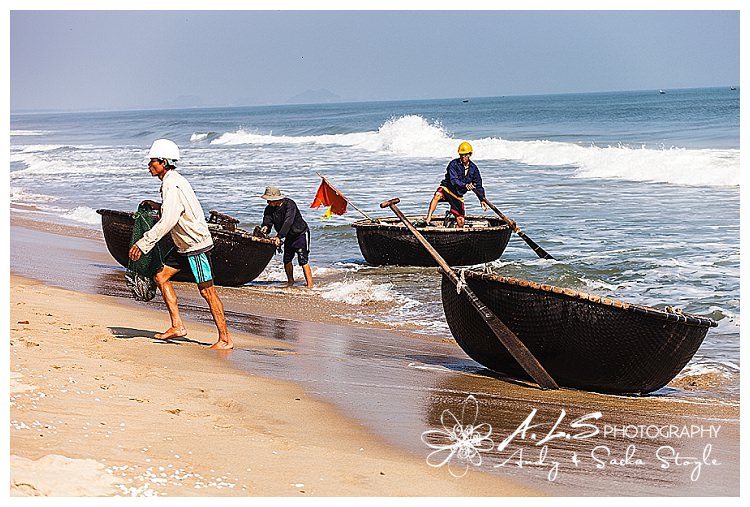
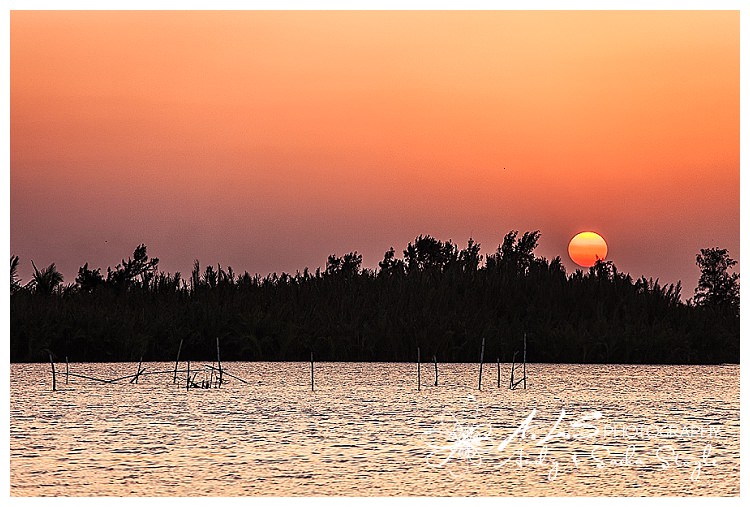
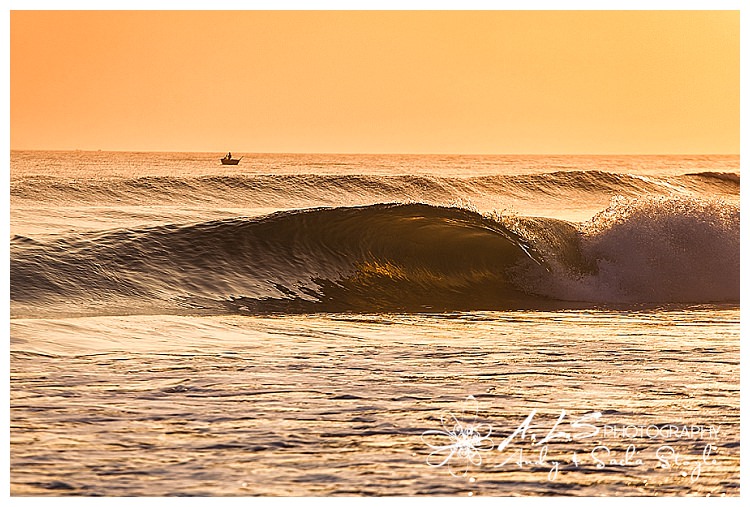
After taking bicycles from Hoi An to Cua Dai Beach (literally means big sea mouth), we decide it would be a great place to spend a night on the way back to Da Nang. Cua Dai Beach is a 2 mile stretch of palm fringed fine white sand and gently rolling breakers with the Cham Islands lying just offshore. Running parallel, about half a mile back from the beach is a gently winding estuary, a hangout for the local fishermen. It’s a great place for photography, with sunsets on the estuary and sunrise at the beach! It was still dark when I got down the beach pre sunrise and I was amazed to find so many people already there doing there morning exercise and Tai Chi! The locals were so friendly, many coming up for a chat, particularly interested whether I liked their country. I met an old man with a toothless grin who told me (by mime) that he shot down Americans during the war! It was great to watch the local fisherman negotiating the surf with their early morning catch on their Coracles, slightly different to their Carmarthen cousins, they are made using interwoven bamboo and waterproofed using resin and coconut oil!
For a further look at our images of travel and landscape photography please follow this link on our Blog posts and Gallery. Our travel and landscape images are available for sale, please feel free to leave a comment below and don’t hesitate to contact us regarding any of our services.
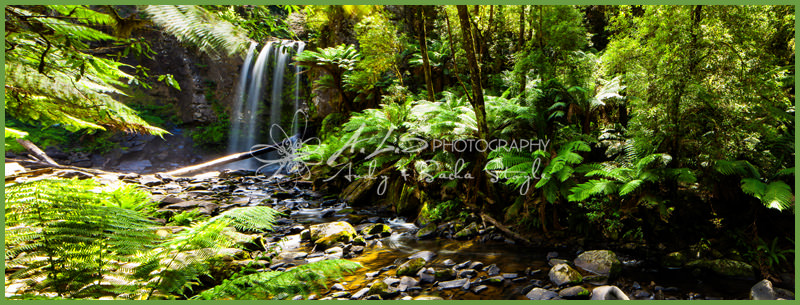
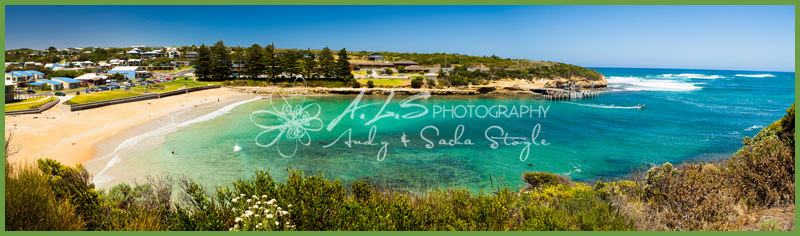
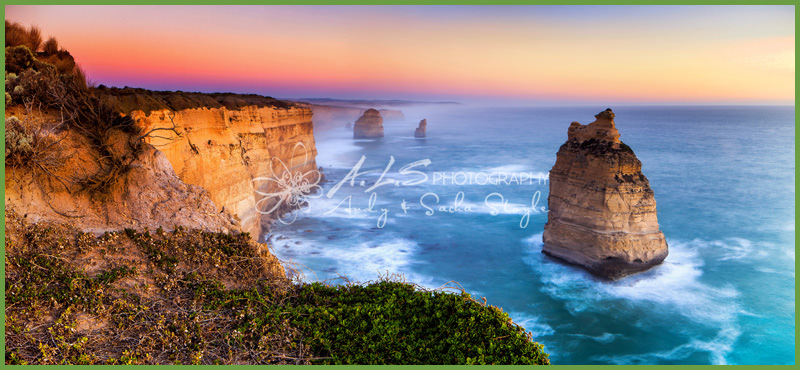
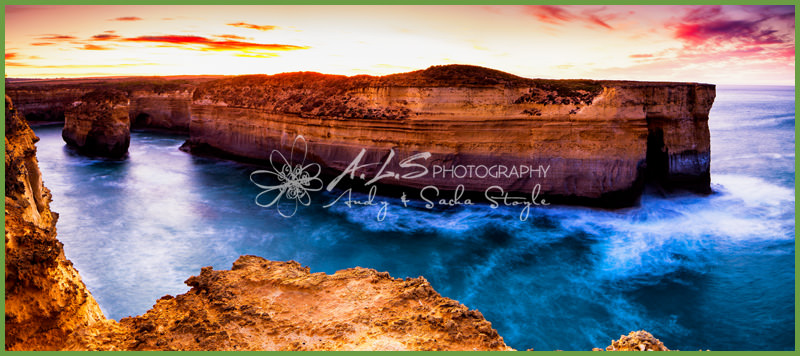
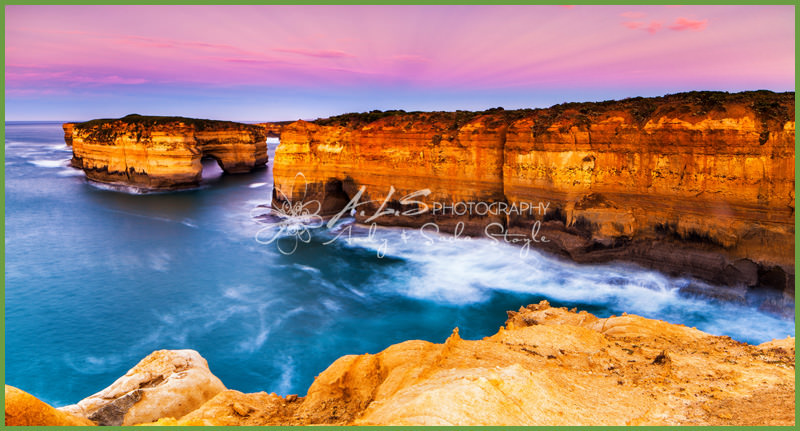
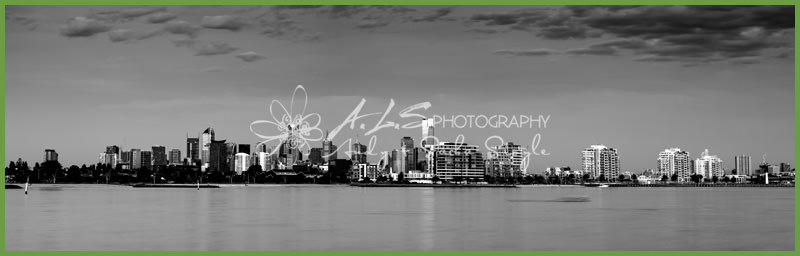
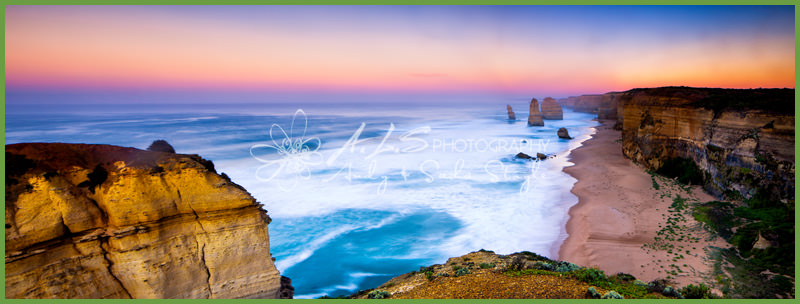
These are a few panoramic images from our recent trip to Victoria, Australia and here are some tips of the method I use of taking and stitching multiple images to make a panorama.
Tripod Method
1. It’s important to get the top of your tripod mount level so that when you pan the tripod head the horizon stays level. This saves you having to loose parts of the image later when cropping to a level horizon. You do this by adjusting the height of each tripod leg independently. Some tripods have a small spirit bubble aid at the top of the tripod legs. I also use a spirit bubble that attaches to the camera flash mount so I can double check the level as I pan the camera. I can then make any further minor leg adjustments if required.
2. It’s most important to use the camera in manual exposure mode. If the camera is using any of the auto exposure modes, each frame is likely to be lighter or darker than it’s adjacent frame, this then becomes much harder at the stitching stage. If you are including the sun in your final panorama image, take the initial exposure from the frame nearest to the one that includes the sun for a more balanced overall exposure.
3. Choose a manual white balance setting so that the white balance remains constant throughout the scene.
4. It’s also important to put the lens/camera in manual focus mode and focus manually. You do not want the focus points changing between frames.
5. When taking the images, start at one edge of the intended panorama, take the first shot, pan the camera making sure you have at least one third overlap of frame, take the second shot, then repeat until you get to the other end of your intended panorama image. I always start at the left edge of the panorama, I just find this easier when stitching. Also, bear in mind that you may often loose some information from the top, bottom and edges of your panorama at the cropping stage after stitching.
6. I always use a shutter release when the camera is tripod mounted. This helps speed up the panning and taking process and stops any vibrations when shooting long exposures. I also try not to touch the lens when panning just in case I inadvertently touch the focus ring.
7. Composition is equally important in panoramic photography as any other type of photography, so know the main rules of composition and also experiment by breaking them. Sometimes points of interest at the edges of the frame often work to help lead the eye into the image and keep it there.
8. Switch your camera to live mode to aid composition and manual focus.
9. Be careful with very wide angle lenses as perspective can often look odd when stitched into a panoramic picture.
10. Watch out for movement within your panorama, such as people, transport, flora blowing in the wind and waves breaking on a beach. These can sometimes cause overlapping sections that don’t line up at the stitching process and ruin the final image.
11. Experiment using your camera in both the vertical and horizontal position while creating your panorama.
12. For very precise panoramas you can buy a panoramic head for your tripod. This head enables you to move the mounted camera back, forth, left and right so that the Nodal Point of the lens is directly over the axis of rotation of the tripod, this will eliminate parallax error. Each lens has a different nodal point and can be quite tricky to find. For anyone interested here is a link to a youtube video that demonstrates the setup.
Hand Held Method
Use the same guidelines as with the tripod method. Manual Exposure, white balance and focus. Try and keep any horizon level and allow room for some cropping after stitching.
Stitching the Panorama
I won’t go into this in great detail as it will depend on what software you use to stitch the panorama together. I usually use Adobe Photoshop ‘merge to panorama’ which I can also access directly from the RAW files in Adobe Lightroom. Here is a link on Adobe TV on how this works on Adobe Photoshop Elements.
If you haven’t got Photoshop or Photoshop Elements another excellent free programme that I can thoroughly recommend is called Hug-in.
To Summarise
Level the tripod head
Level the Camera
Use manual exposure, white balance and focus
Take the series of shots from the left edge of your panorama
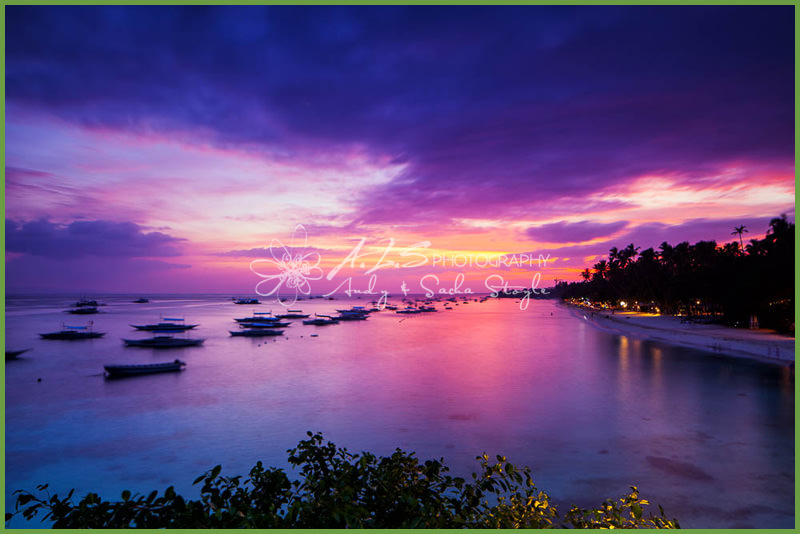
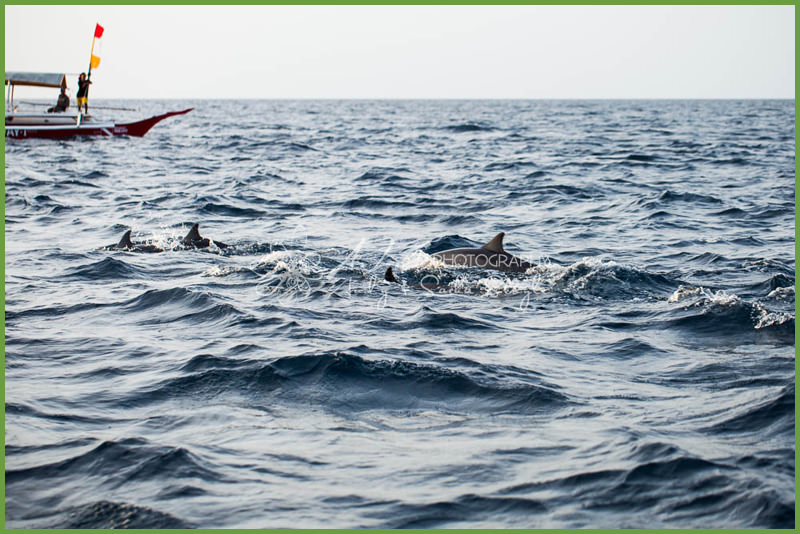
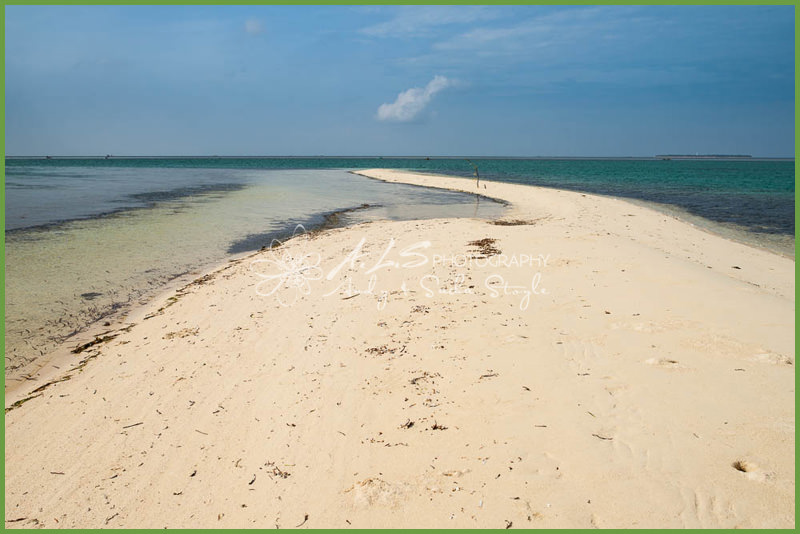
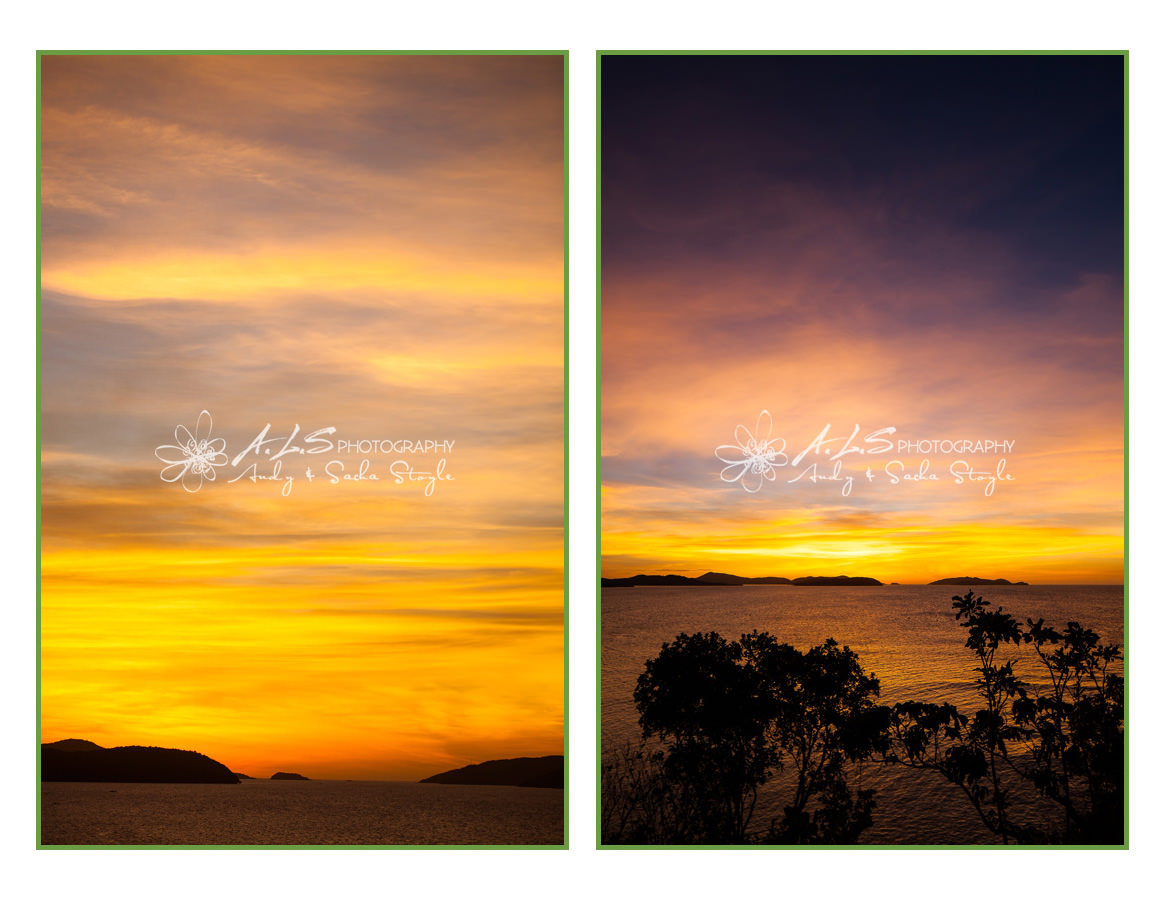
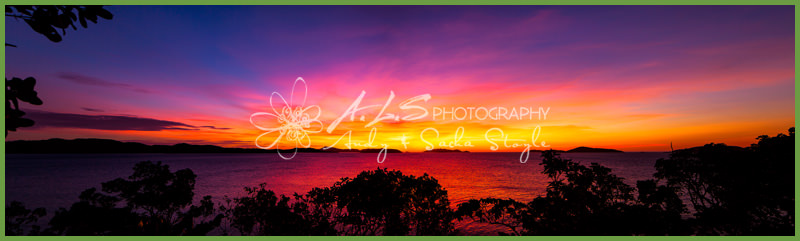
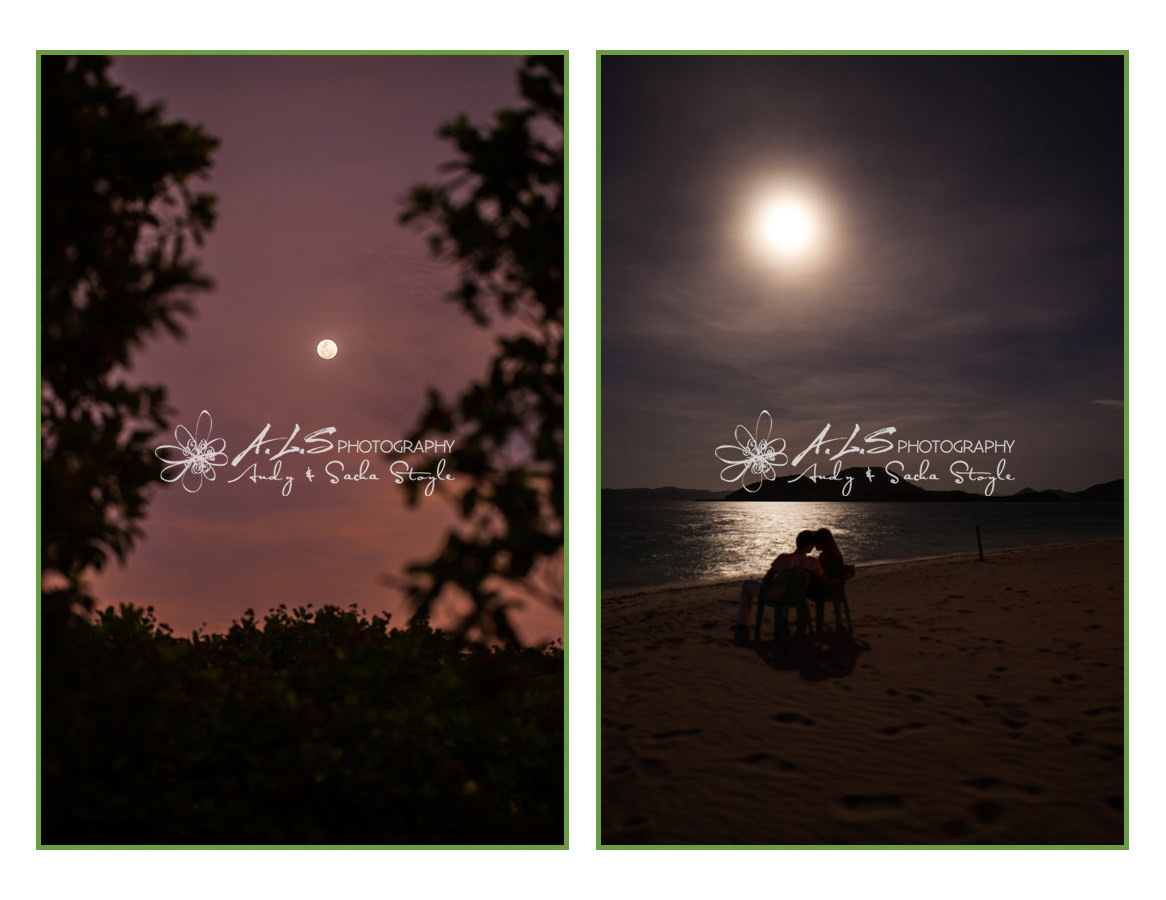
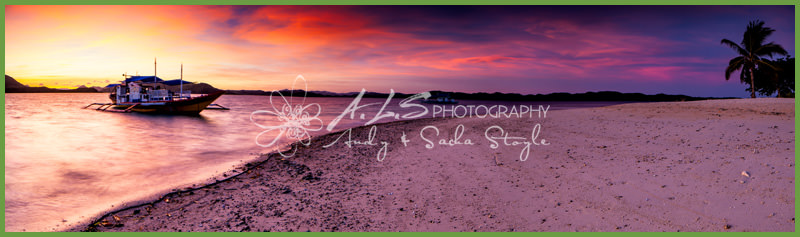
We flew from Puerto Princesa in Palawan to Cebu City, the second city of the Philippines. We had an overnight stop here before getting a 2 hour ferry trip to Tagbilaran on the island of Bohol. From here it was about a 40 minute transfer to Alona Beach on Panglao Island. We had a great week staying at the Alona Northland Resort, highly recommended if anyone is going that way. Alona Beach is another big diving centre of the Philippines. We had a great daytrip to the nearby Balicasag Island, watching the sunrise and spotting some dolphins as we travelled out on the boat. Balicasag had some of the best snorkeling we had seen in the Philippines, so many fish, it was like being inside a tropical fish tank! We also stopped off at Virgin Island, a beautiful sandbar – shame about the hawkers selling shells, corals and urchins! We had some great sunsets on Panglao, the best when we got a local tricycle driver to take us to the end of the island. There is no way we would have found the spot if we went ourselves so it just goes to show you can’t beat local knowledge.
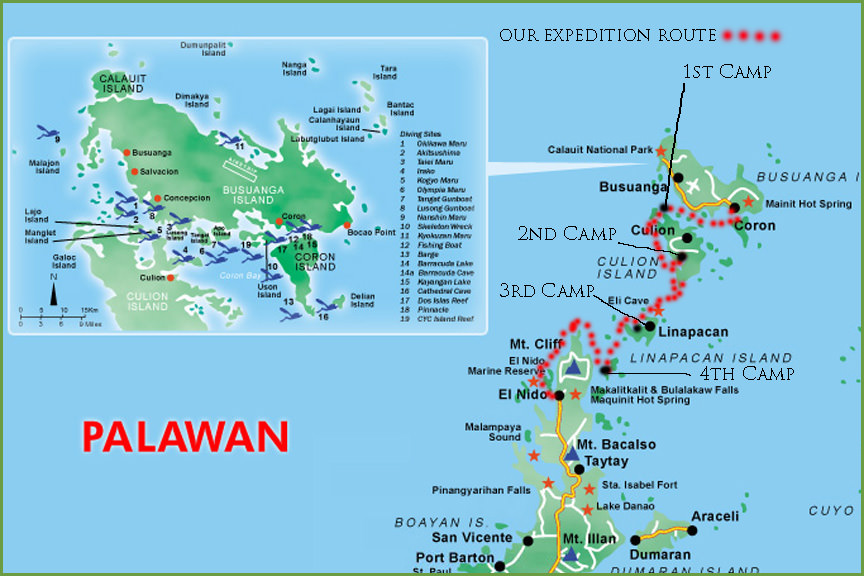
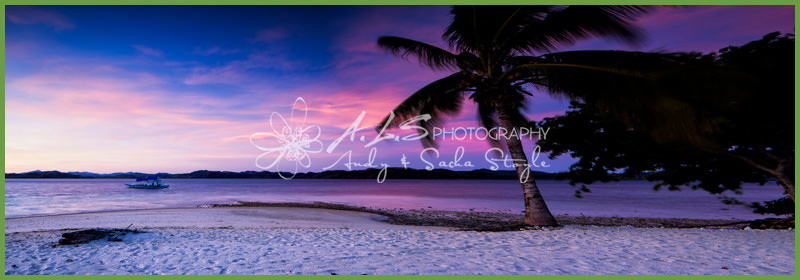
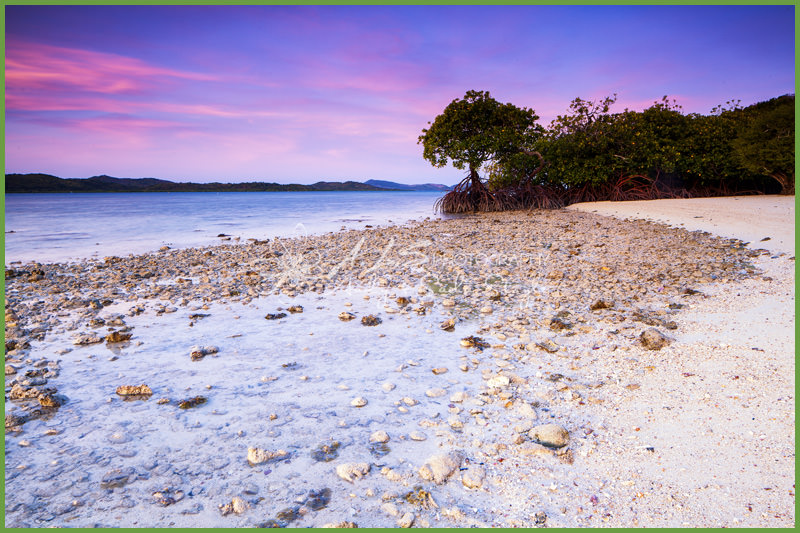
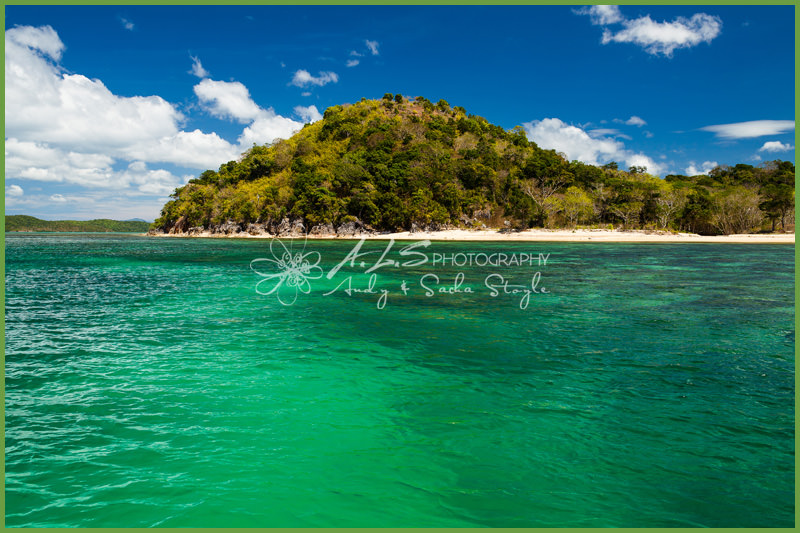
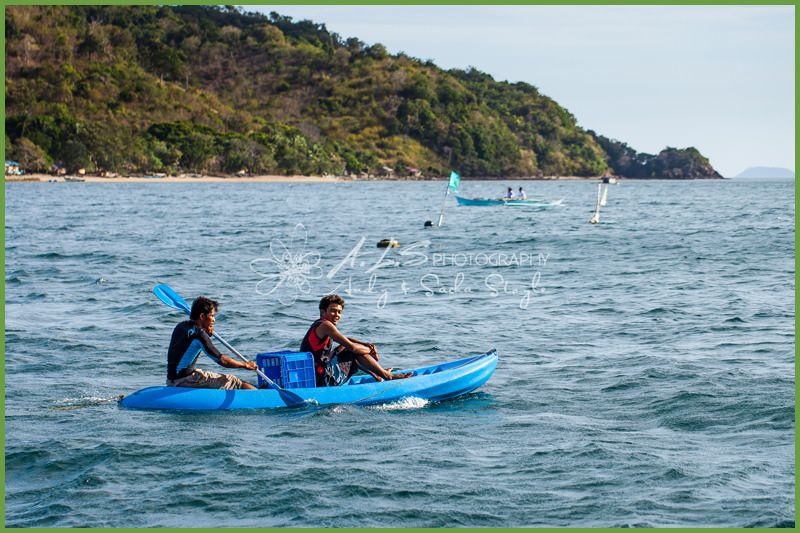
Our 5 Day Voyage of Discovery through the beautiful Islands of Palawan
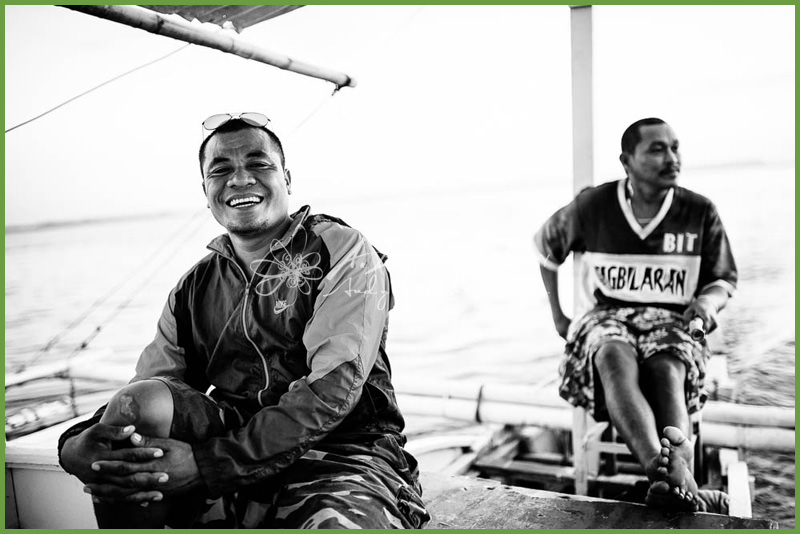
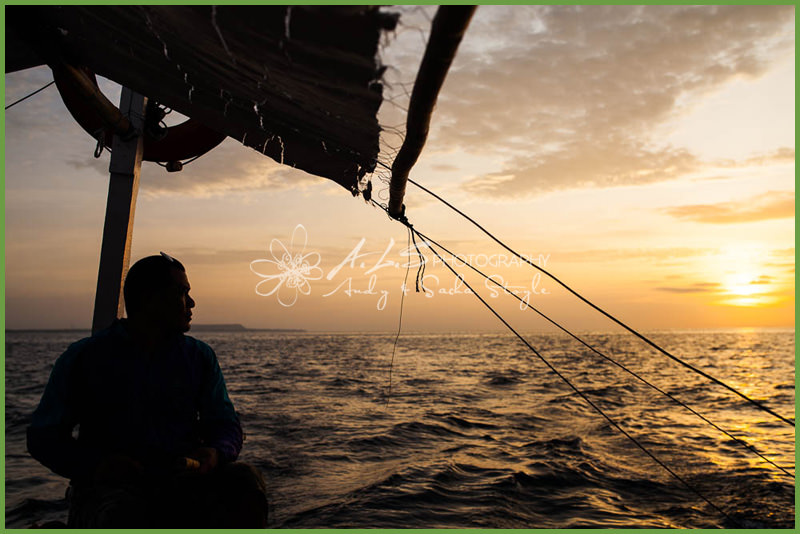
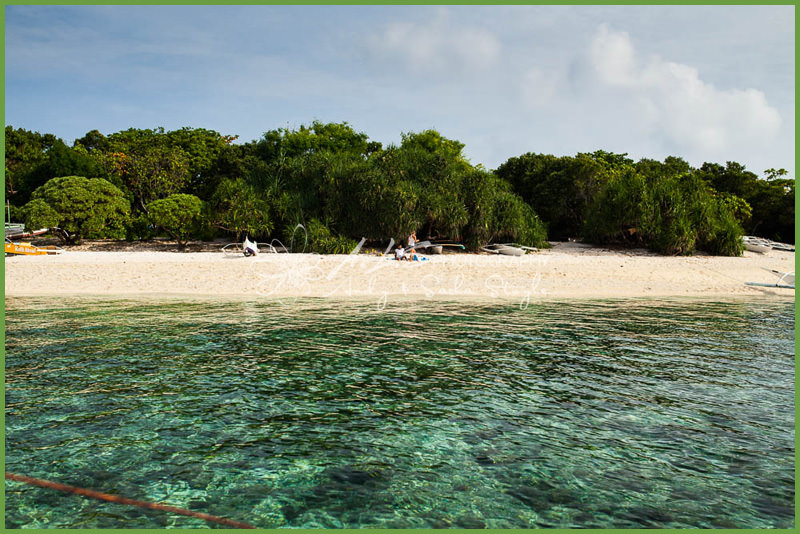
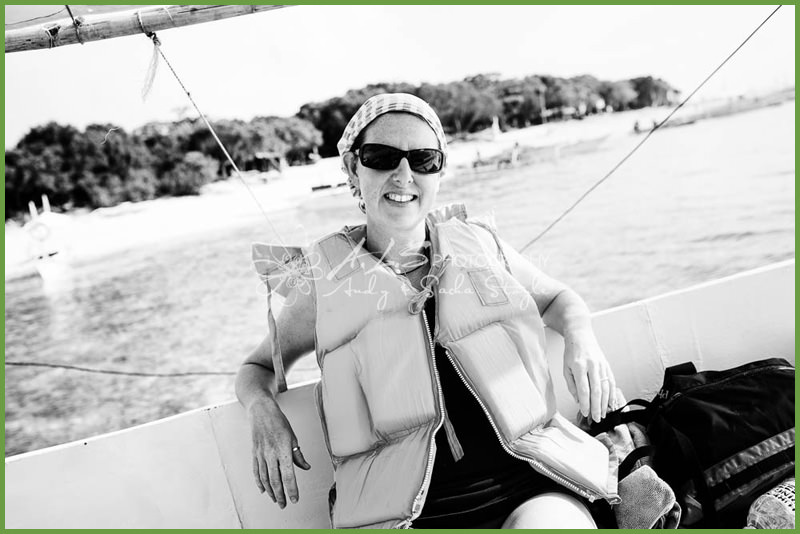
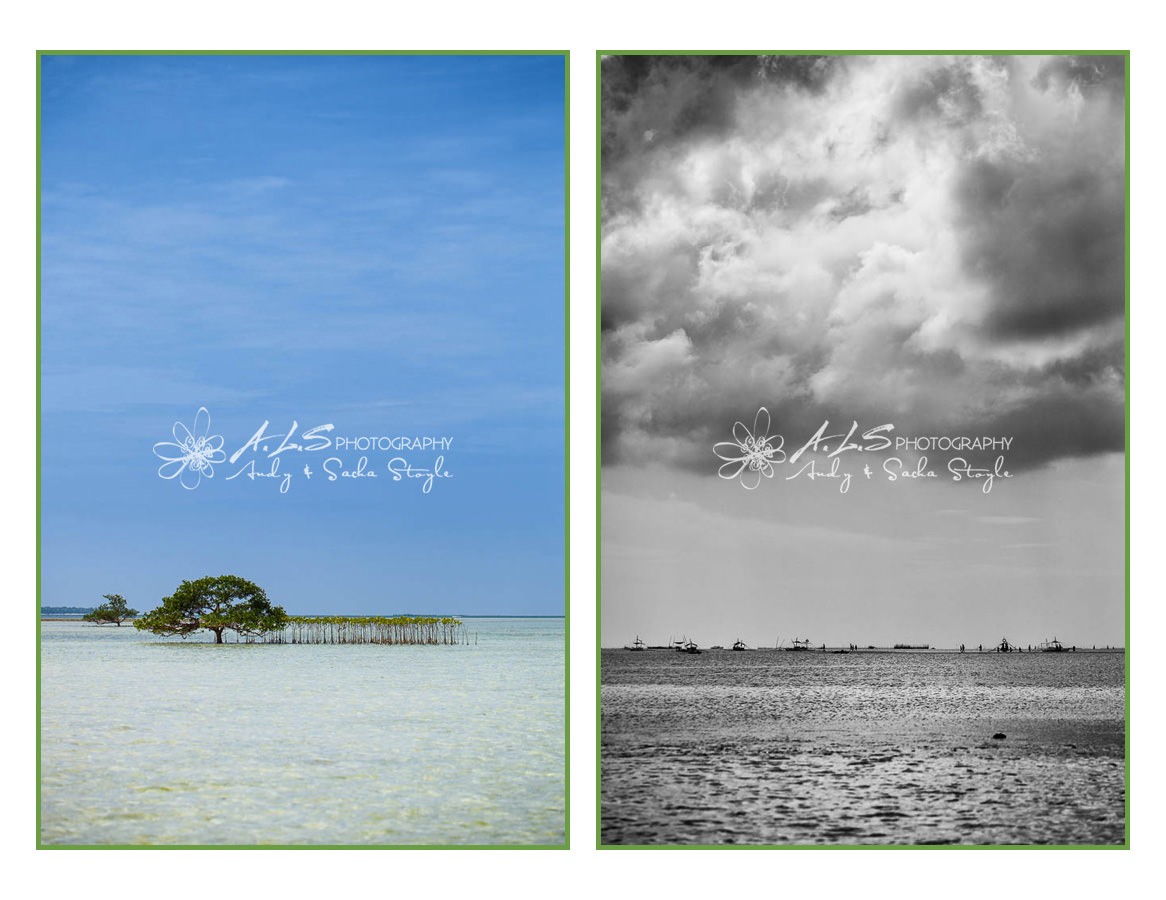
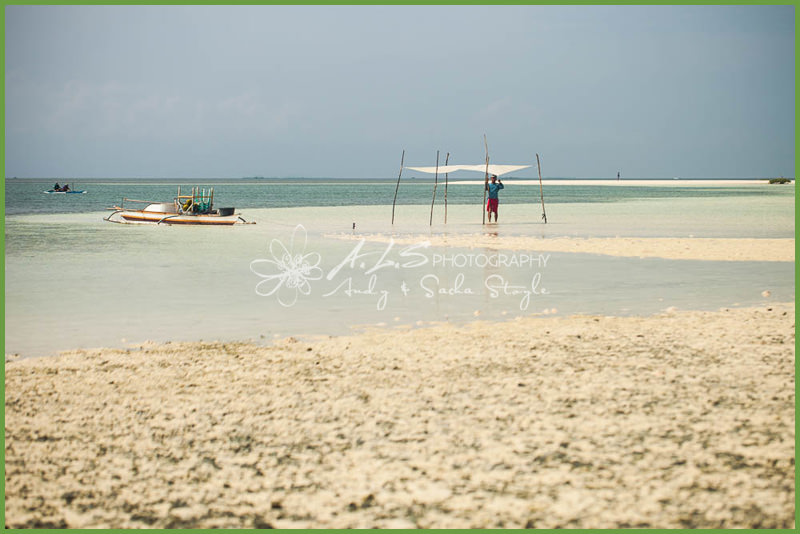
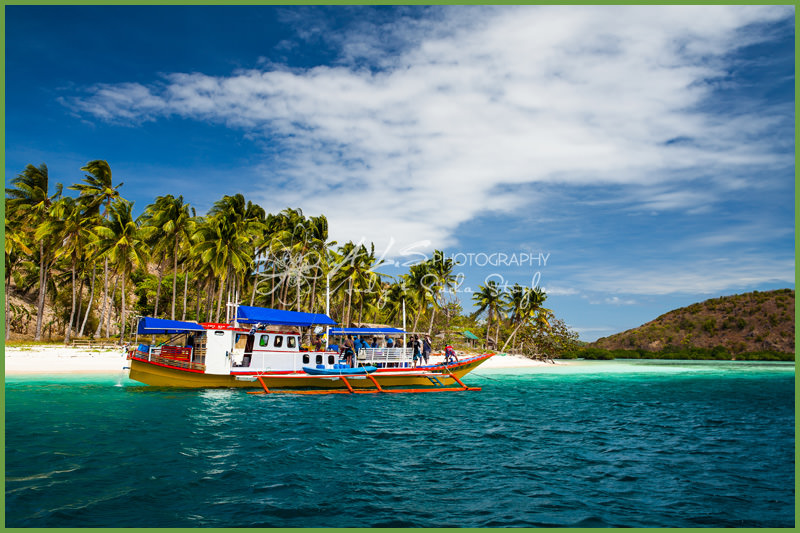
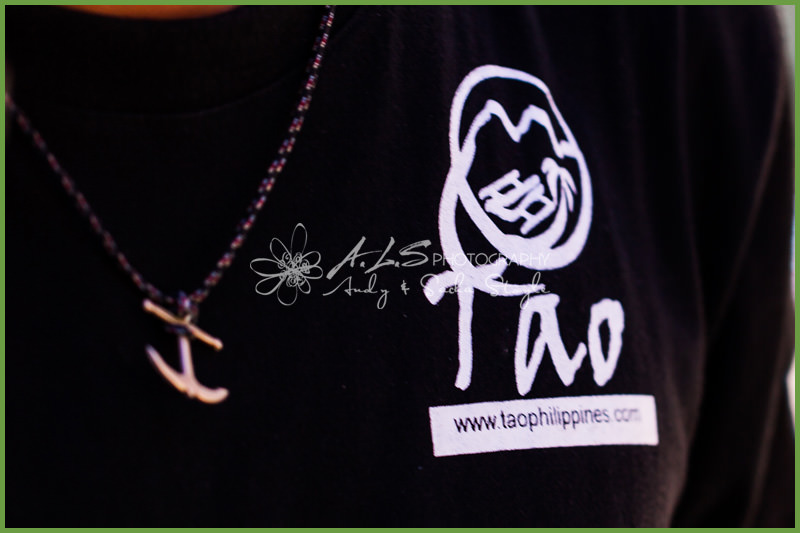
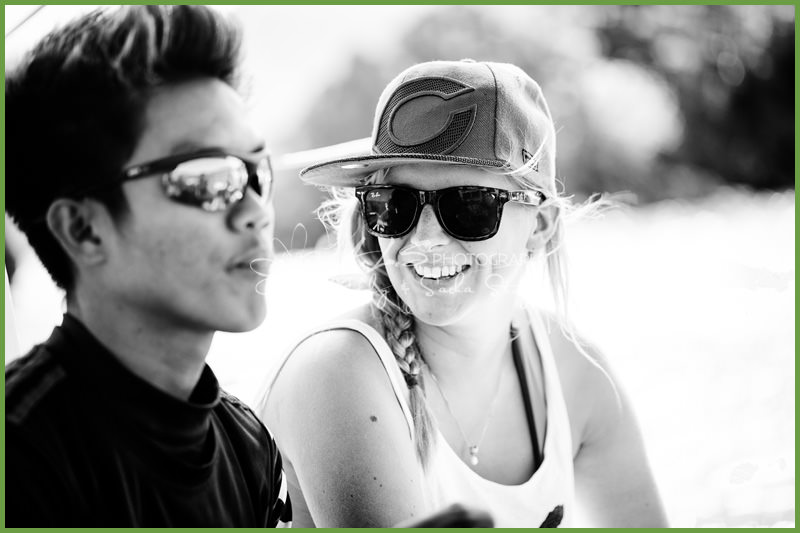
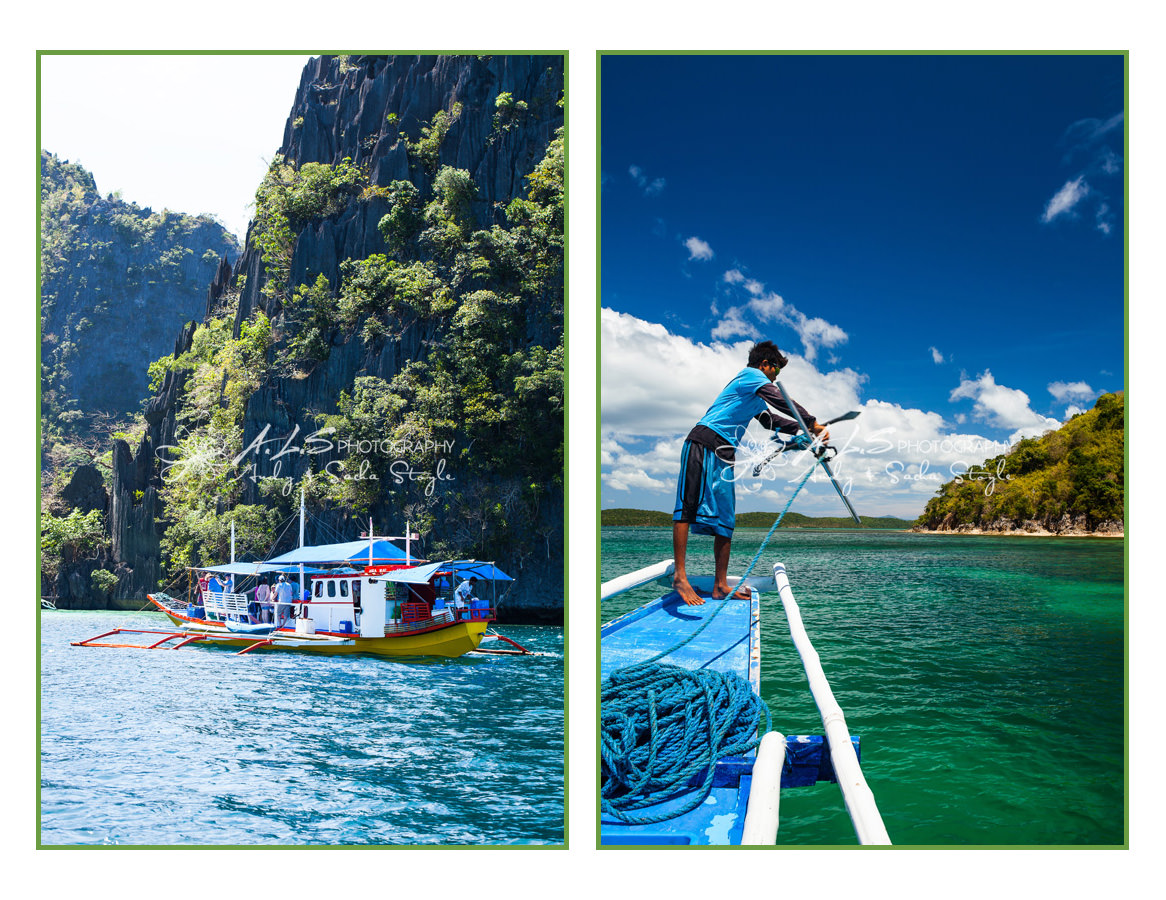
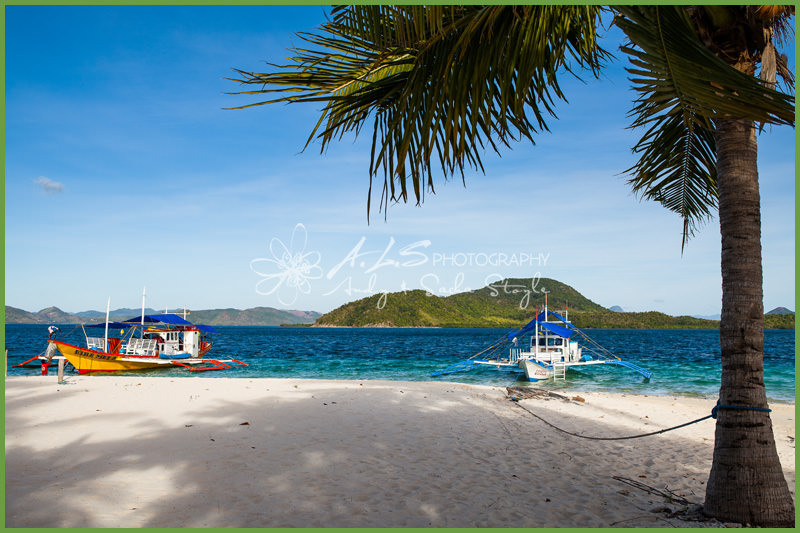
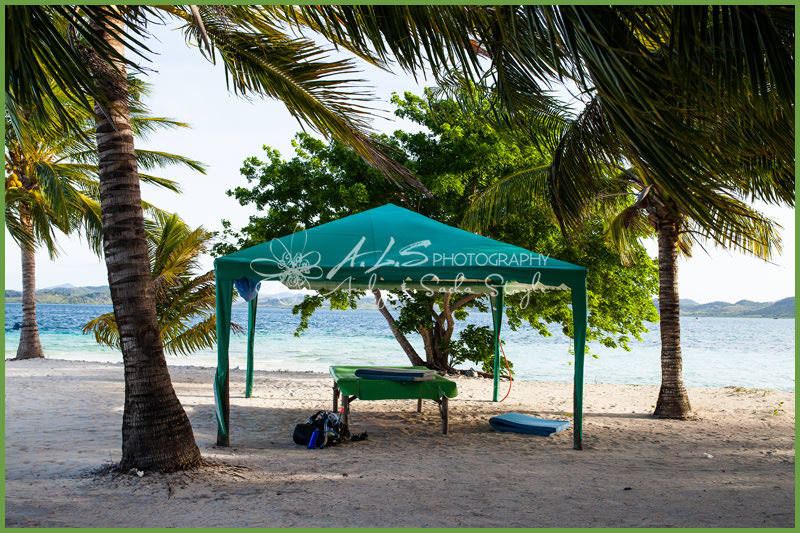
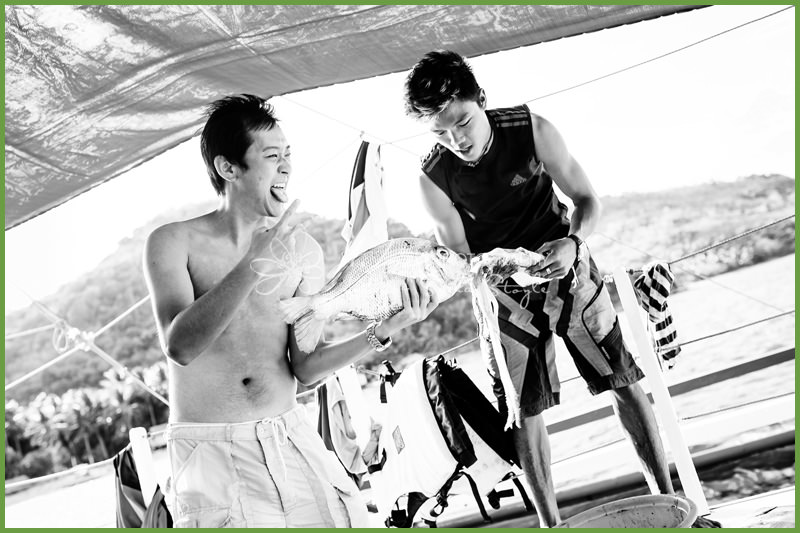
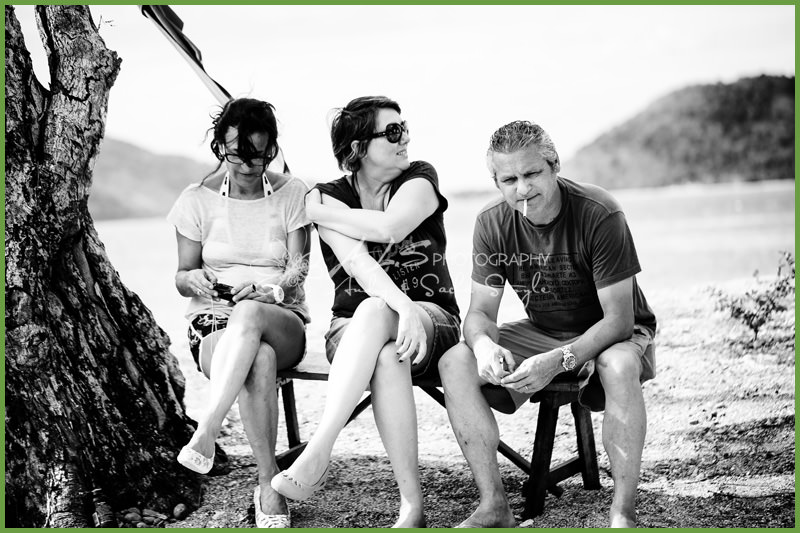
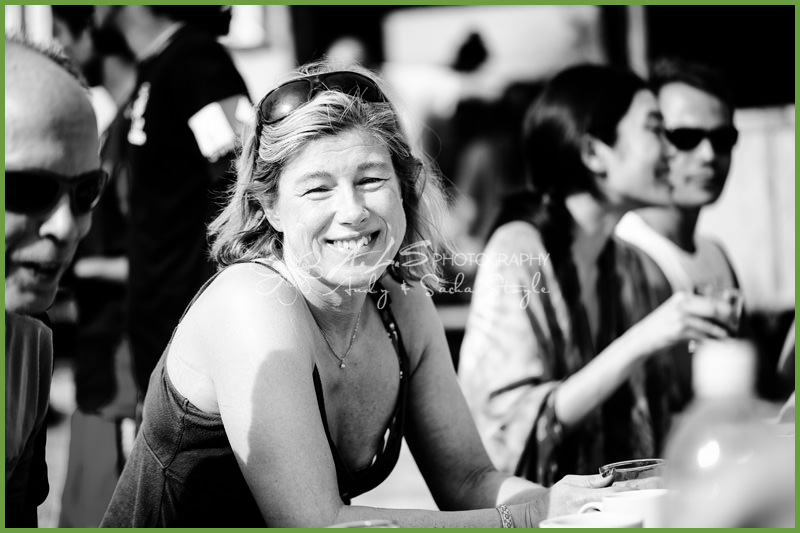
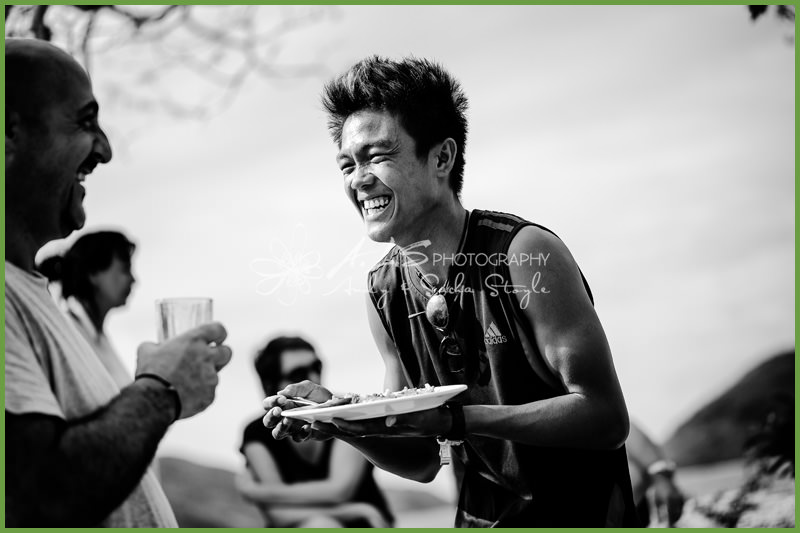
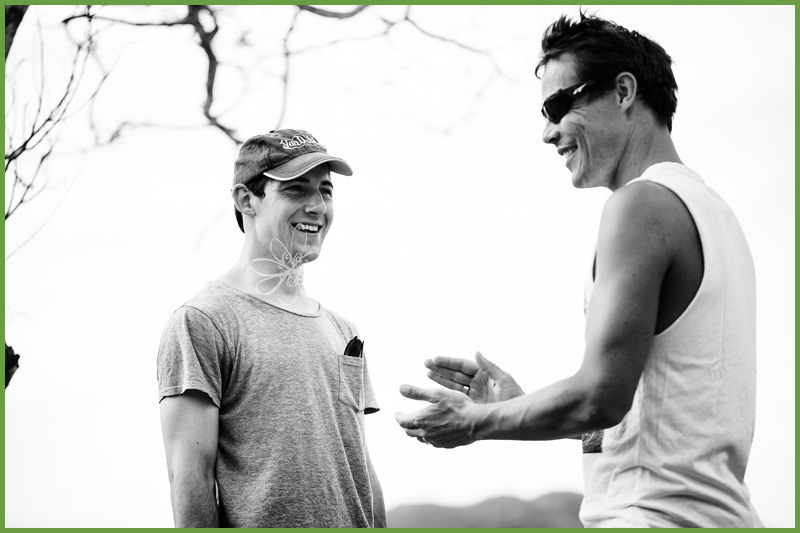
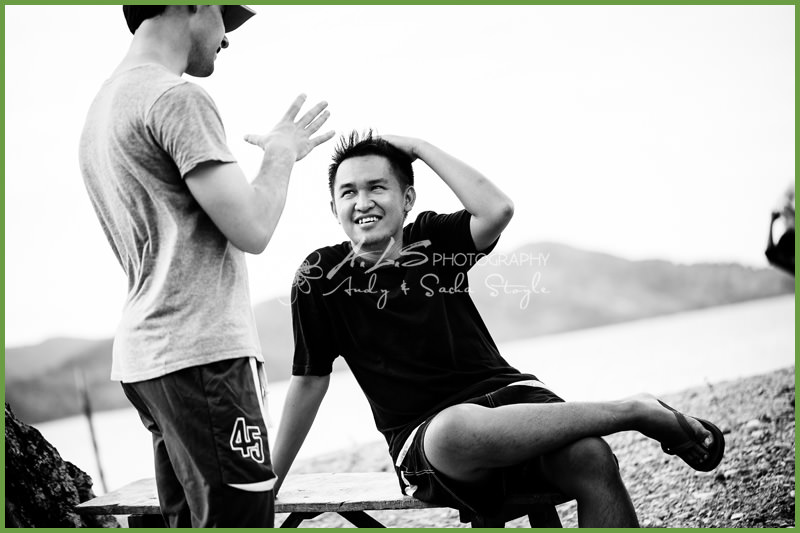
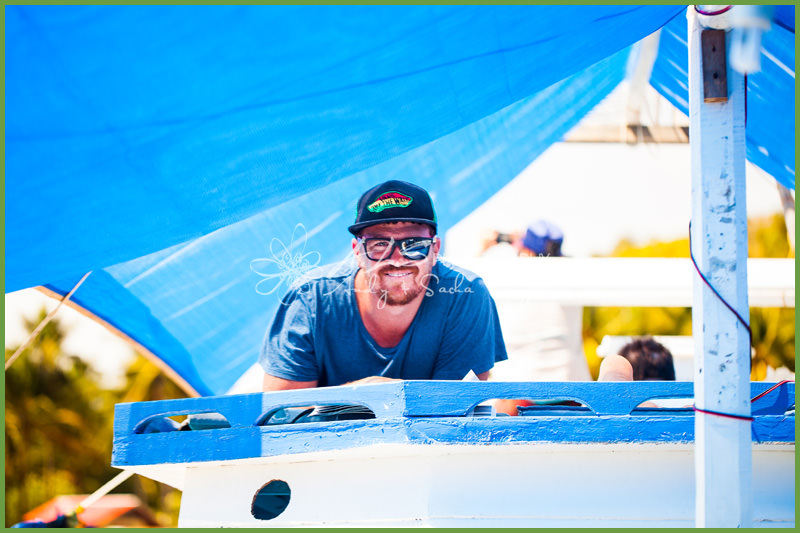
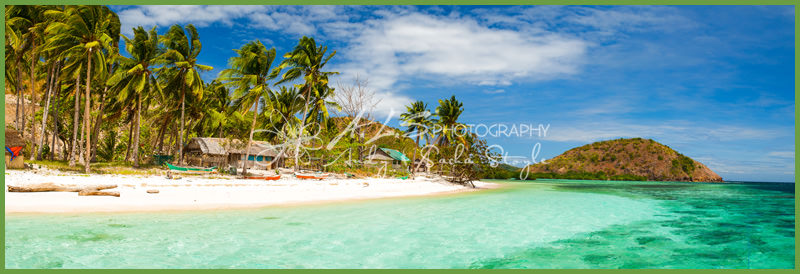
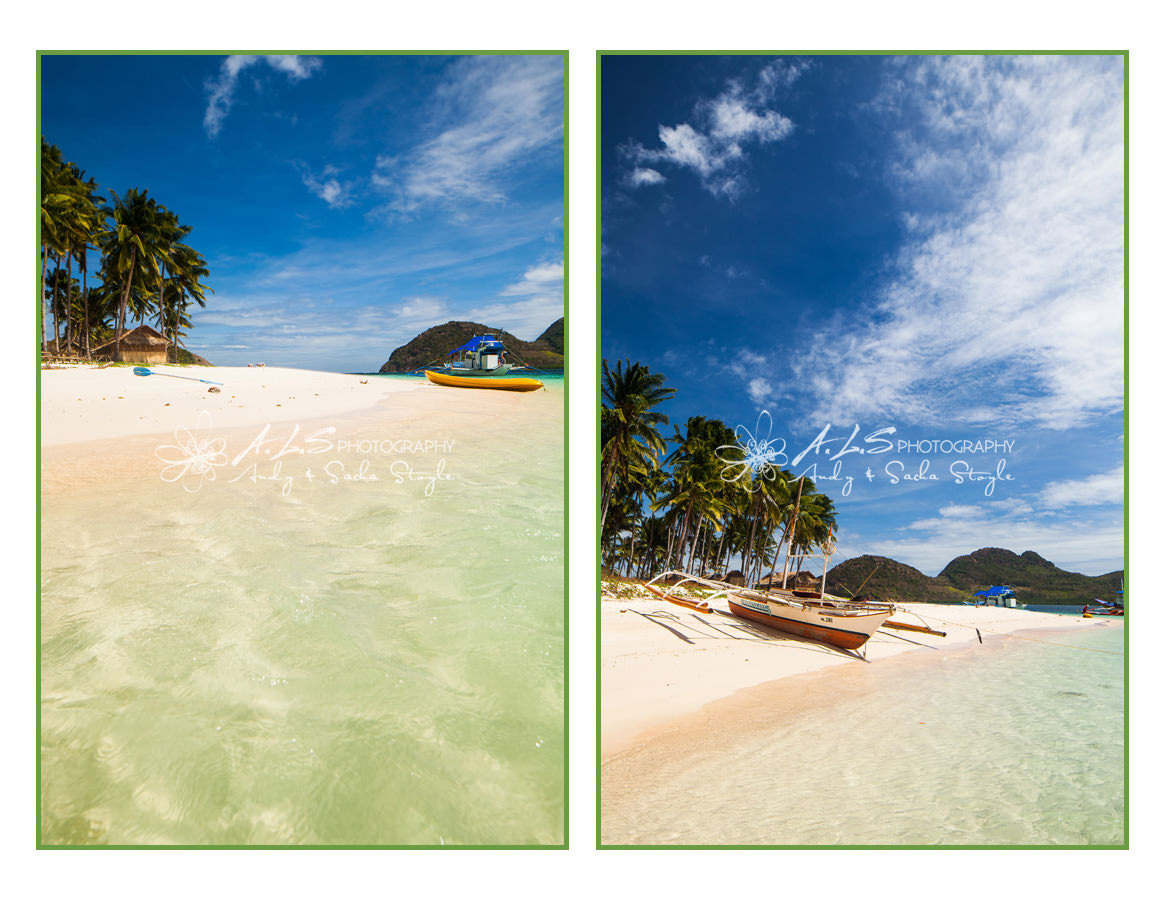
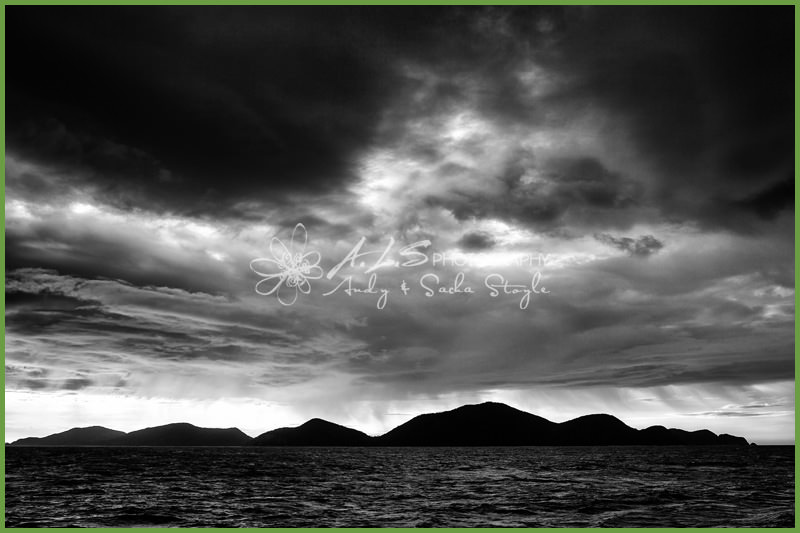
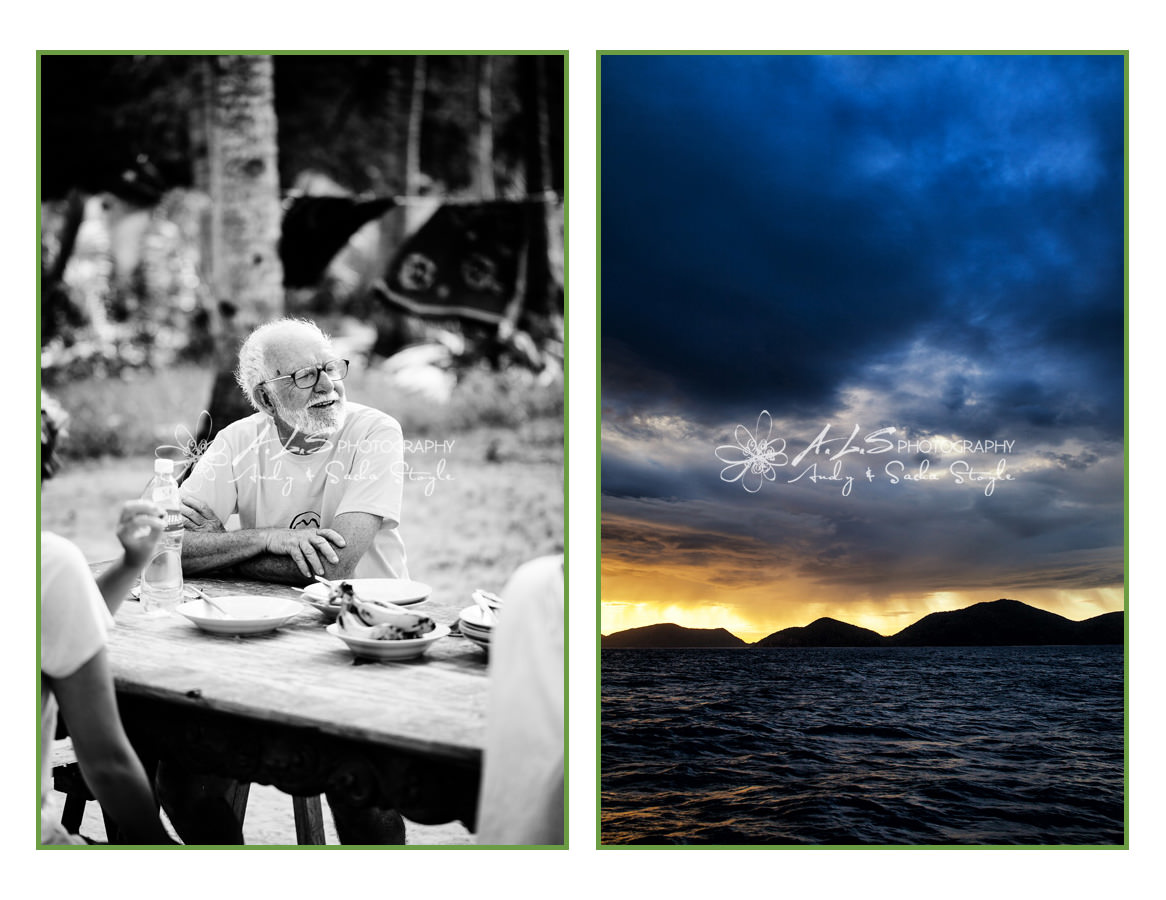
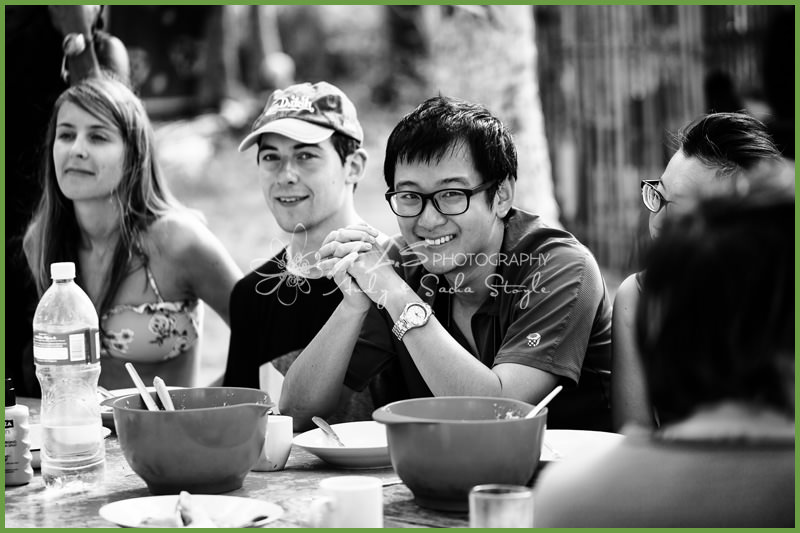
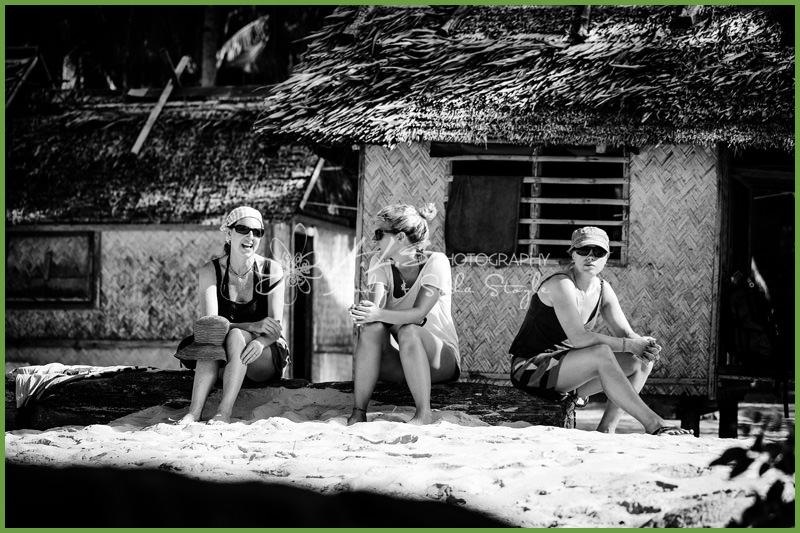
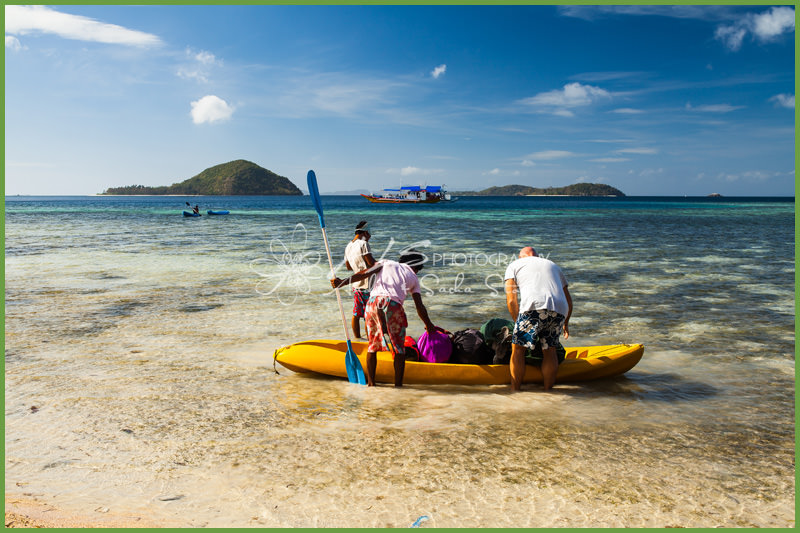
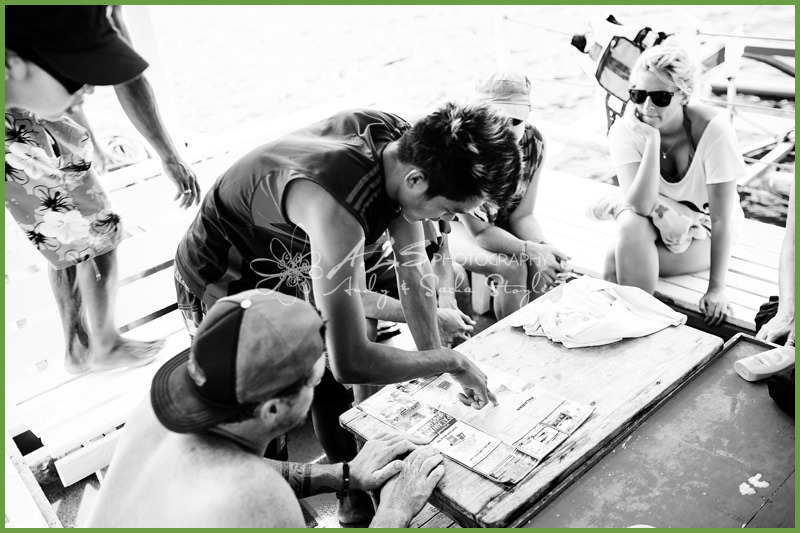
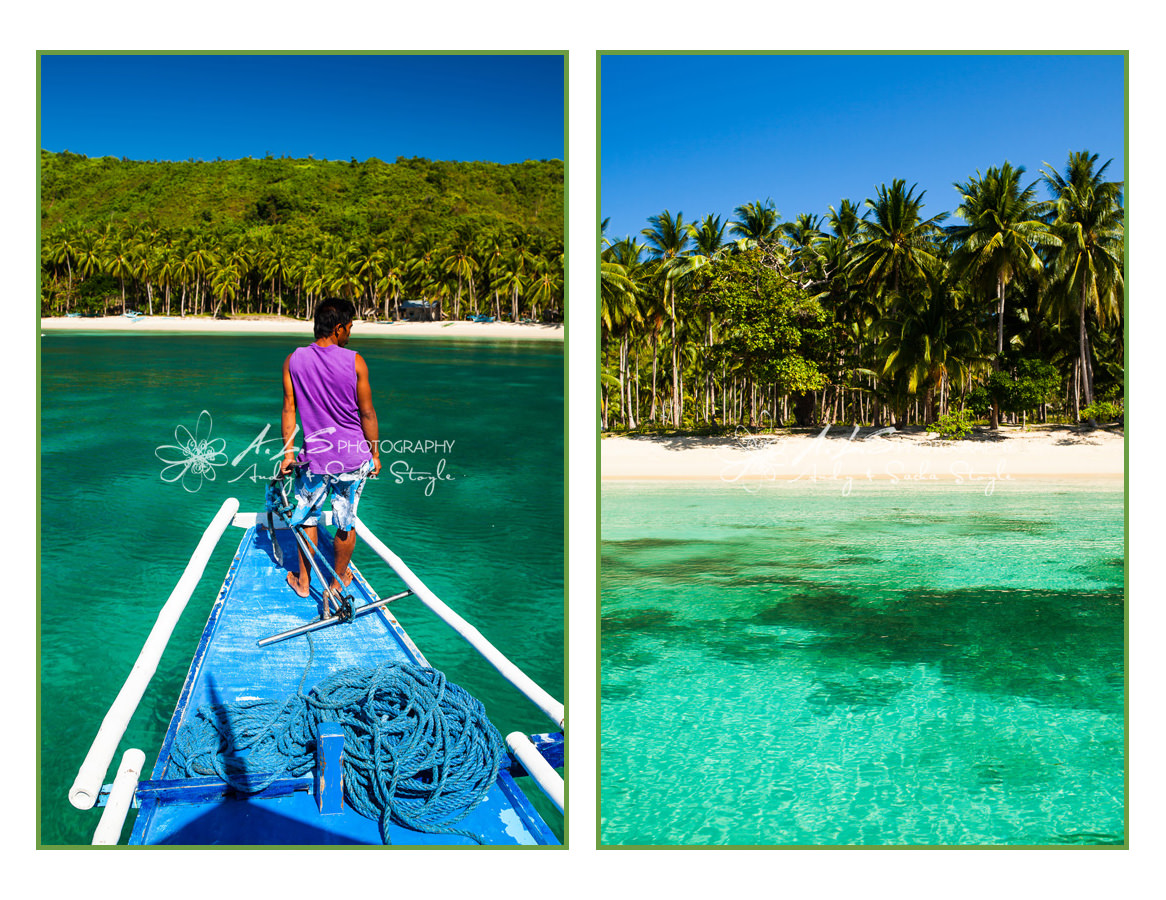
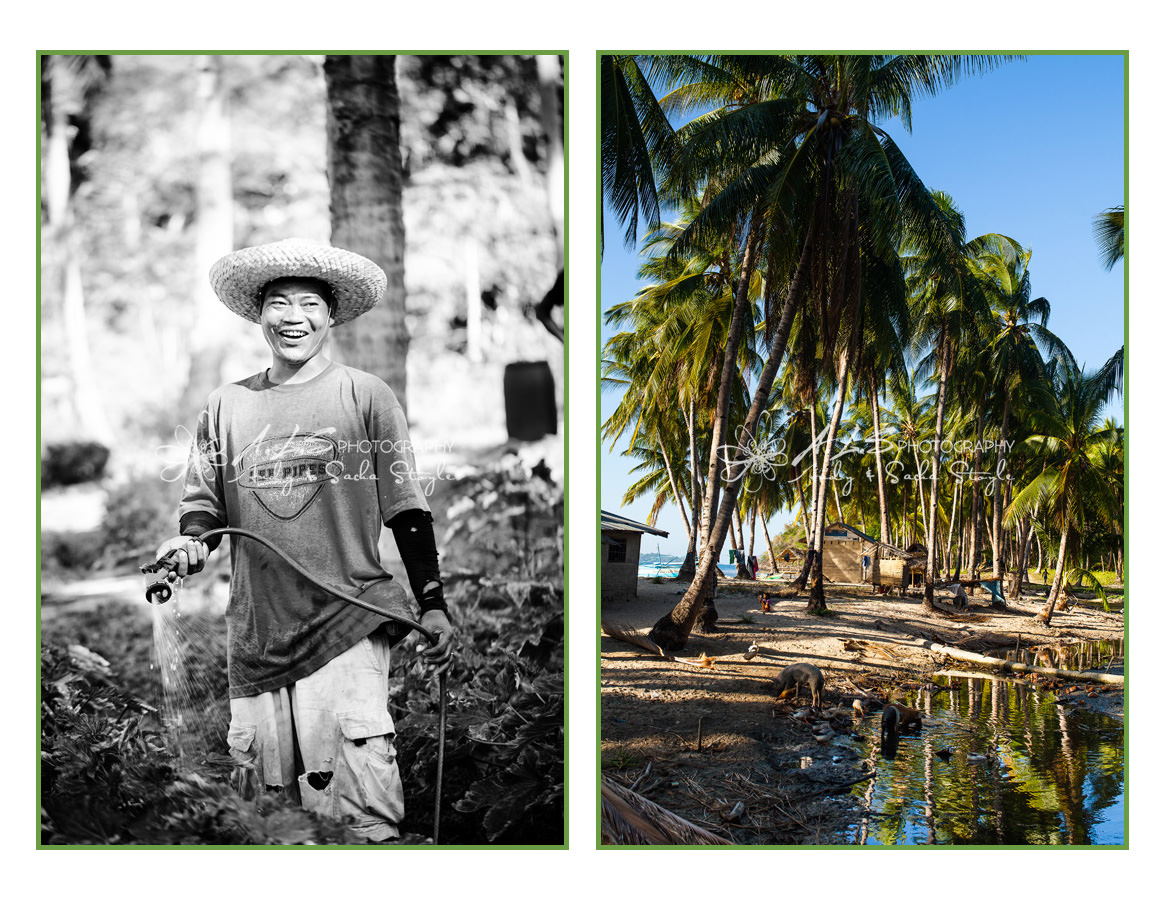
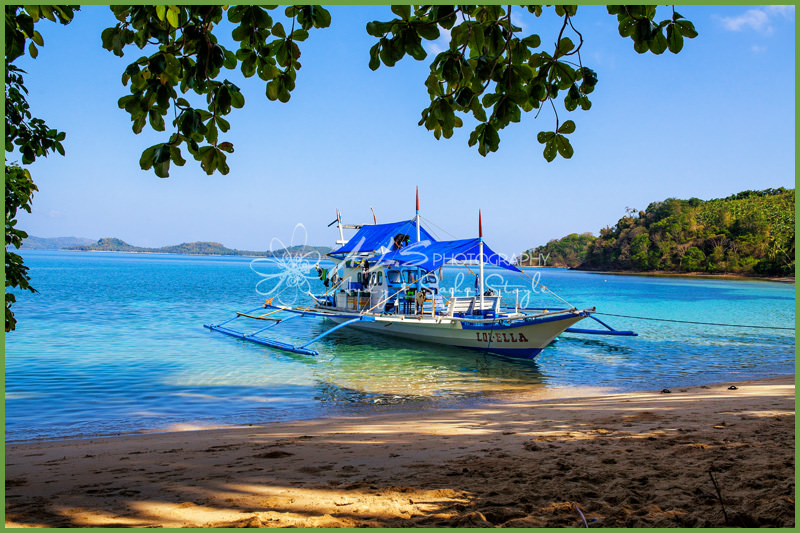
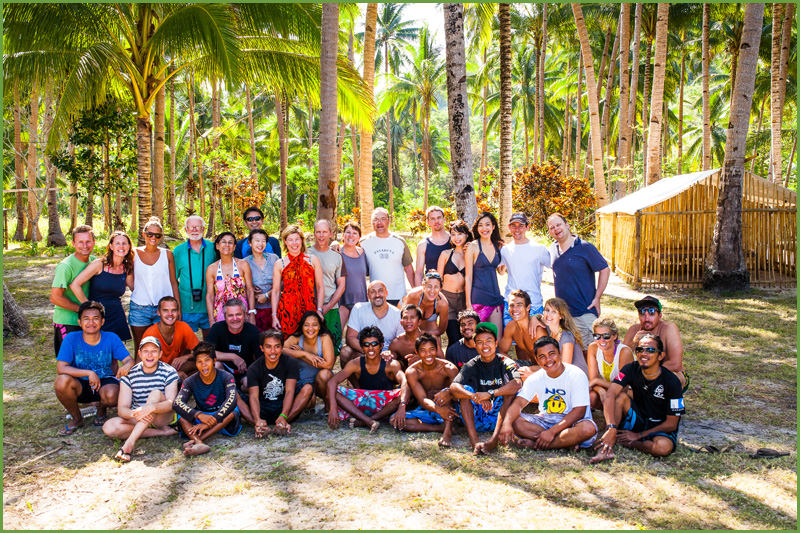
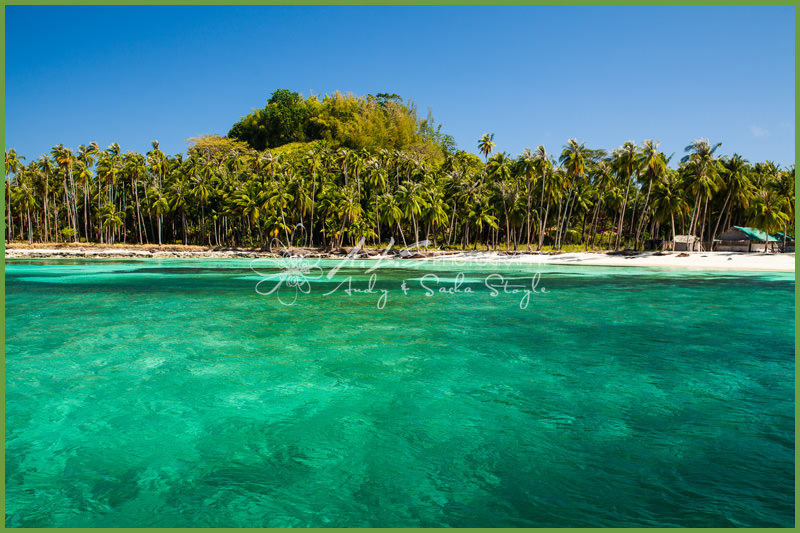
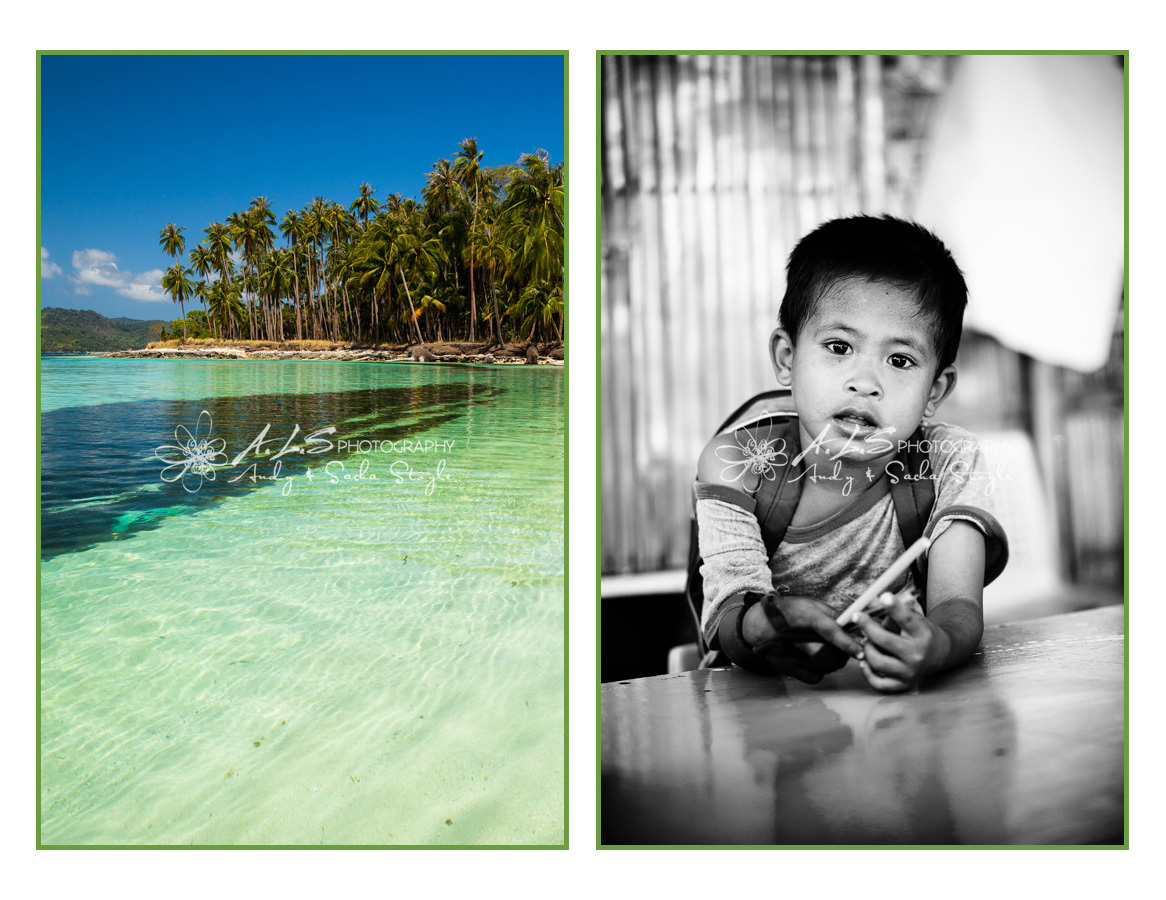
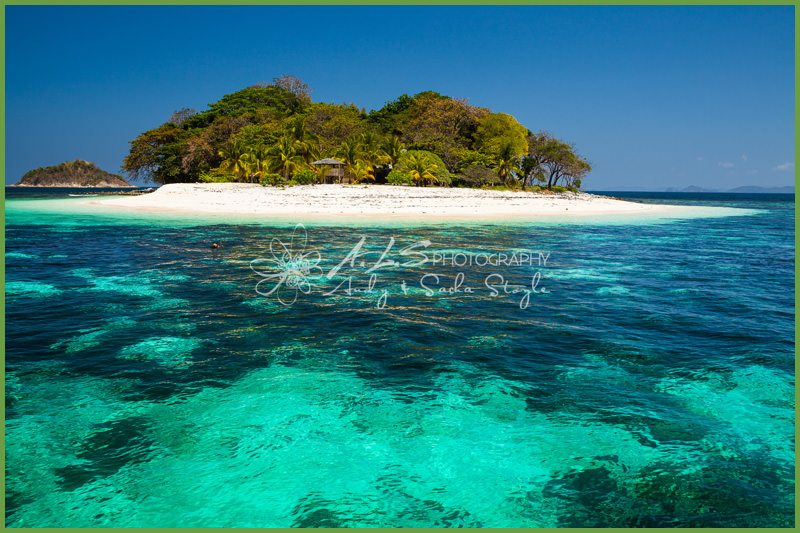
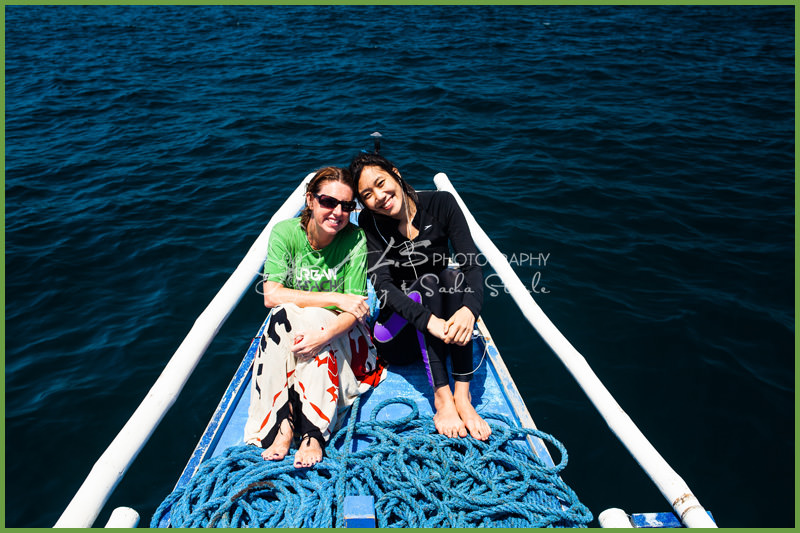
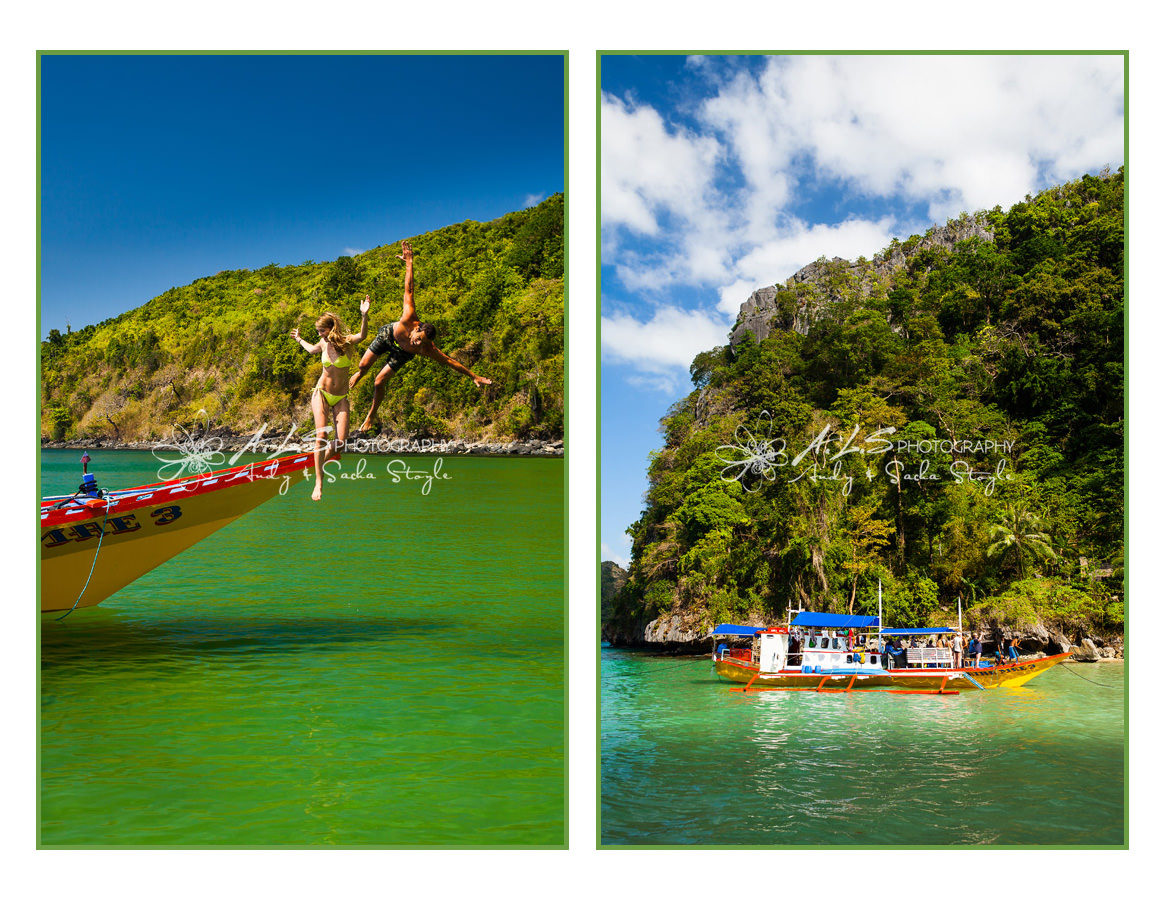
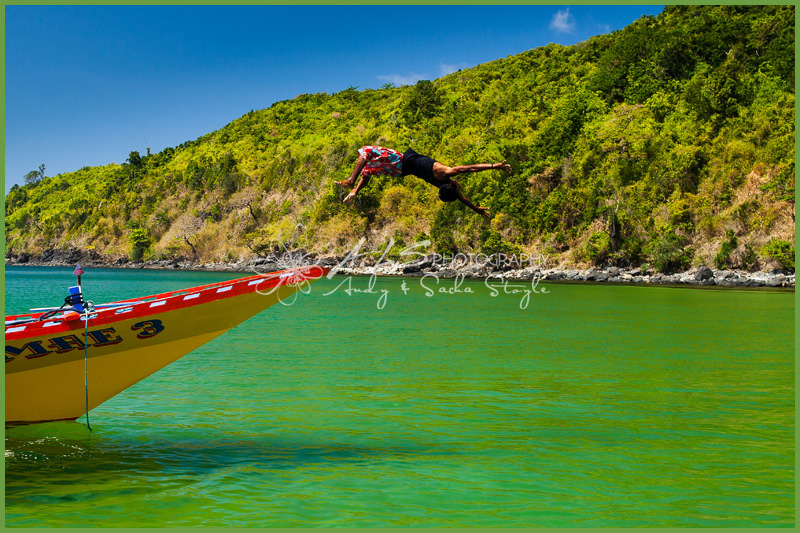
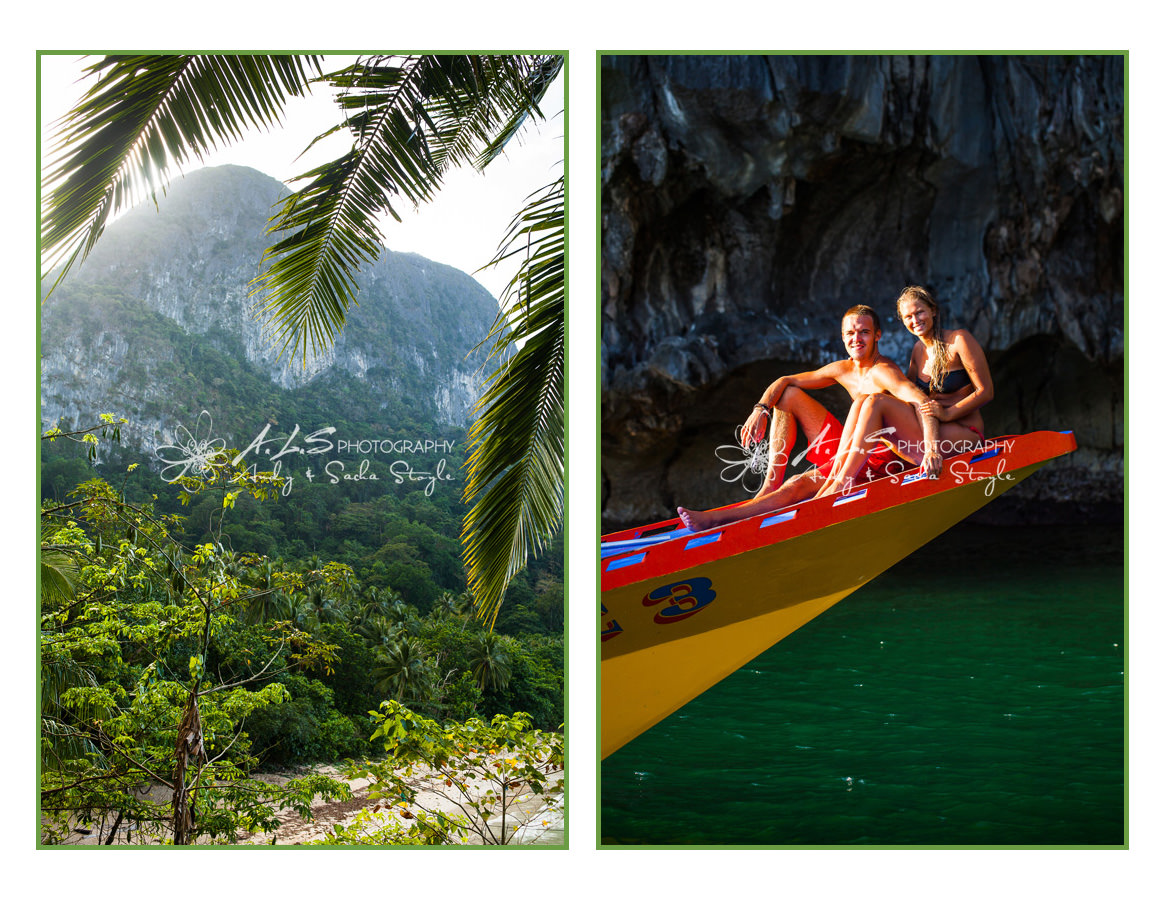
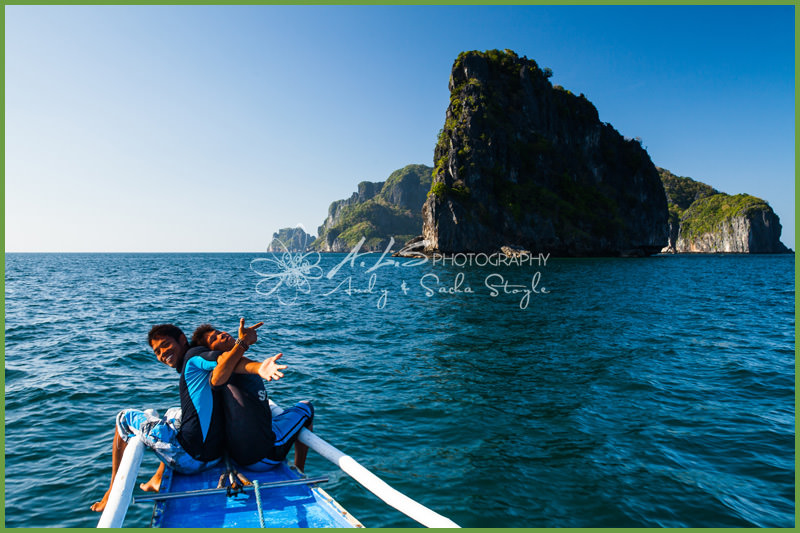
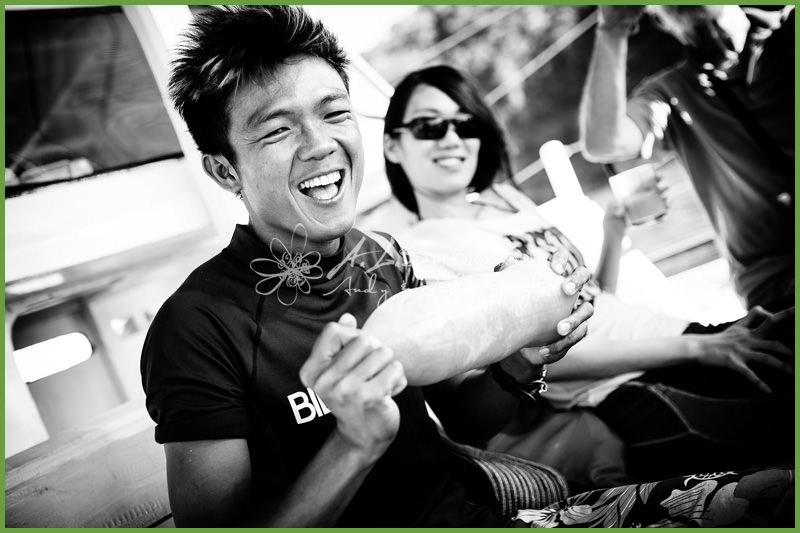
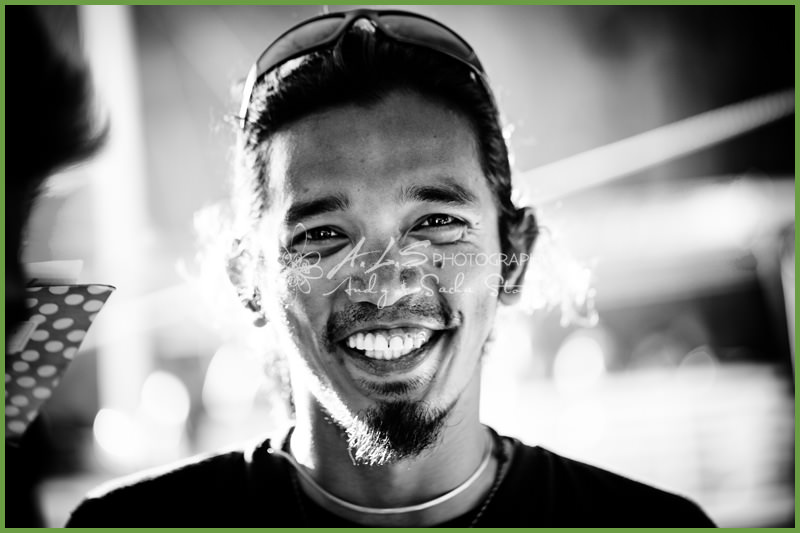
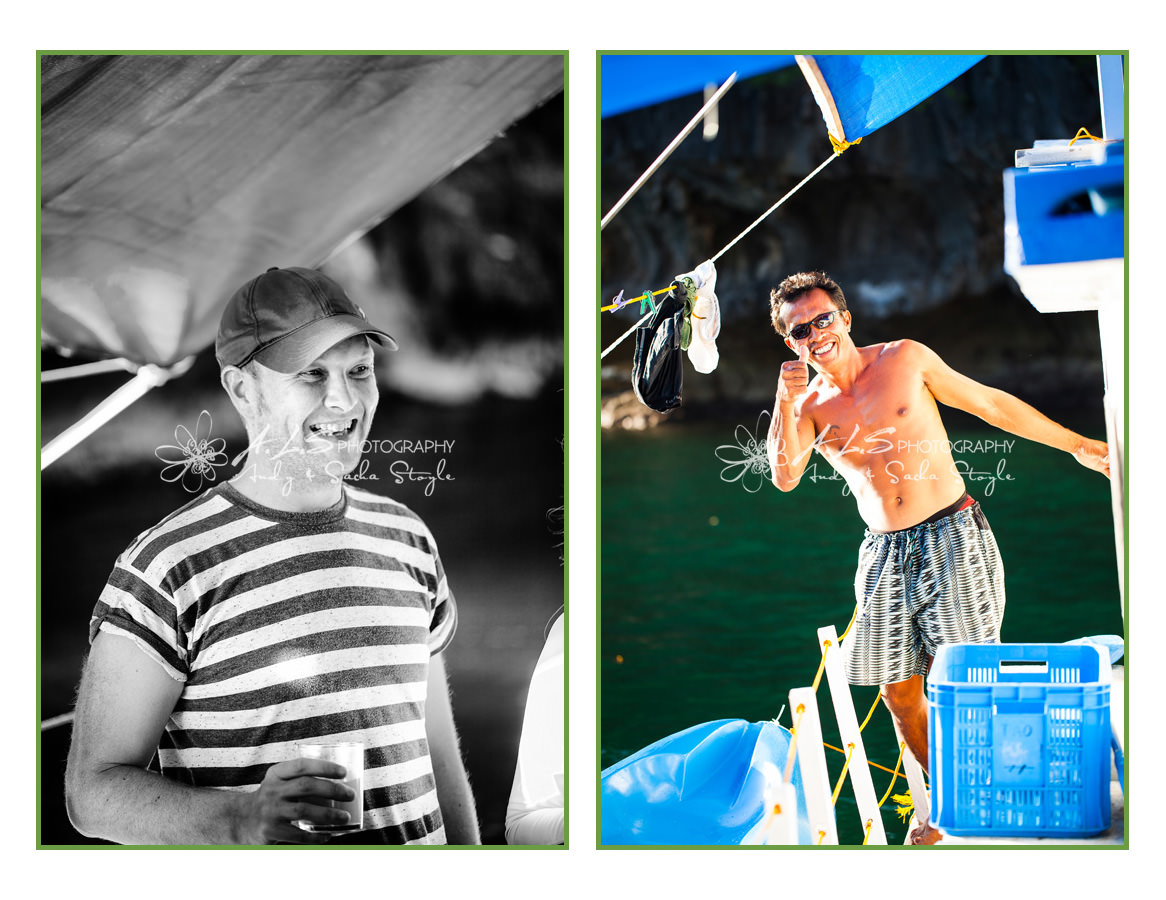
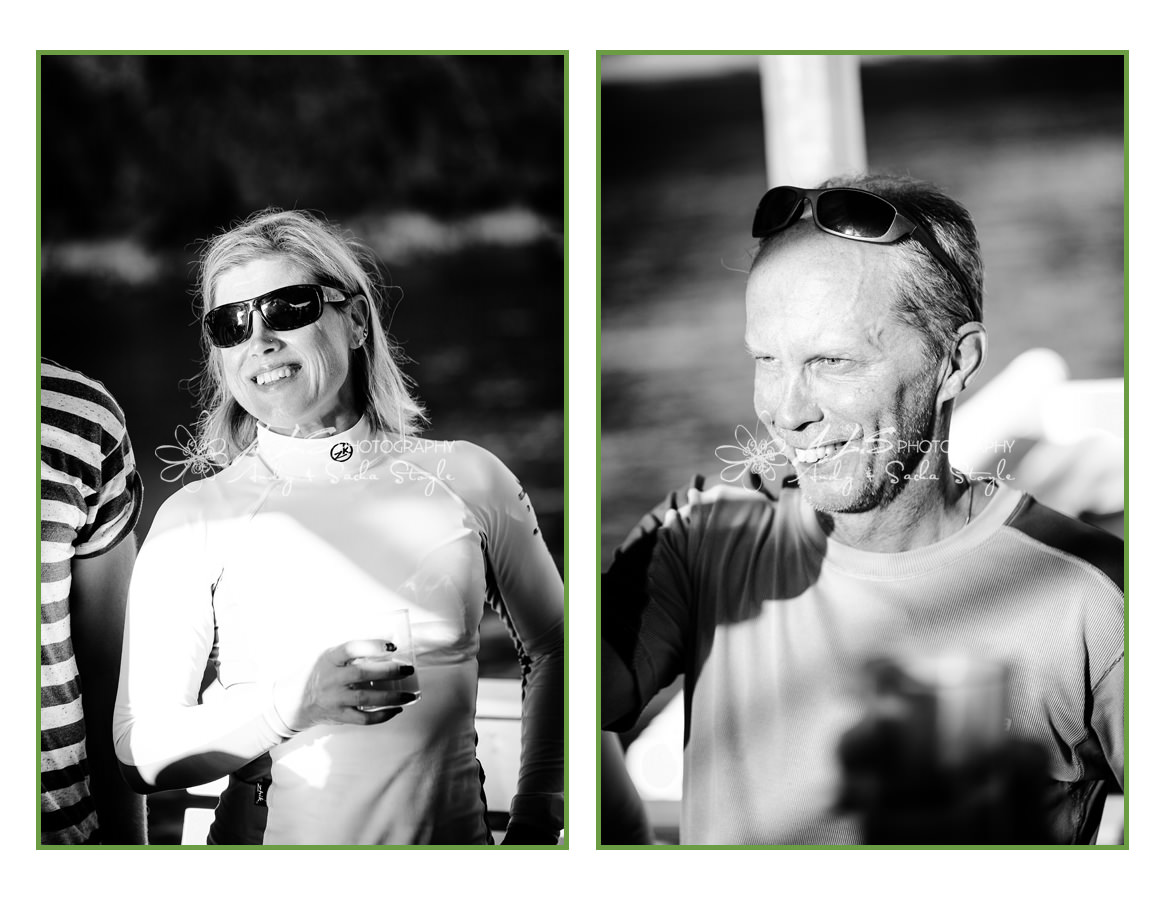
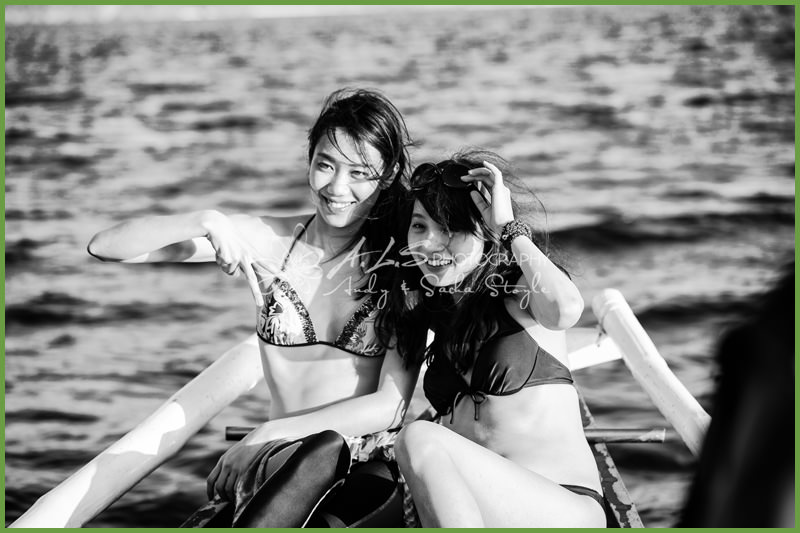
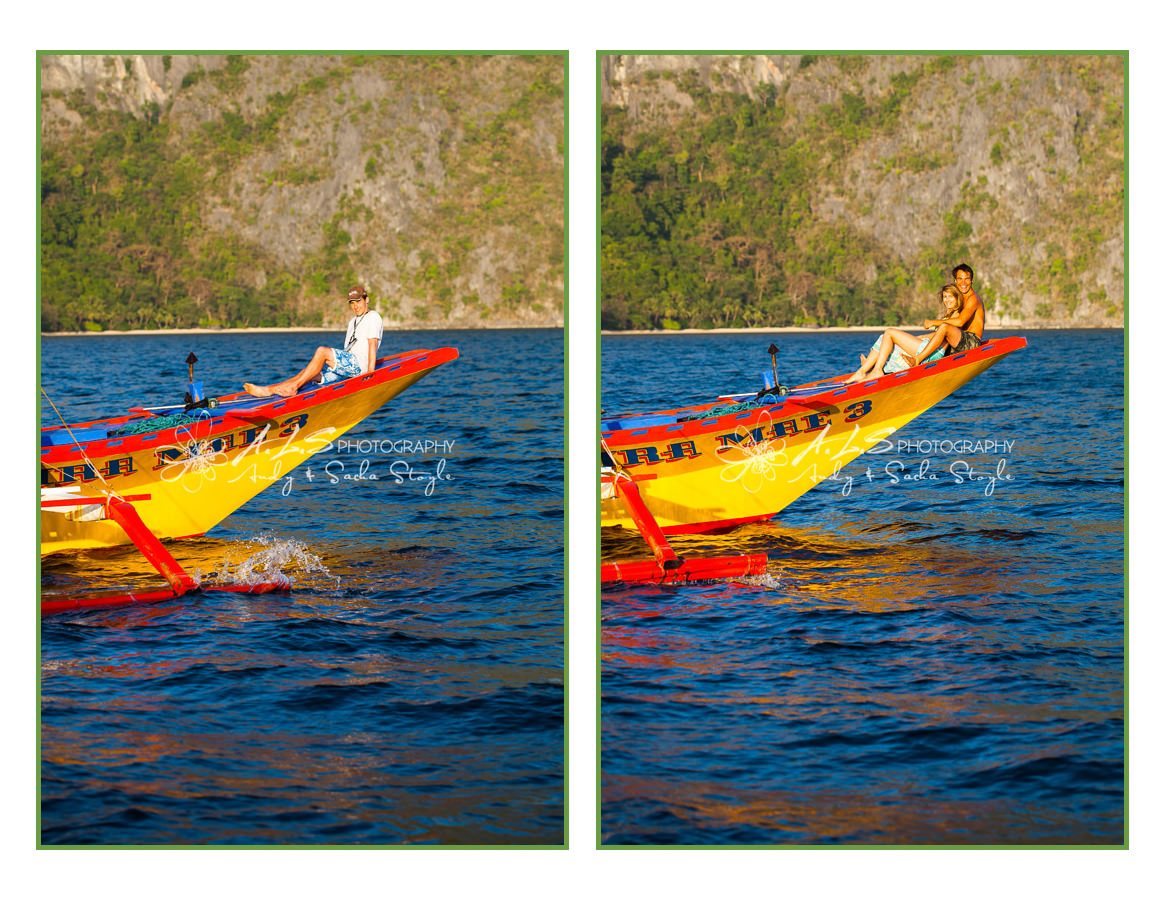
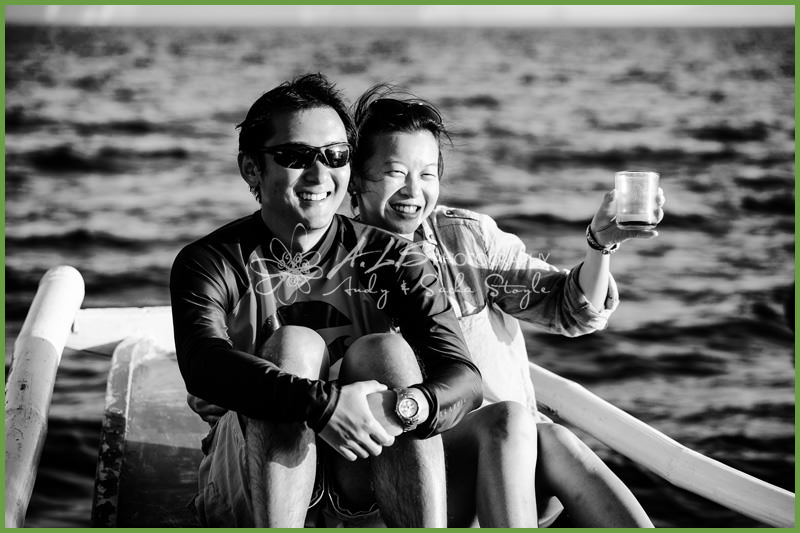
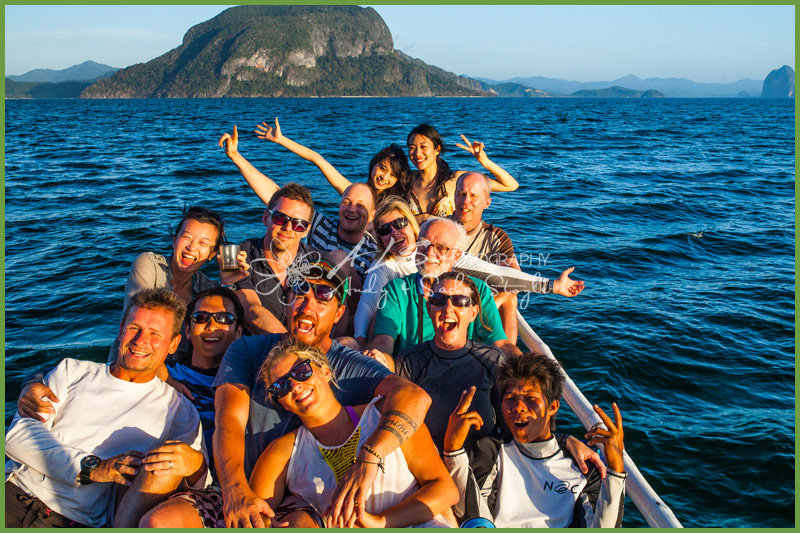
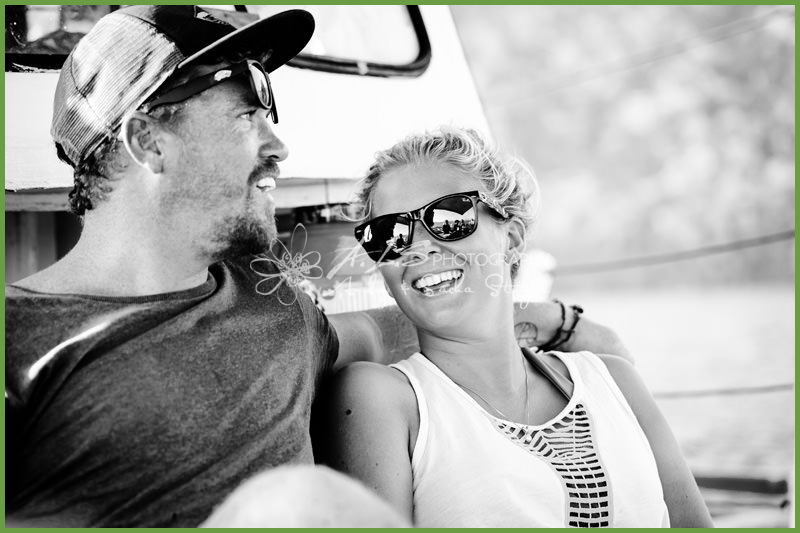
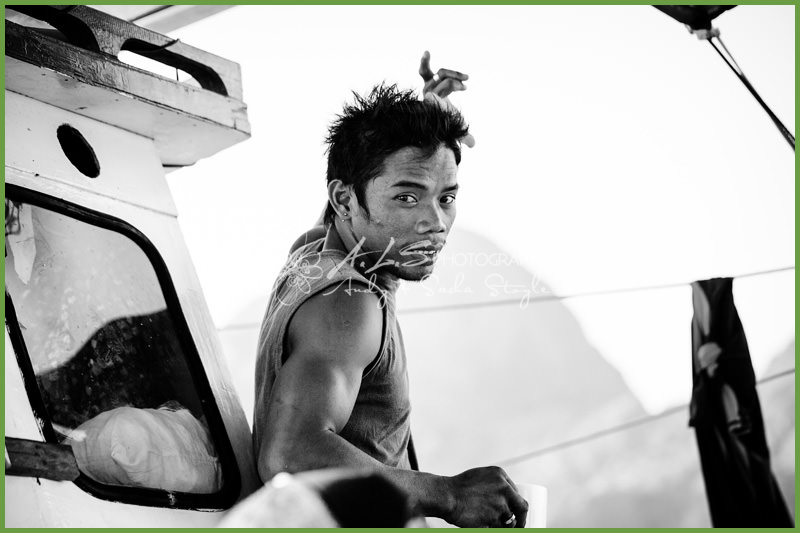
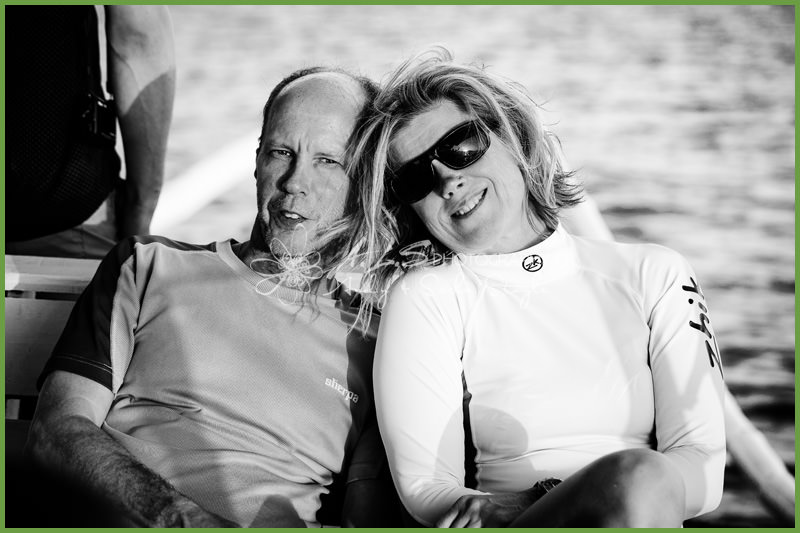
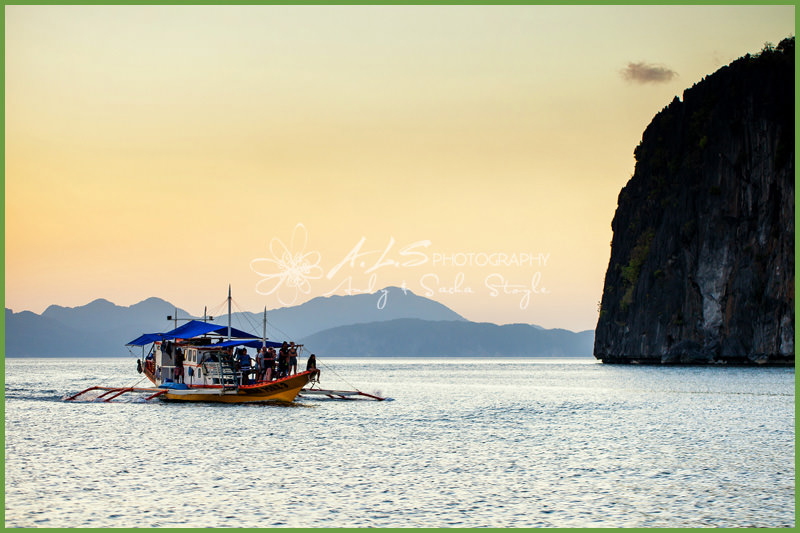
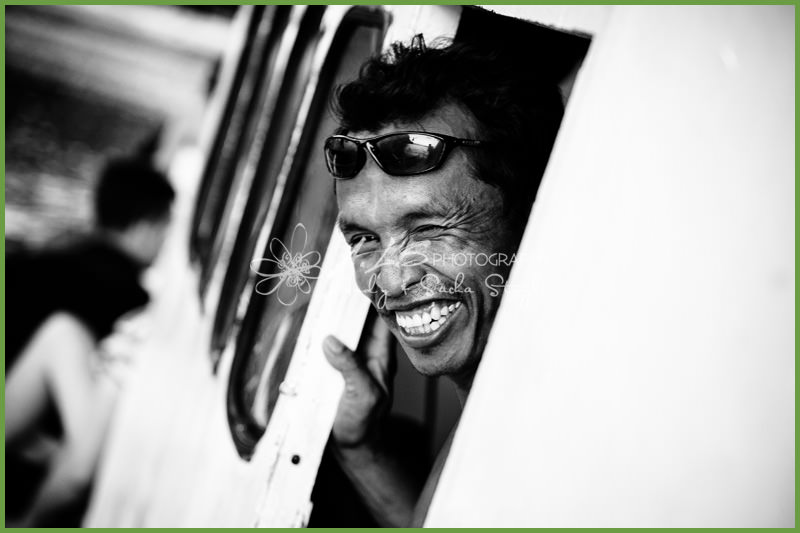
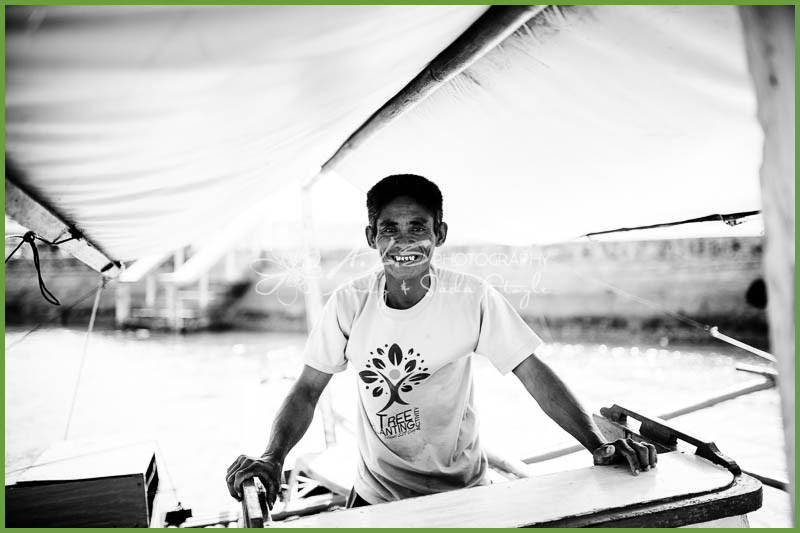
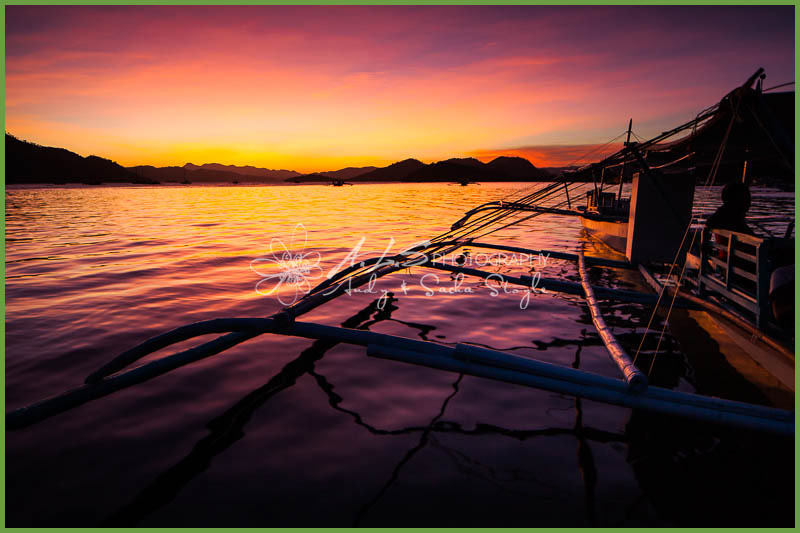
We joined 24 other intrepid explorers on a 5 day voyage through the totally unspoilt archipelago between Coron Town and El Nido organised by the amazing Tao Philippines. The group consisted of nationalities from Wales, England, France, Italy, Sweden, Germany, USA, Taiwan, Japan, Australia, Canada & the Philippines. We were split into two outrigger style boats with A-Mazing crew on each headed by Johan and Jimboy. We all had our main bags stowed on the boat and had daily access to a day bag which housed your essential items, including a change of swimwear and a toothbrush – what else do you need??? It was so refreshing not having access to any outside communication for 5 days, something we take for granted in our modern lifestyle. This trip was not about first class travel and luxury accommodation, it was about sleeping on pristine beaches, adventure, deserted Islands, amazing snorkeling and swimming, drinking Rum and making new friends – not necessarily in that order! We ate lots of bananas, rice and fresh fish which was expertly prepared by the onboard chefs. The crews of both ships were superb, such good fun! They did soooo much for us, nothing seemed a chore, always smiling – a huge Thank You goes to them!
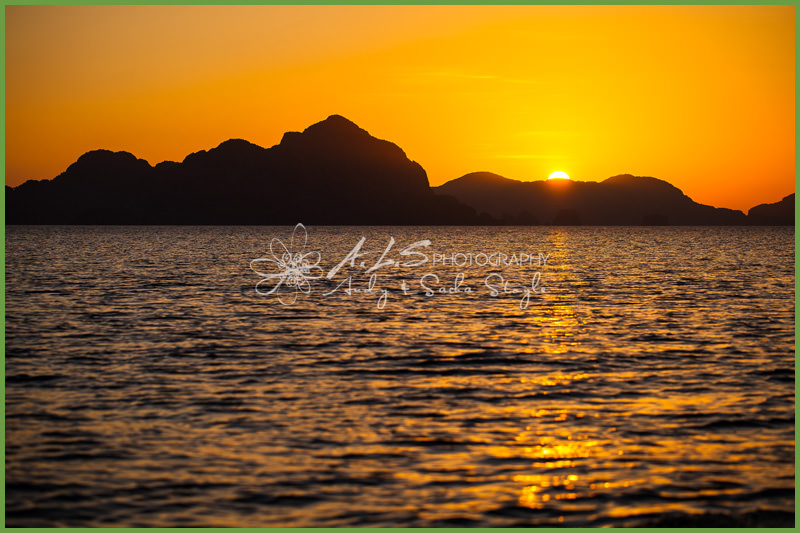
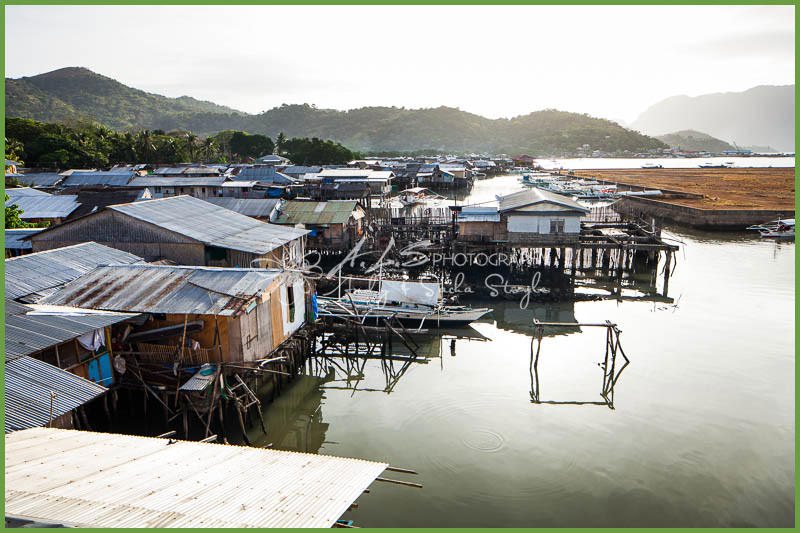
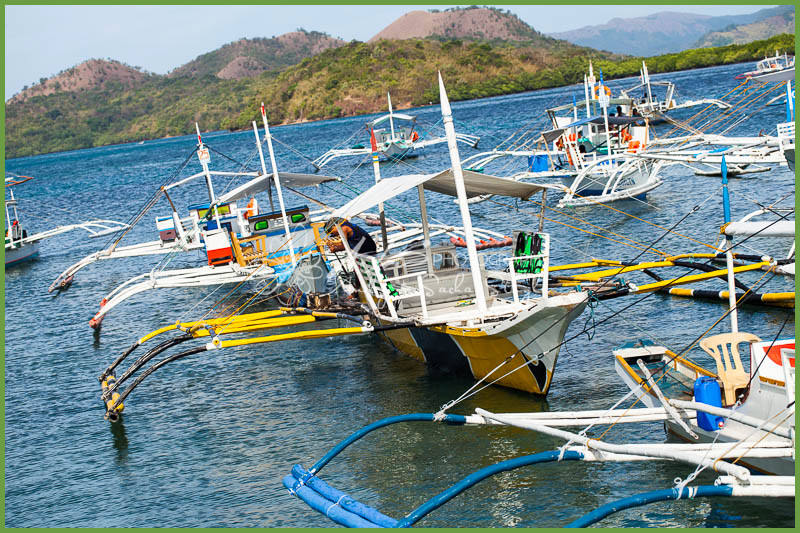
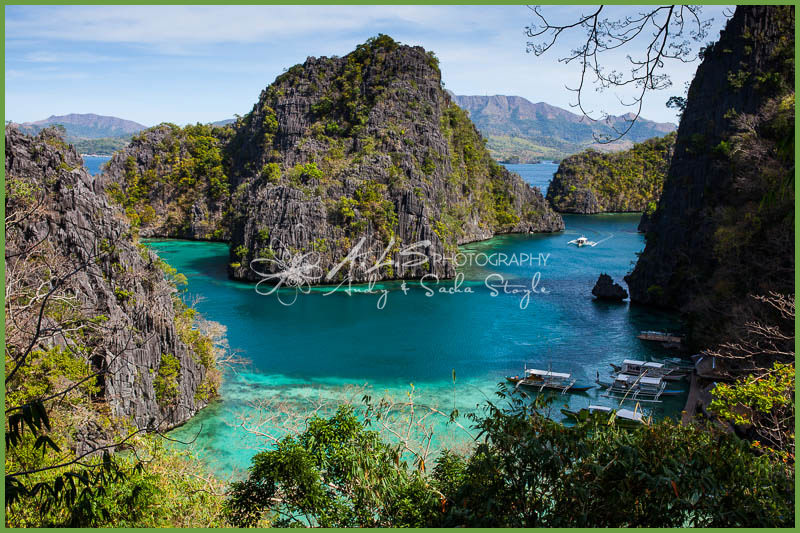
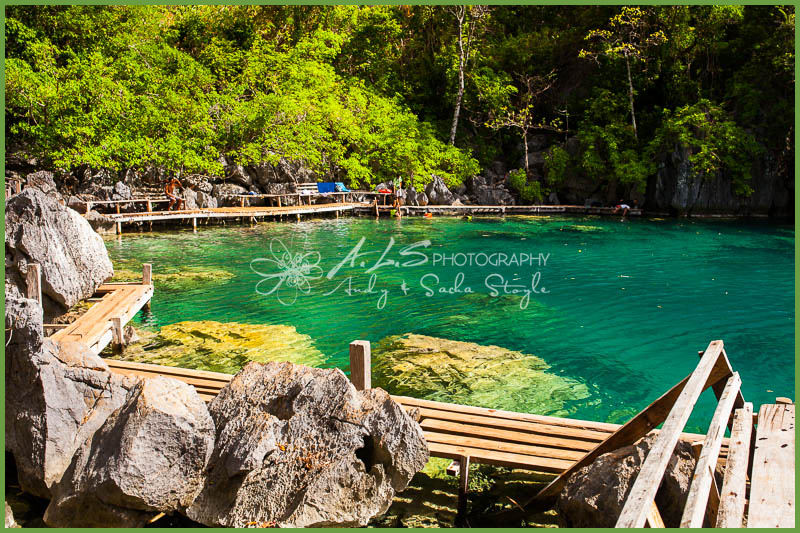
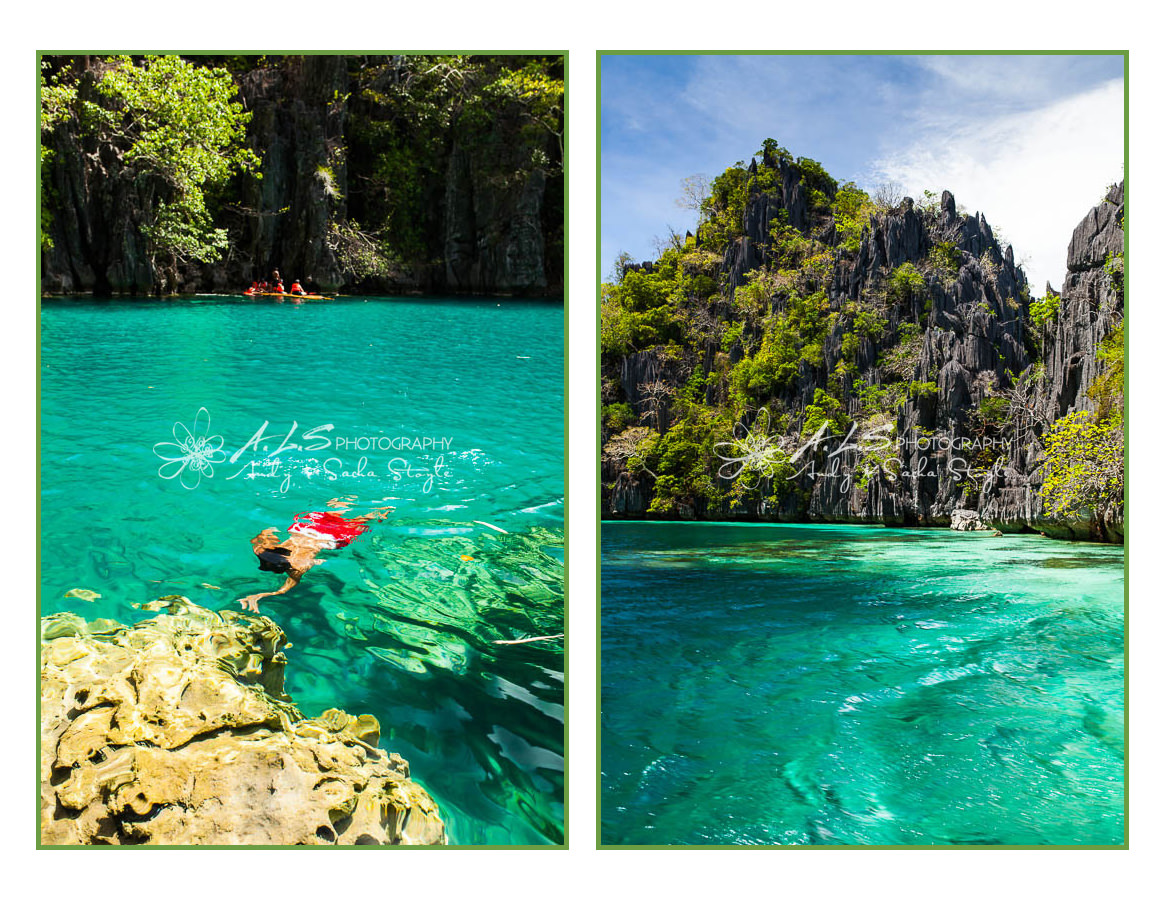
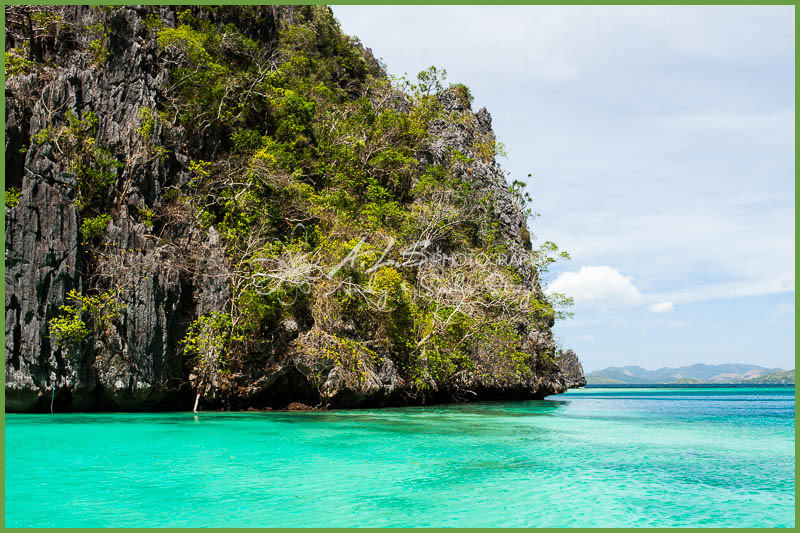
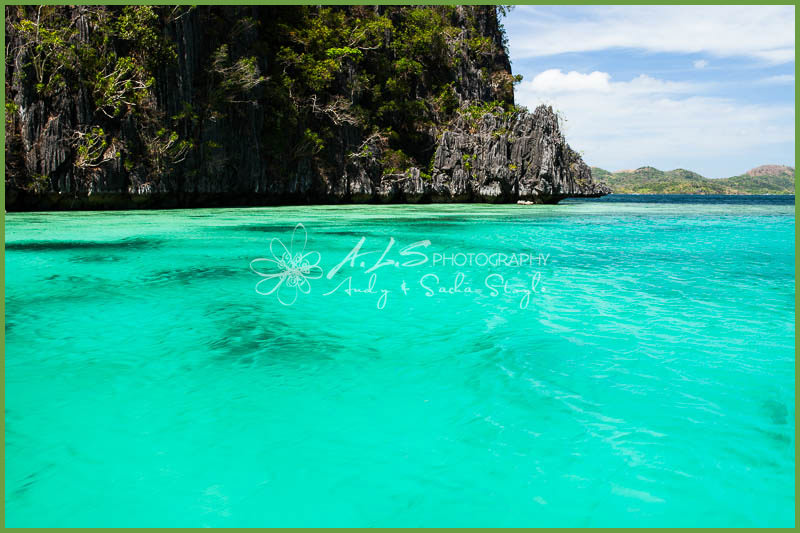
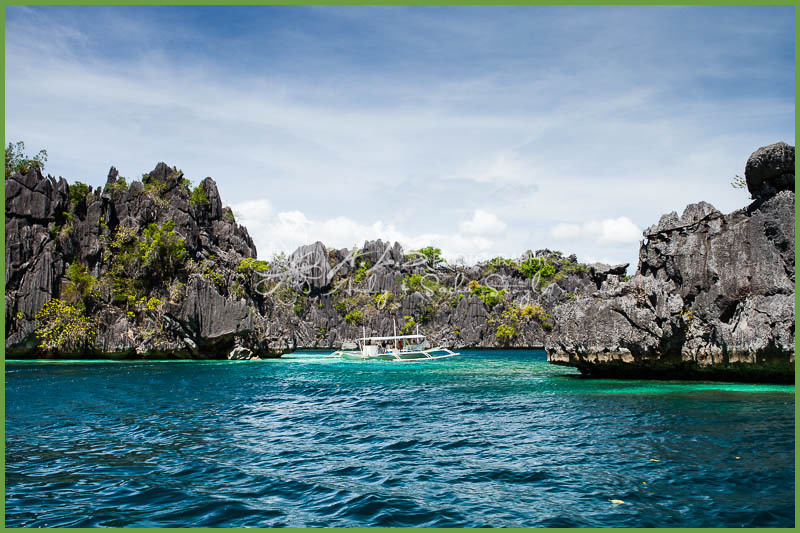
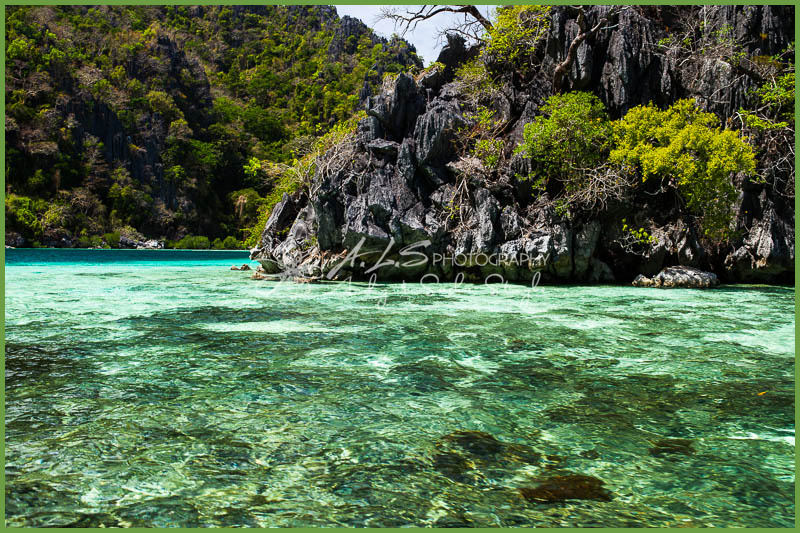
The island of Busuanga is about an hour flight southwest of Manila and is the largest of the Calamian Archipelago in the Northern part of Palawan Provice. The flight approach in gave us a glimpse of some of the beautiful tropical islands that we would be exploring, WOW! From the tiny airport terminal (no carousel here!!!) everyone is shepherded into waiting minivans for the 40 minute transfer to Coron Town. We were staying at the Luis Bay Travellers Lodge, a great position close to the busy harbour where all the island trips depart and just far enough away from the town centre for peace and quiet. The place immediately had a good feel with the white Coron sign above the town aka Hollywood! Coron is a real hub for divers and has a number of well preserved Japanese WWII underwater shipwrecks surrounded with coral reef. We, however were here to relax before our 5 day boat trip to El Nido with Tao Philippines (blog coming soon). We did organise a daytrip on a small Bangka with our captain Angelo to the nearby Coron Island. We moored in a beautiful inlet among the sheer karst limestone cliffs and took a steep climb over a ridge to the crystal clear waters of Kayangan Lake a perfect spot for a swim!